A little more than a year ago, we replaced our side by side washer and dryer with a stacking washer and dryer with the idea that it would free up more usable space. All our miscellaneous things ended up being stashed in that extra space without any organizational structure at all. The reason for this is I never delivered on the custom shelf that my wife wanted to put in that space. I recently got my act together and planned out the shelf by making a customizable 3D widget that will generate a material and cut list, similar to the ones I made for my standing workbench, work table or shelf, and indoor table of any kind.
This widget provides a material list that is entirely made up of sheets of plywood, with the measurements for how to cut all your pieces including optional dados and rabbit joints. On top of that, this widget provides SVG output for use on the Shaper Origin, a hand held router that is able to make precise freehand cuts by compensating for human error using computer vision and a movable bit. I didn't use the Origin for my shelf (I didn't have access to one yet!), but I was able to test the SVG output with it on a small scale shelf, which you'll see pictures of below.
Tools
Circular Saw - I didn't have access to a Shaper Origin quite yet, so I ended up using my circular saw to cut the main boards.
Router - Again, the Shaper Origin would replace this tool, but this is the router I ended up using.
Tape Measure - I had to manually measure my cuts, but again, the Shaper Origin will handle this.
Straight Edge - Yet another tool that is eliminated by using the Shaper Origin, but this is the one I use in the walkthrough below.
Quick Clamps - I used these for clamping my plywood to my sawhorses while making various cuts.
Pipe Clamps - I used 10 of these and would have used more if I had them. Don't forget to also get 3/4" pipe long enough to clamp a shelf with the dimensions you specify (mine are all 4 feet long).
Wood Glue - I used Titebond III for the longer drying time. The assembly can take longer than most simple glue ups, so the extra time is key.
Interactive Widget
Setting Descriptions
The following settings can be changed in the widget below to customize your shelf. The widget can be used to make anything from a small desk organizer, to a large shelf by editing these values. Play around and see what you can come up with!
Width, Height and Depth - These are the total outside dimensions of the shelf. You can measure the space your shelf will go and put those values directly in here.
Dado Depth - A dado is a groove cut into a board that another board will be inserted into. I'll show you how I built my shelf using only dados and glue to hold it all together. You could save yourself some time by setting this value to 0 and assembling your shelf with fasteners instead.
Vertical Divider - The shelf can have a single vertical divider. By moving this slider around, you can adjust where it is from left to right. If you move the slider all the way to the left or right, no divider will be used.
Left Shelf #1 & #2 - If the vertical divider is anywhere except all the way to the left, this slider will position a shelf on the left side of the divider. If this slider is moved all the way to the left or right, no shelf is created.
Right Shelf #1 & #2 - If the vertical divider is anywhere except all the way to the right, this slider will position a shelf on the right side of the divider. If this slider is moved all the way to the left or right, no shelf is created.
Thickness - This is the thickness of the material you're using.
Sheet Width and Height - These are the dimensions of a single sheet of the material you're using. These dimensions determine how the cuts are laid out, such that you will have to buy some number of these sheets (see below for how many sheets you'll need and how each cut is laid out).
Kerf - Kerf is the thickness of your saw blade. When using the Shaper Origin, you'll want to set this to the diameter of the bit you want to use. I recommend the largest diameter you can get away with to minimize the number of passes you need to take to cut through your material. I've set the default to 1/4" as it's the biggest bit the Shaper Origin ships with.
Units - Inches or centimeters. You won't see any changes besides the 'in' or 'cm' next to each number below, but on the Shaper Origin the units are important.
My Build
The default settings in the widget are the settings that I used (except I set my kerf to 1/8" as I used a circular saw rather than the Shaper Origin, which I recommend using a 1/4" bit or bigger to do your cutting to minimize the number of cutting passes you'll need). I used a tape measure, straight edge, circular saw and router to make all my cuts.
Here are some things to keep in mind when planning out your cuts (using the Shaper Origin eliminates these concerns):
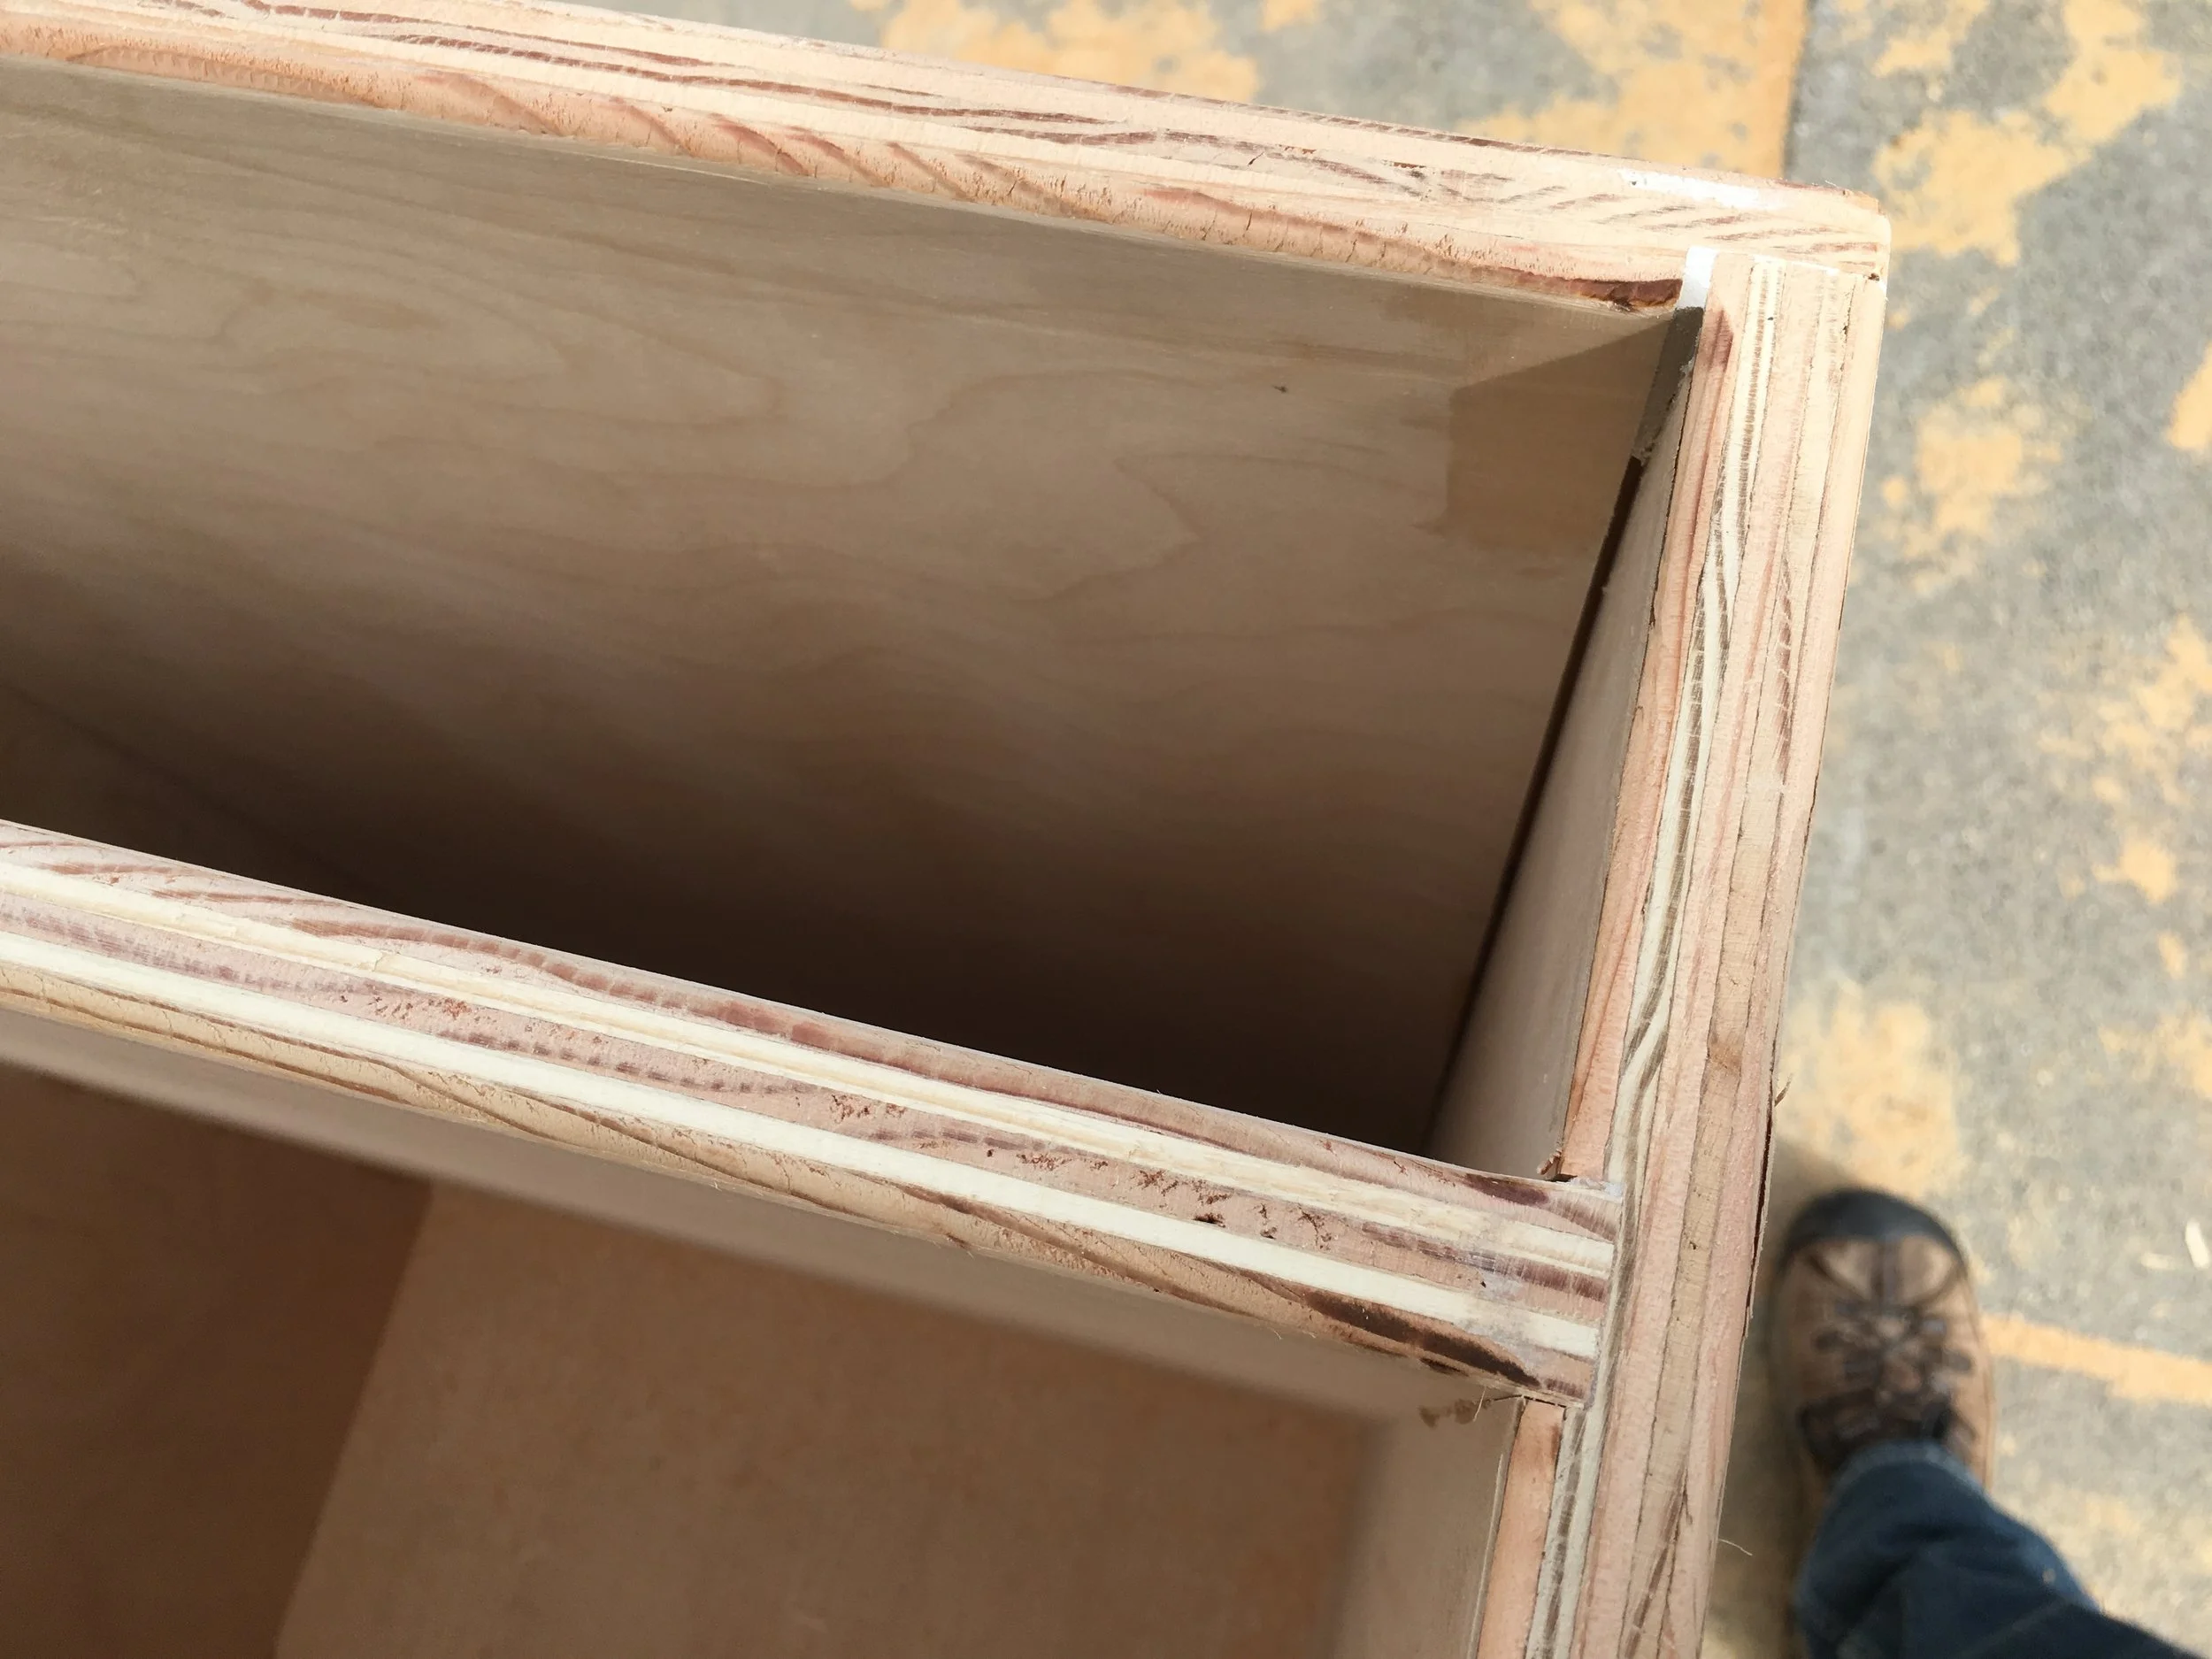
The rabbits (the grooves cut on the edges of the boards) and the dados (the grooves cut anywhere that isn't on the edge of a board) should be just barely wider (about 1/100" of an inch) than the thickness of your material. Note that many plywoods are sanded and are thinner than the default 3/4", so I recommend measuring the material and cutting your dados and rabbits to that thickness.
The dimensions listed above are the inside height of each shelf (something measuring that height could just fit in the shelf). The numbering starts from the top shelf and goes down. Use those numbers to measure from the edge of the board (keeping in my your dado depth, see the next note).
Keep your dado depth in mind (you can zoom in on the 3D model and see how the pieces fit into the dados). I forgot to account for the dado depth in a couple of my first cuts so I had to make one shelf 1/4" shorter and another 1/4" taller.
You'll see me using a pencil in the video below. I quickly switched over to a scratch awl to mark my cuts. As the pencil dulls, the marks become less accurate. A good dado is about 1/100" thicker than the material that is being inserted, so accuracy is important.
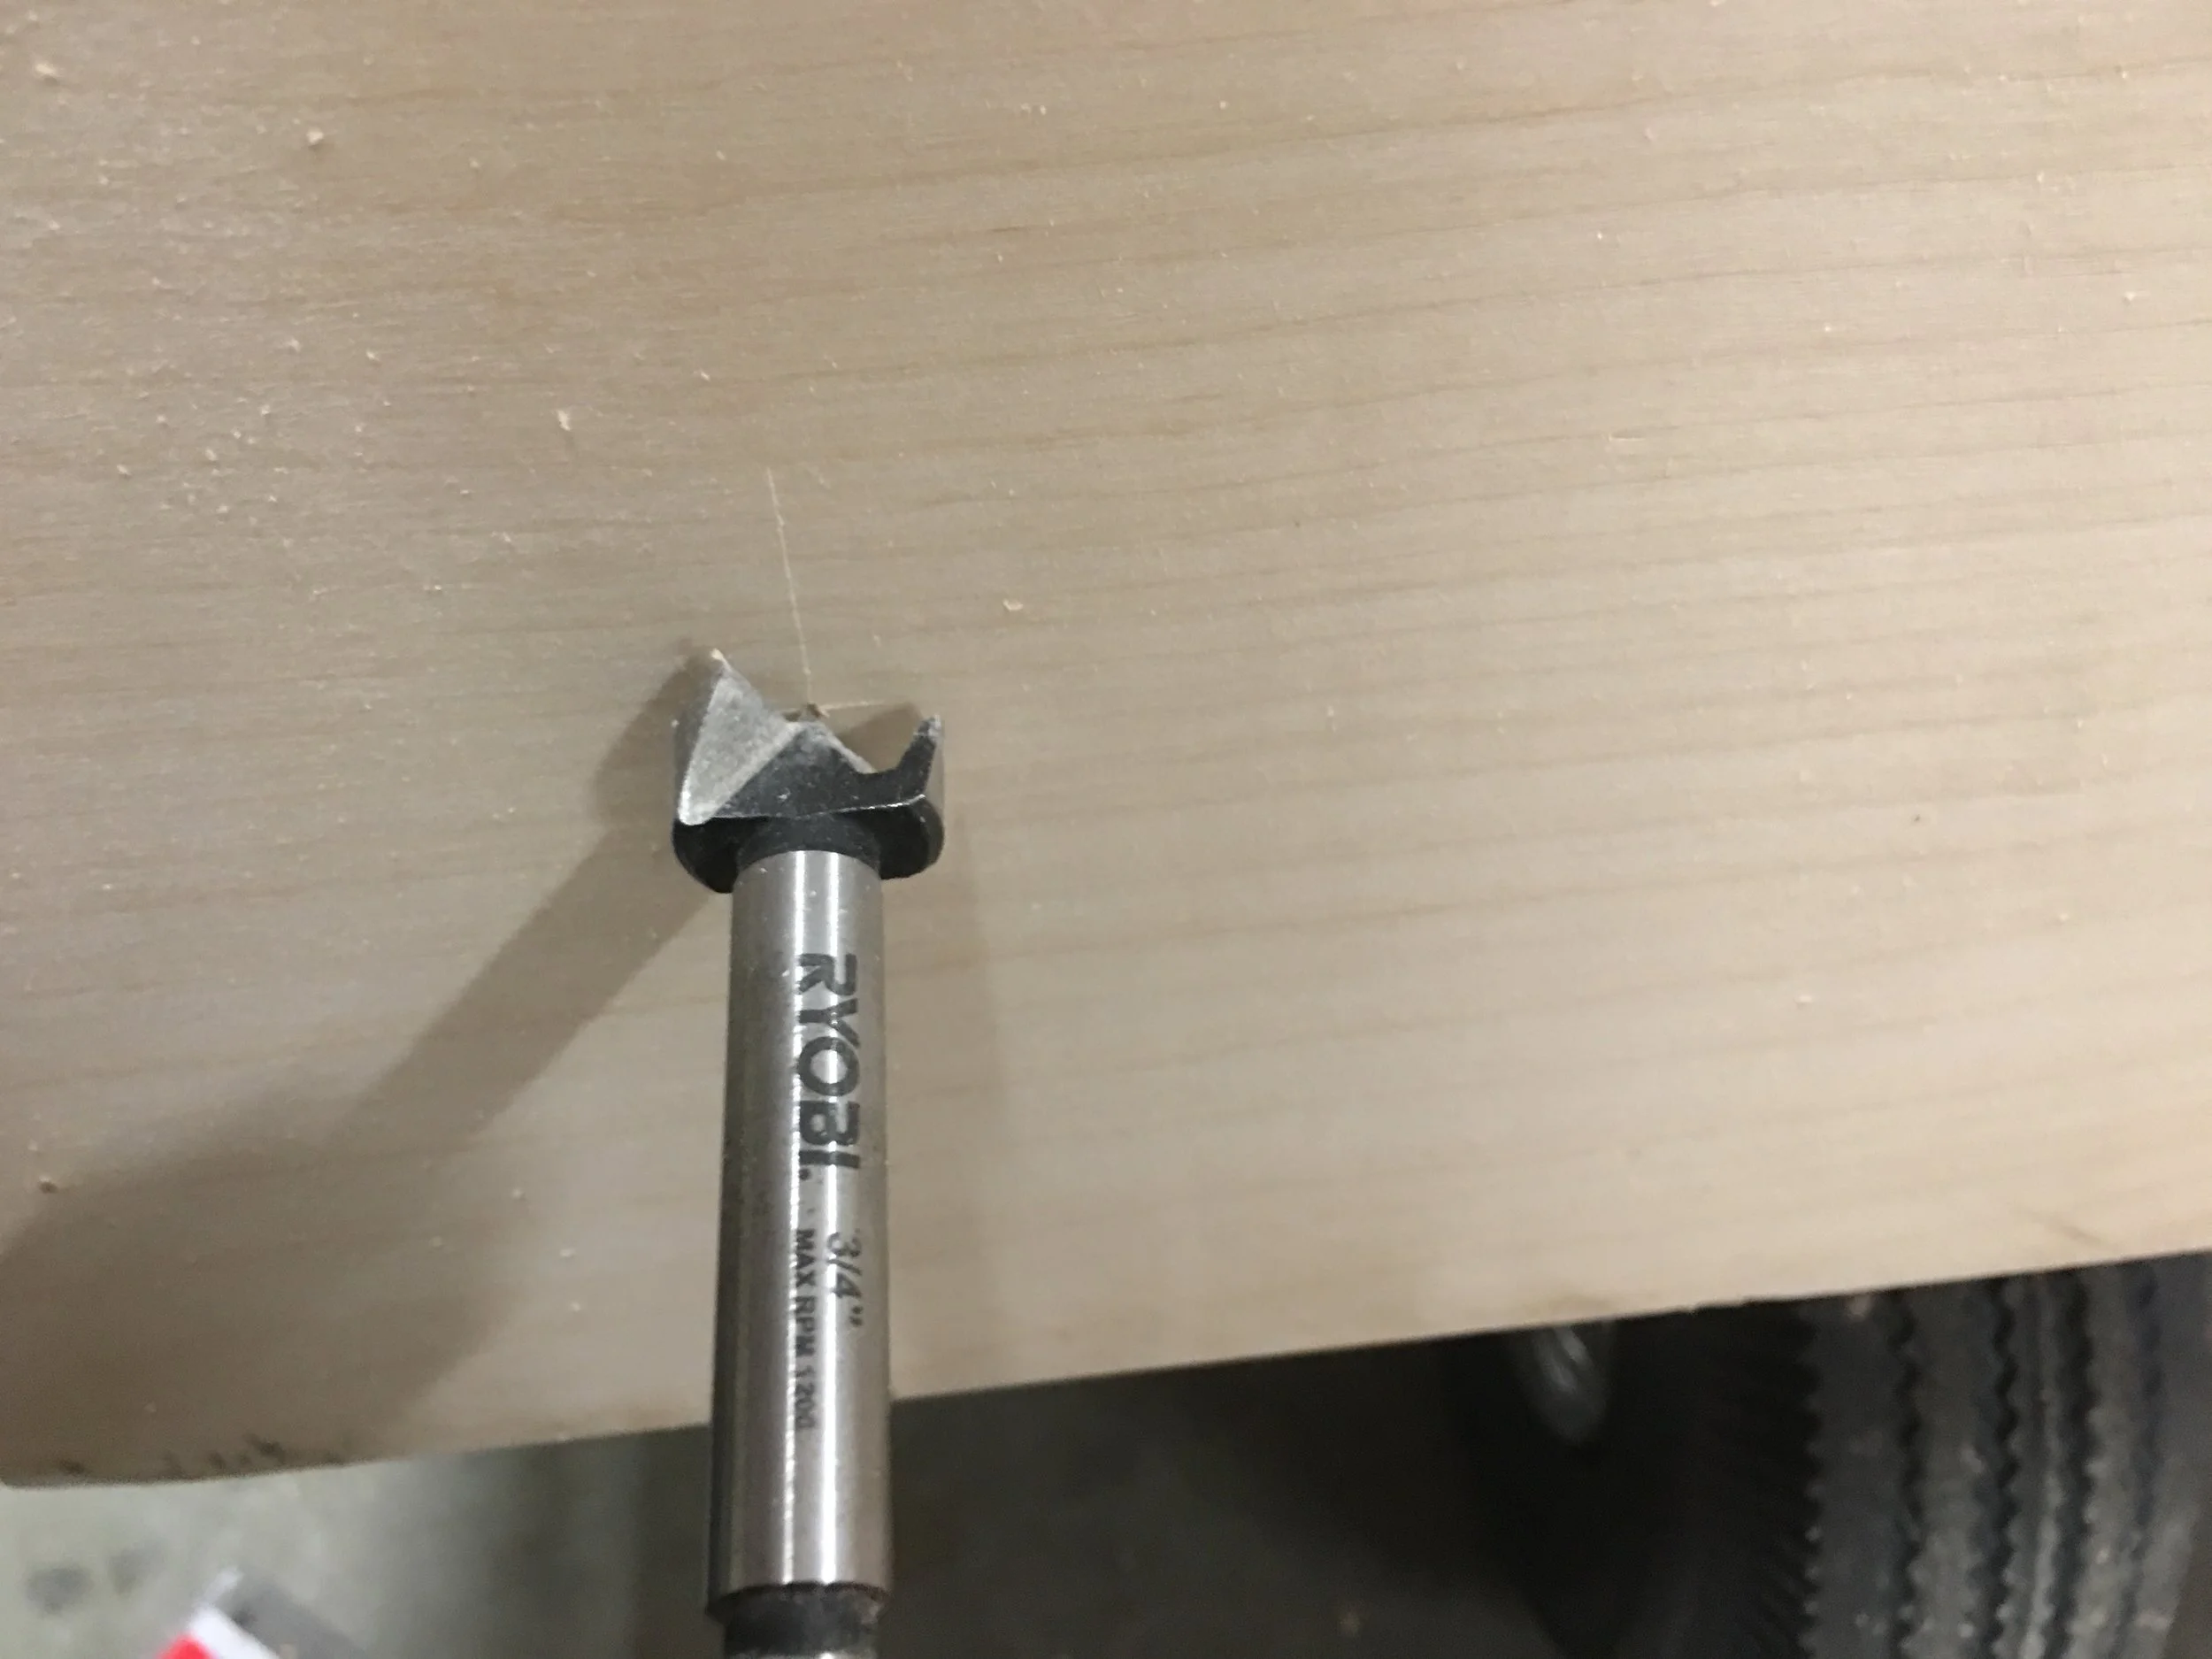
When using a router+straight edge to cut dados, you'll either need a bit that is the exact diameter of the desired dado width, or you'll need to make two cuts per dado. My router's plate is 5-3/4" in diameter. I used a 1/2" diameter bit. That means my straight edge guide needs to be 2-5/8" from the edge of my dado ( (5-3/4" x .5) - (1/2" x .5) ). You'll need to figure out how your router/bit combination works out if you do it the way I did.
During assembly, a dado that is slightly too tight is worse than a dado that is slightly too big. During assembly, one of my dados was just barely too tight and it made it very difficult to get everything together. With glue drying, the pressure is on to get everything assembled correctly before clamping everything together, so make sure you get a good fit in all your dados before committing.
With all that said, the next time I do this, I'll definitely use either a Shaper Origin or another kind of CNC machine (I have a Maslow CNC on order, so I may update this widget to output tool paths for that at some point). I also have my Glowforge now, so I may experiment using a laser to cut dados.
Here is a video of me making some of my cuts:
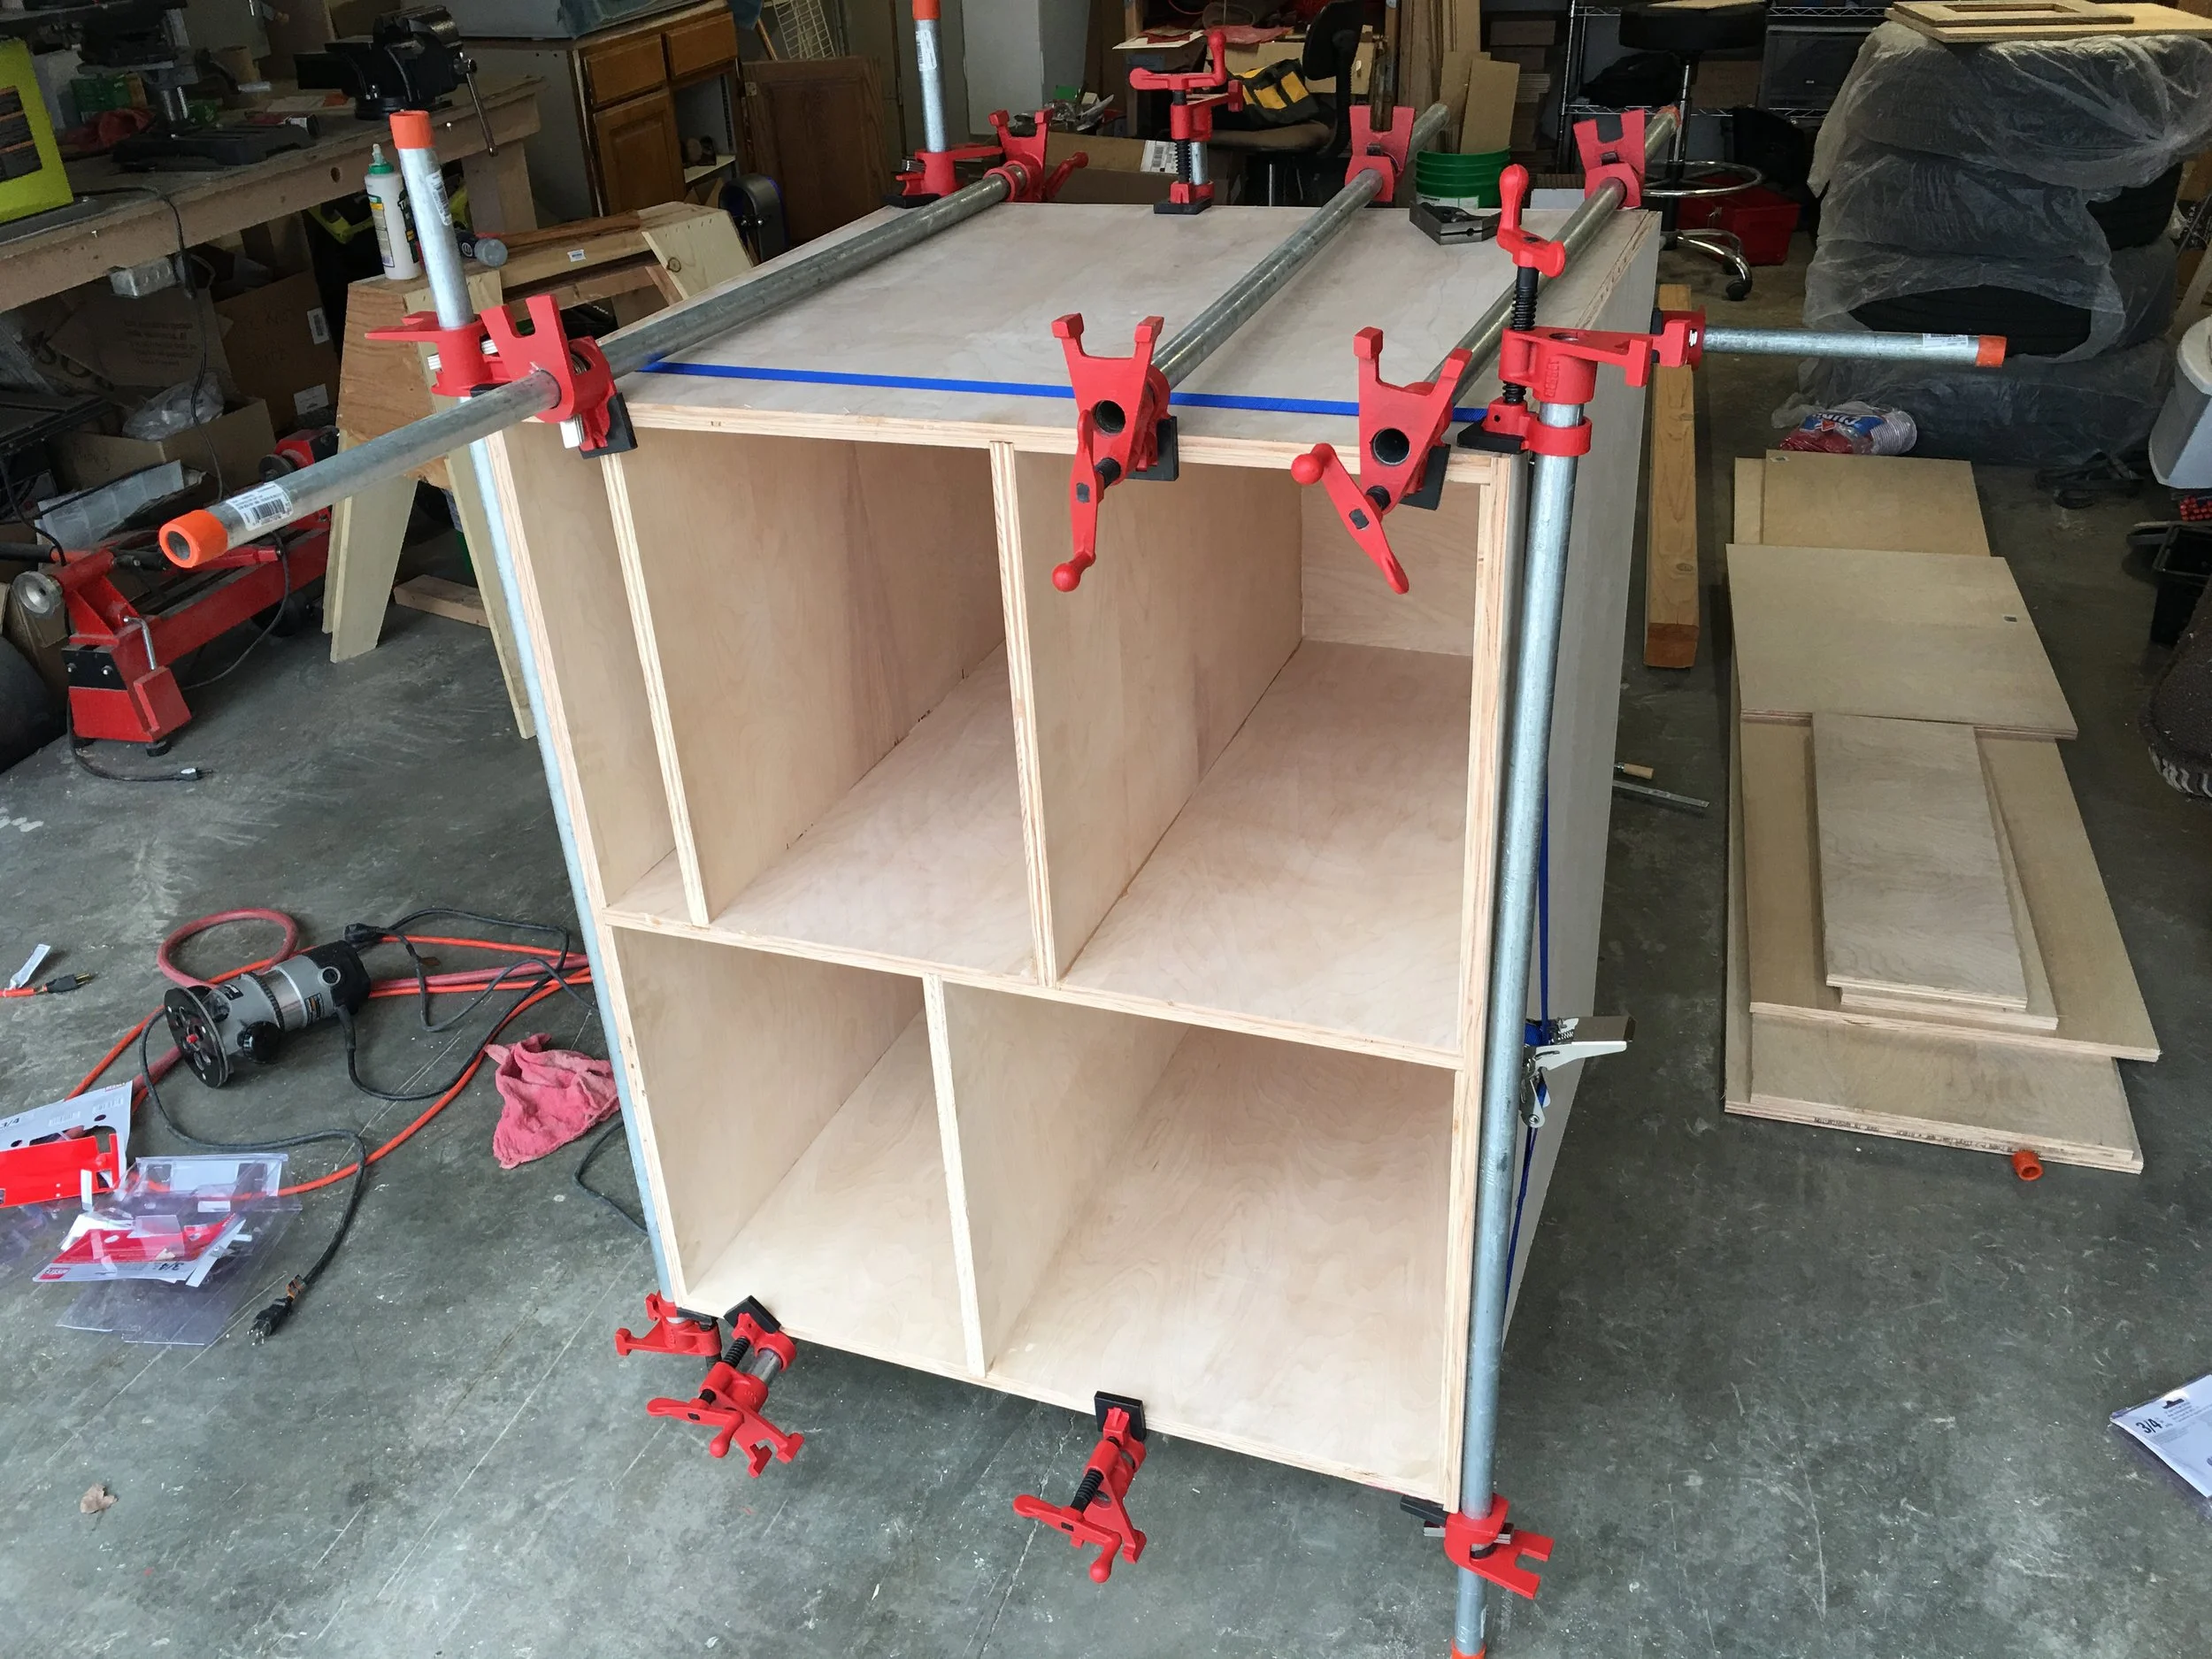
And a picture of the final glue up:
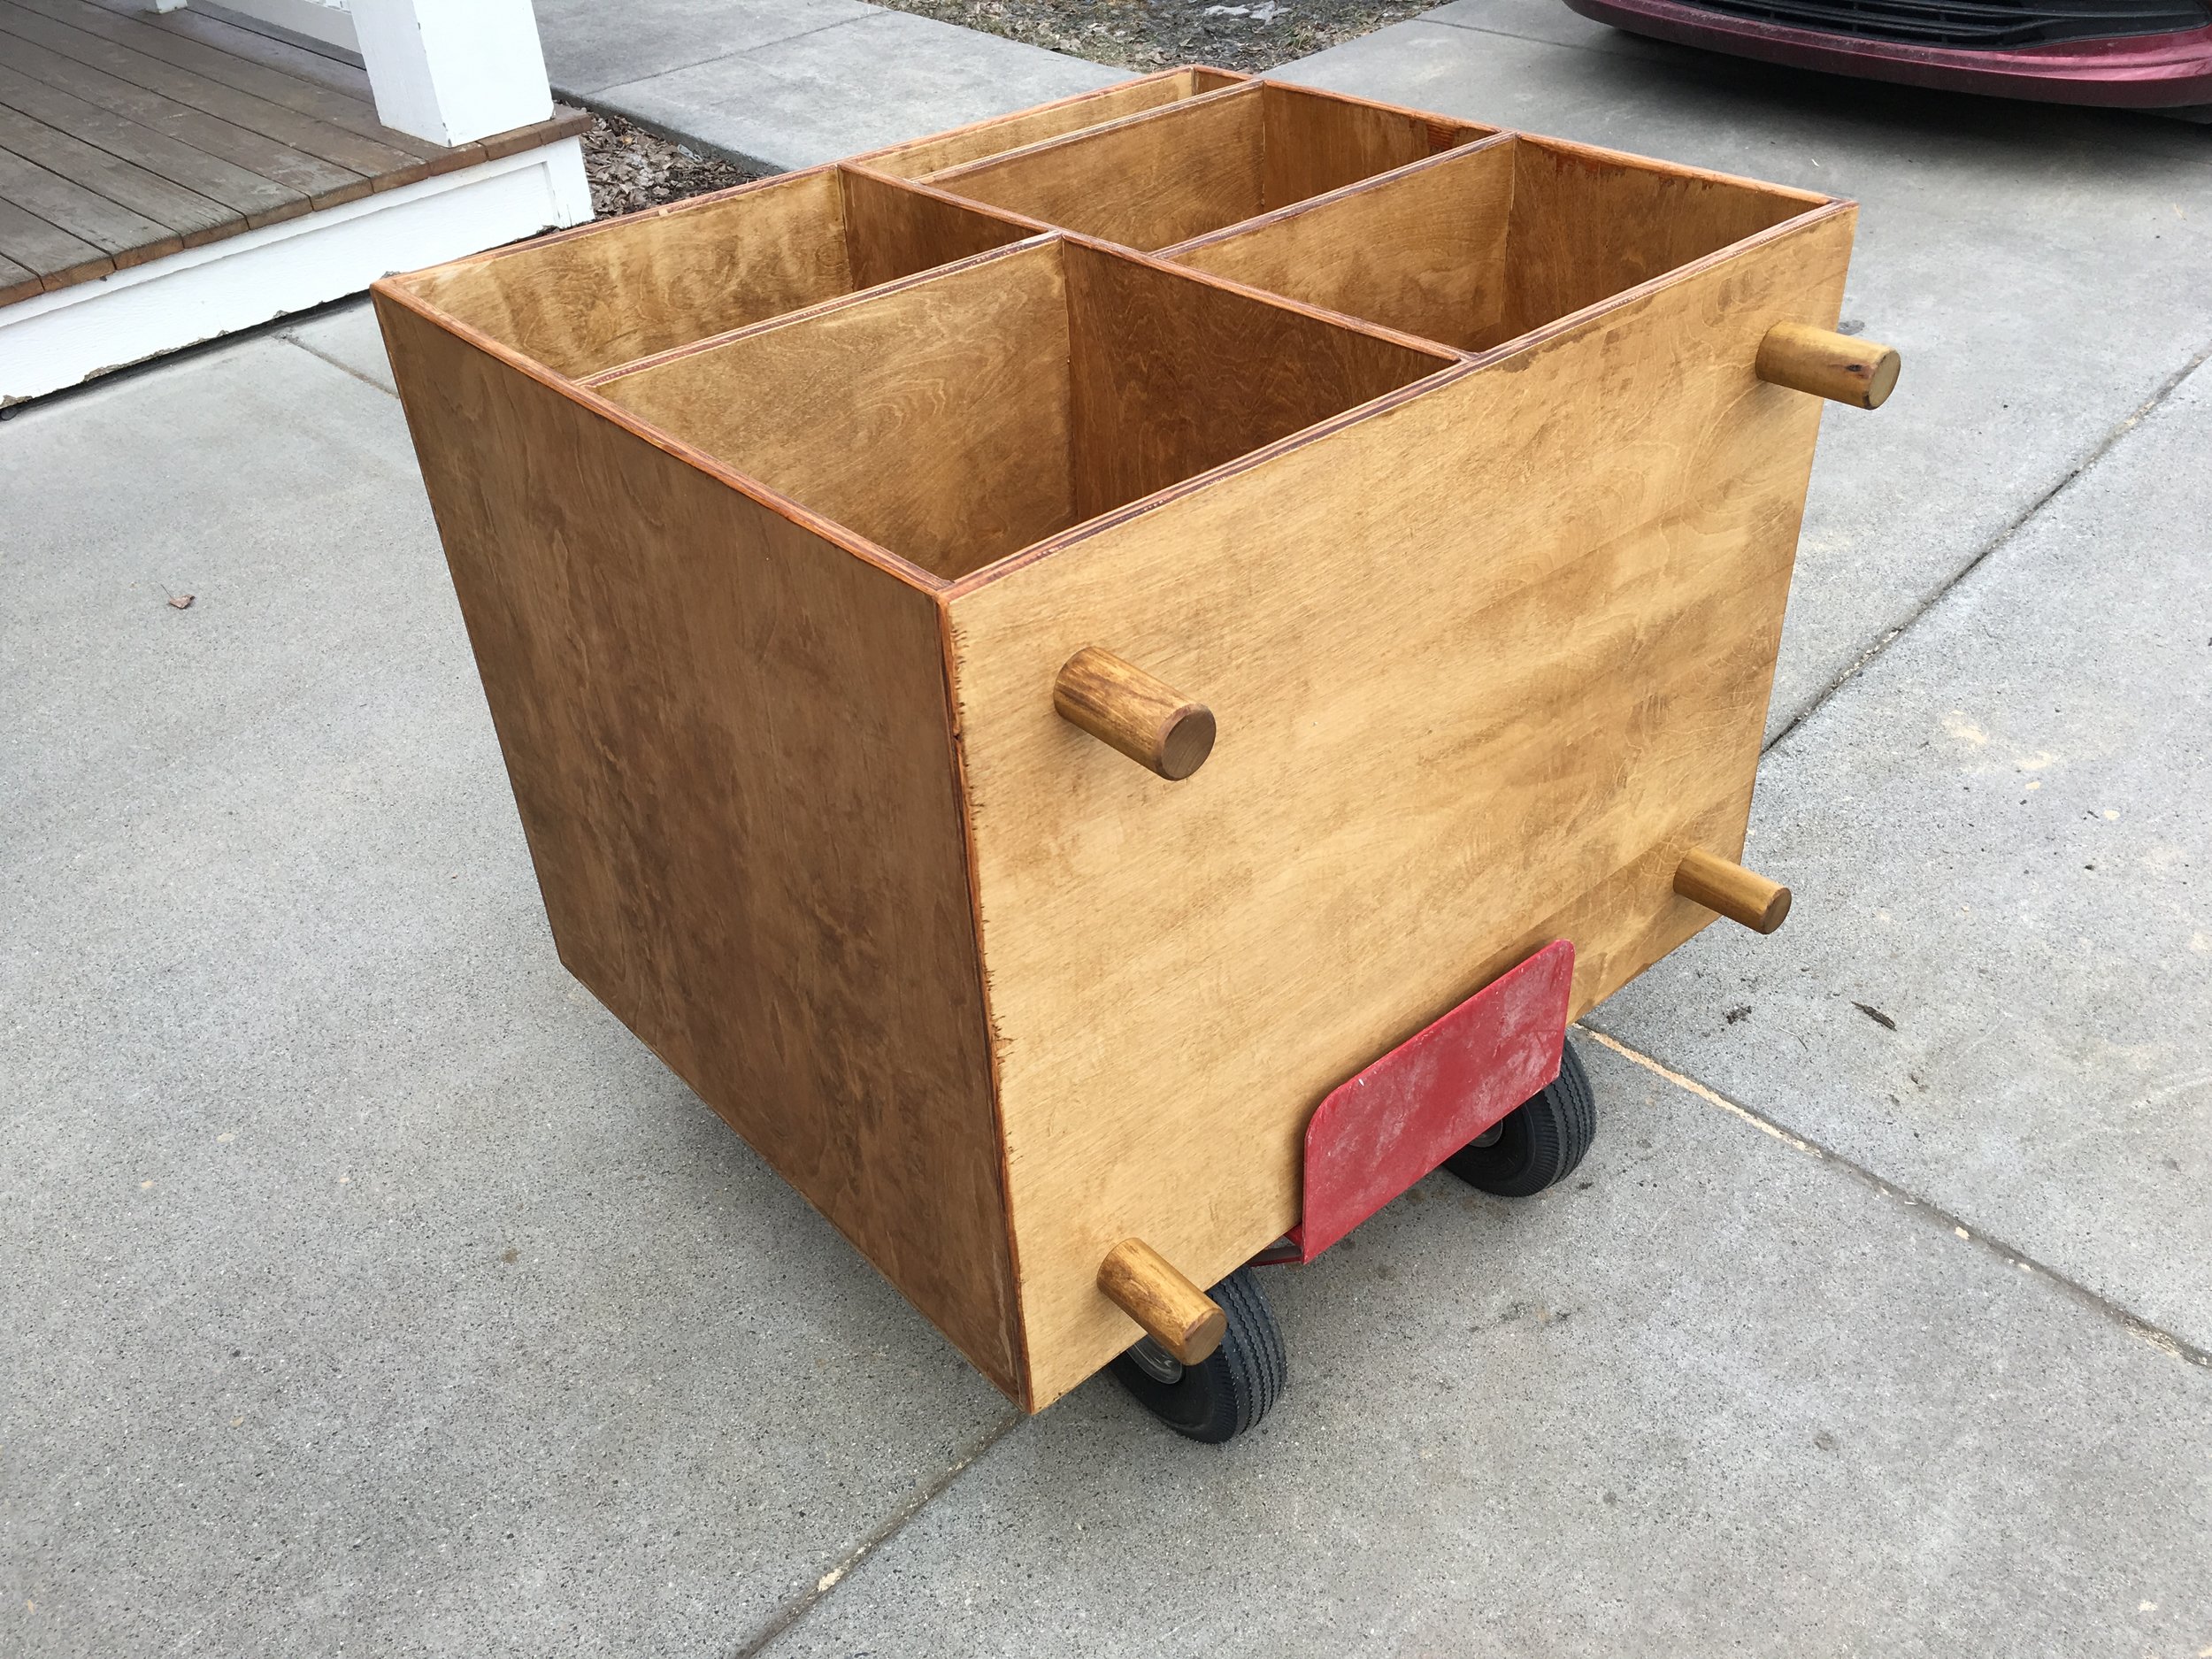
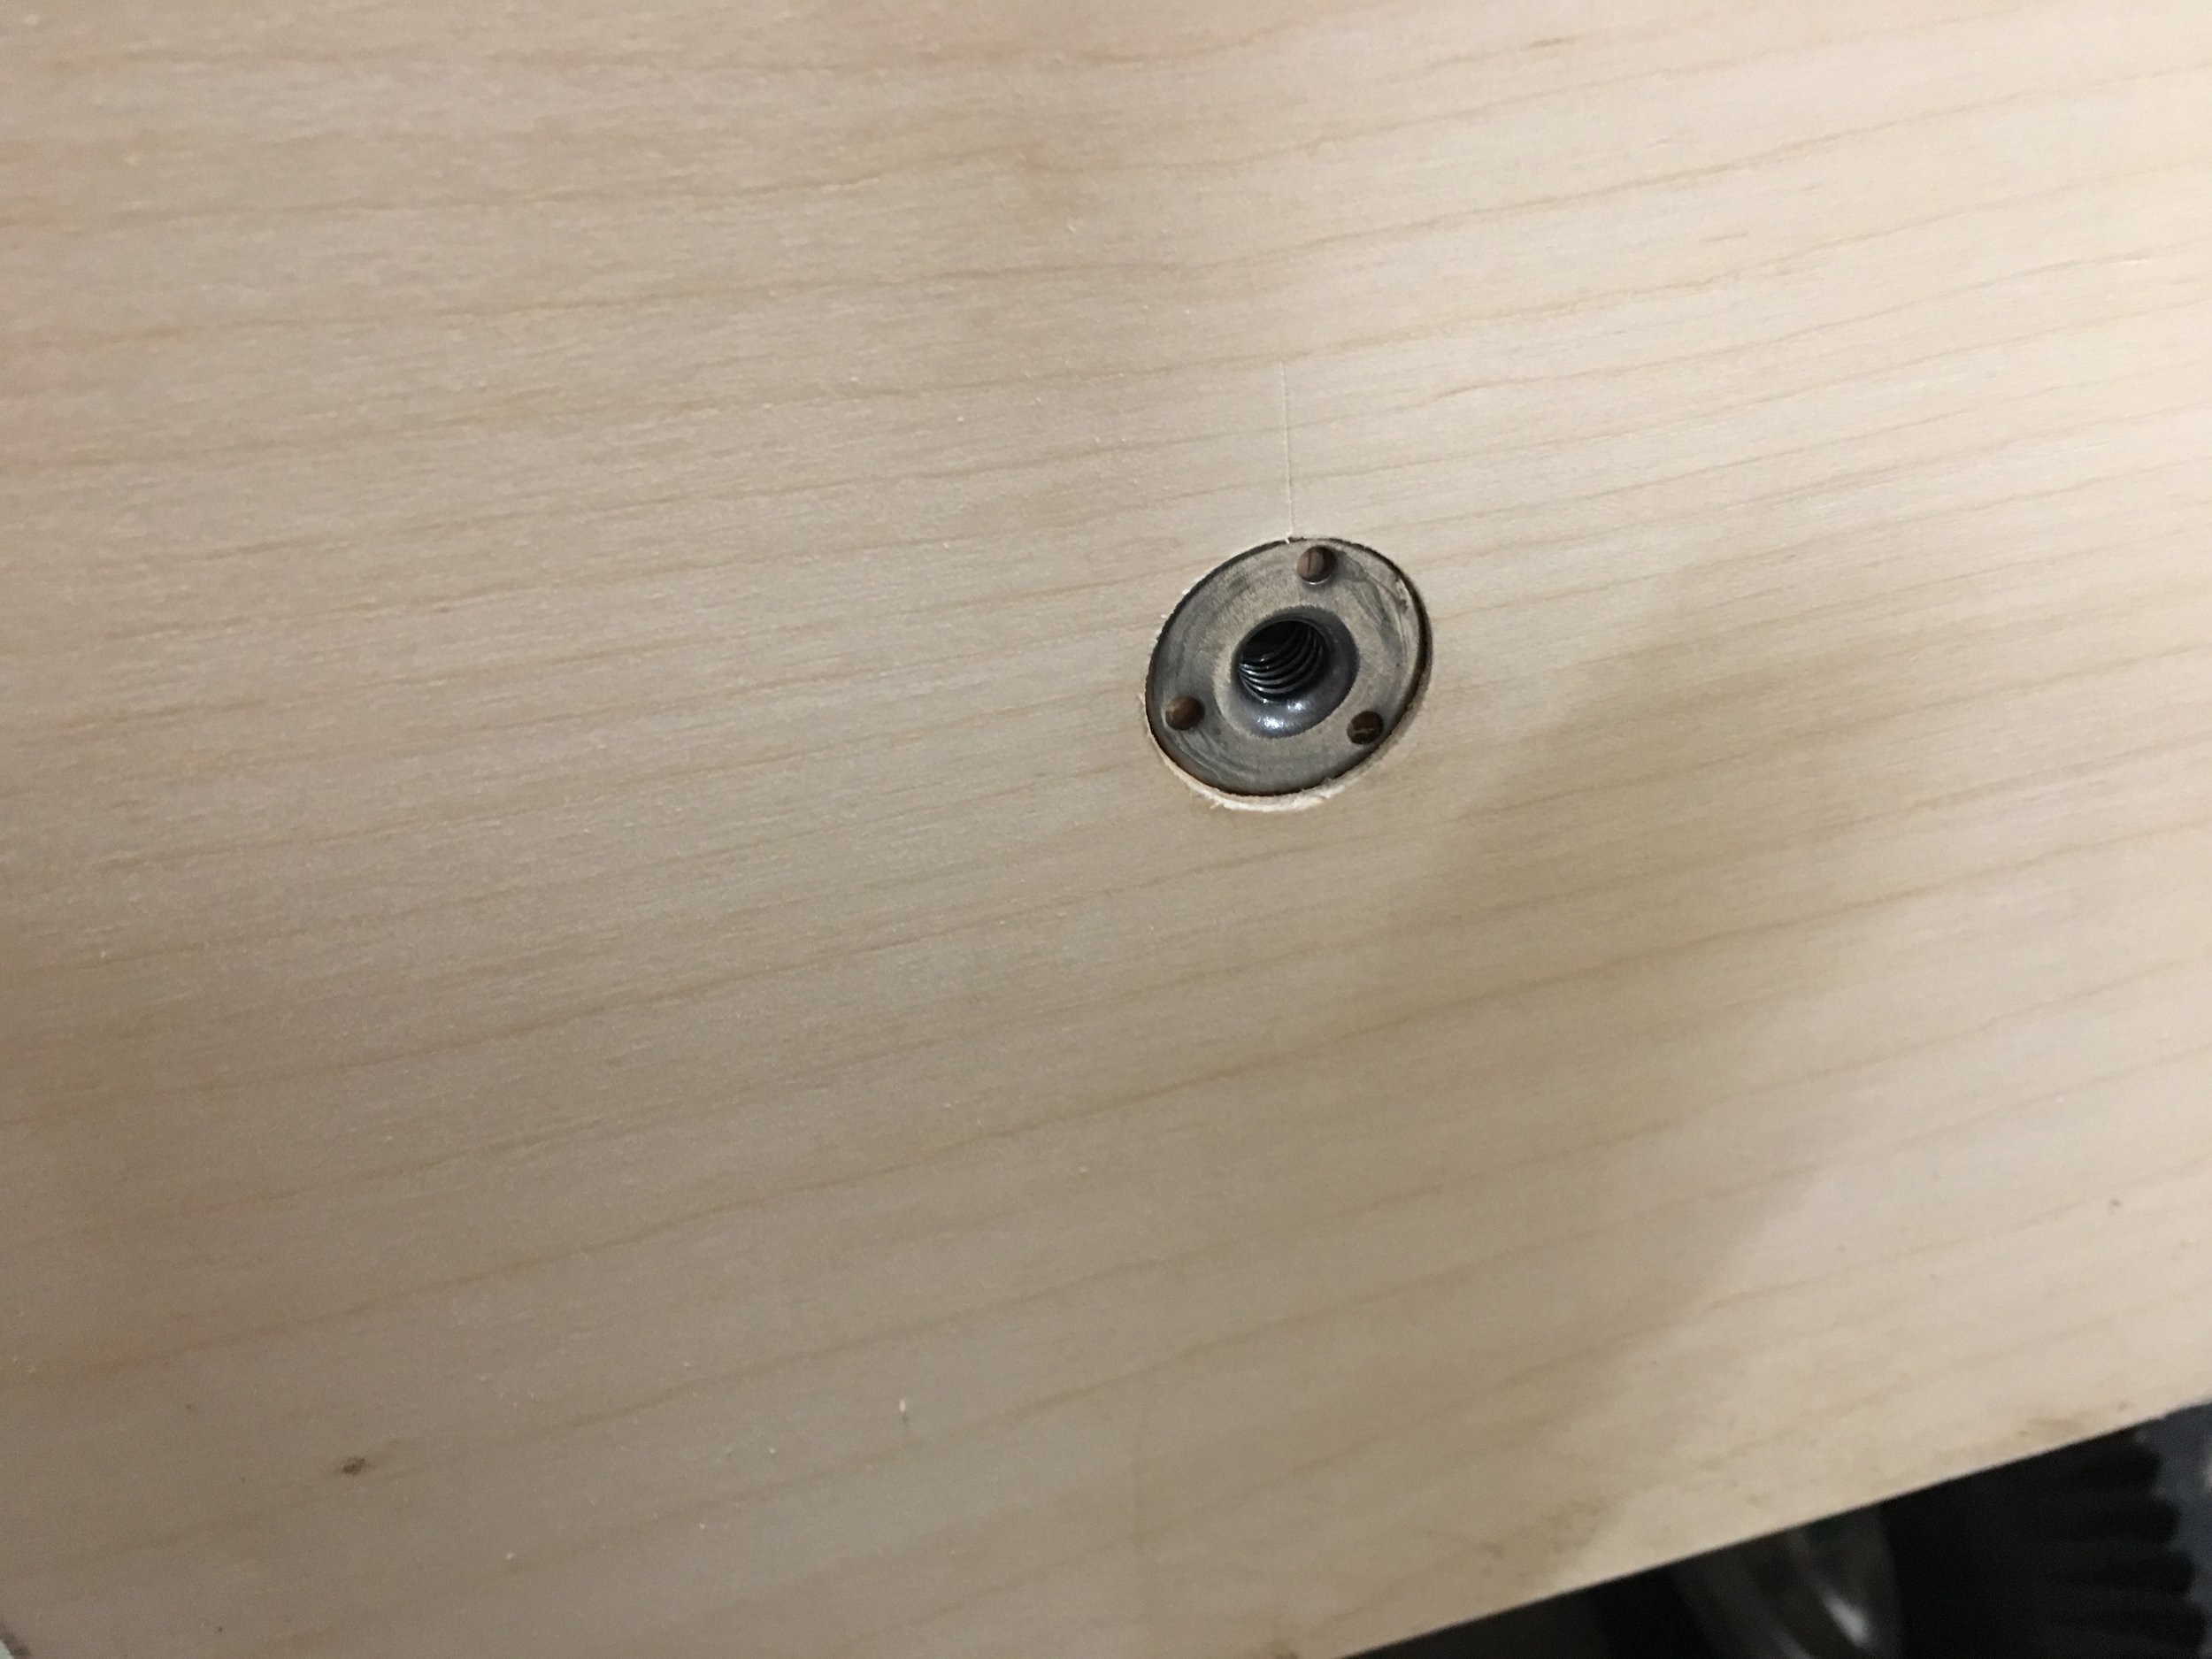
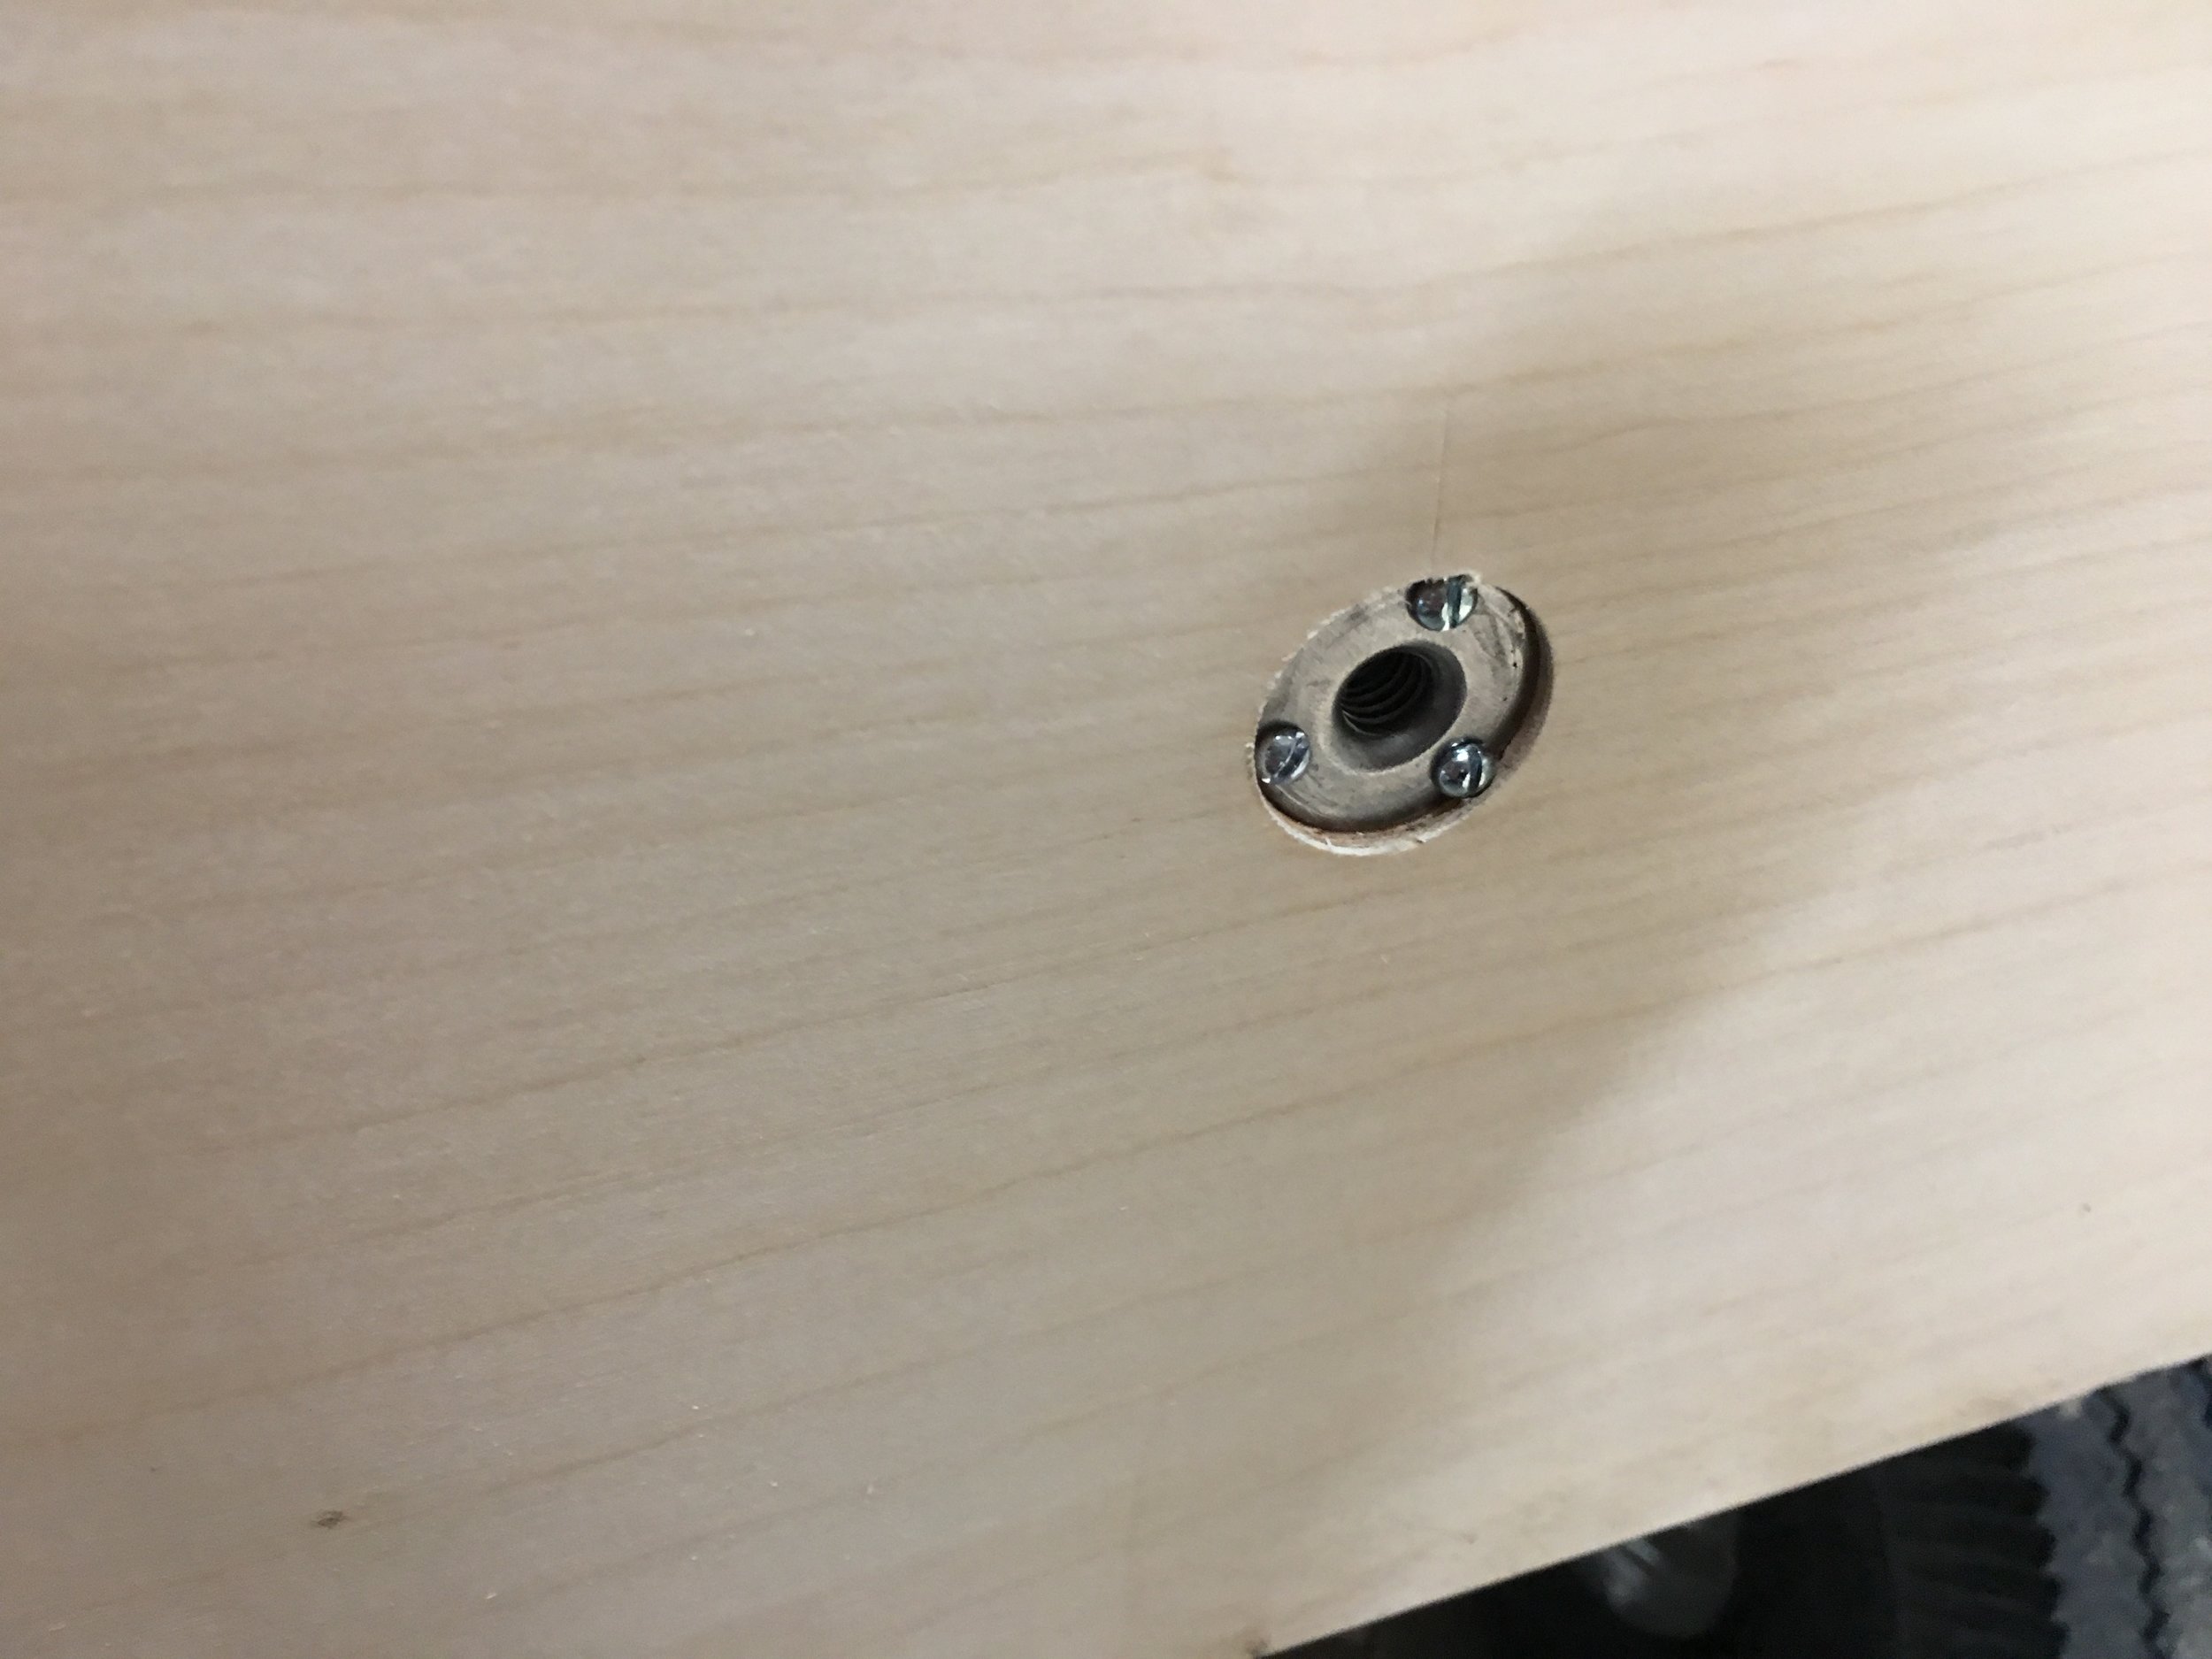
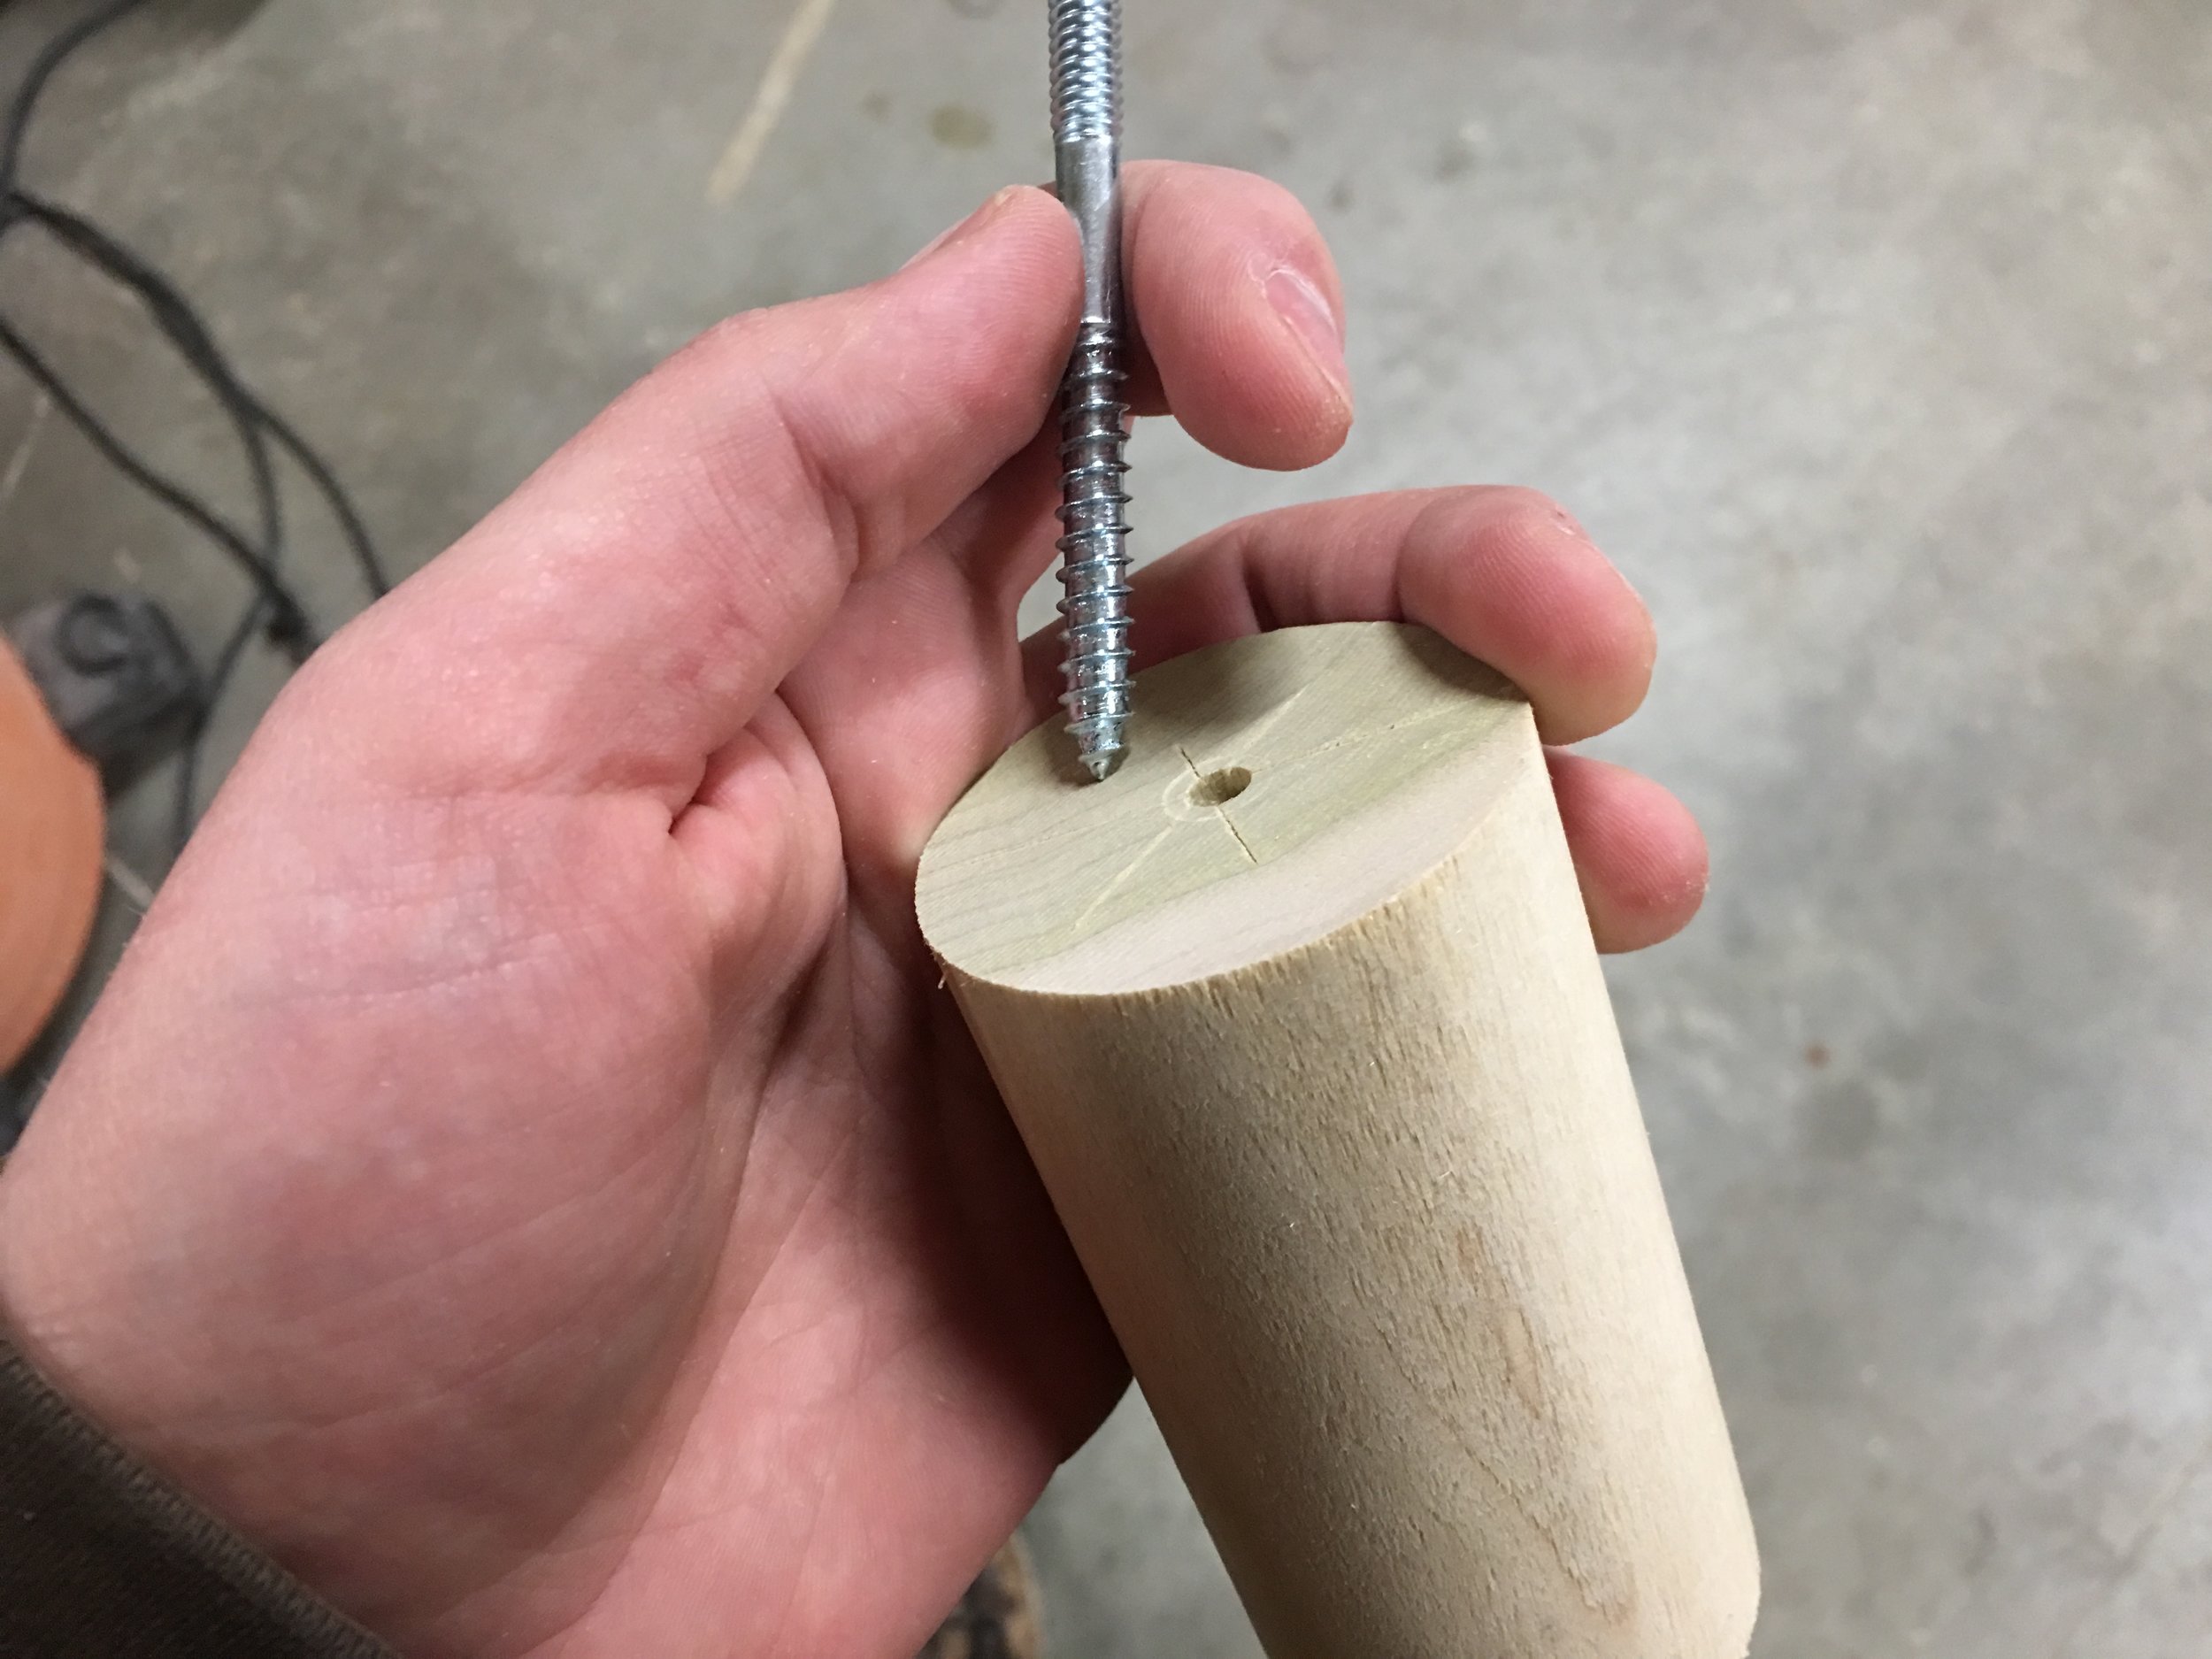
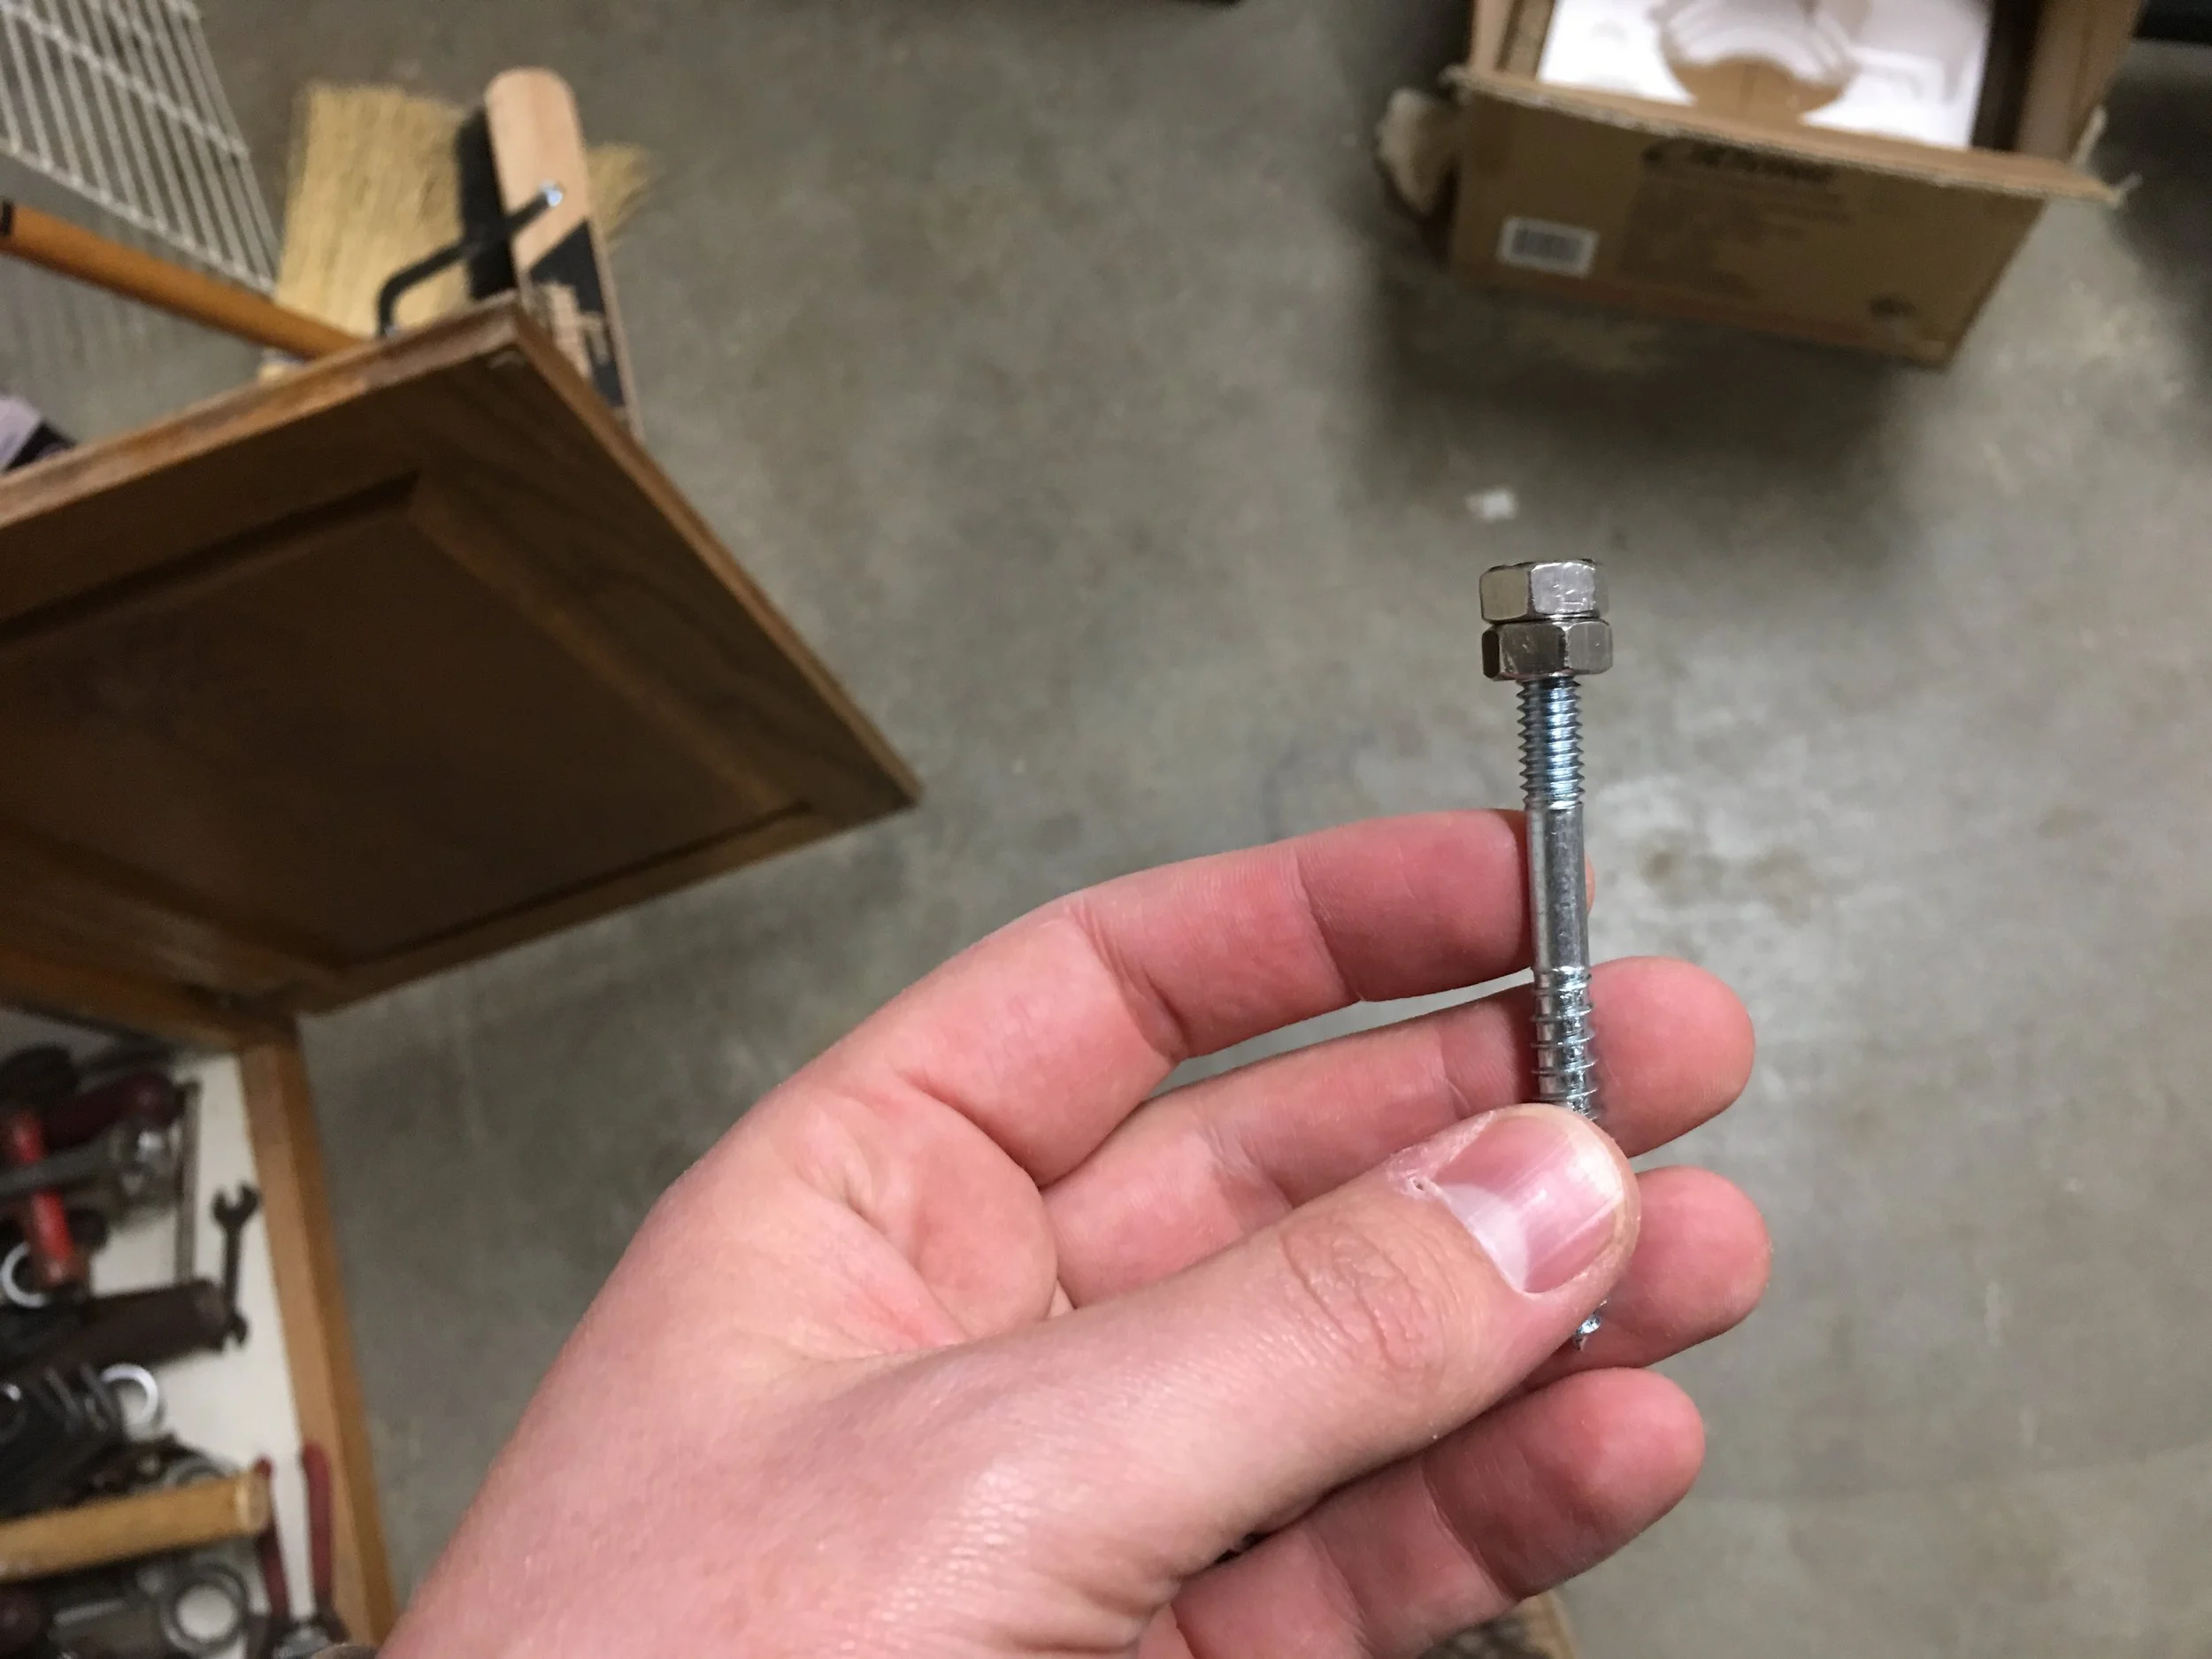
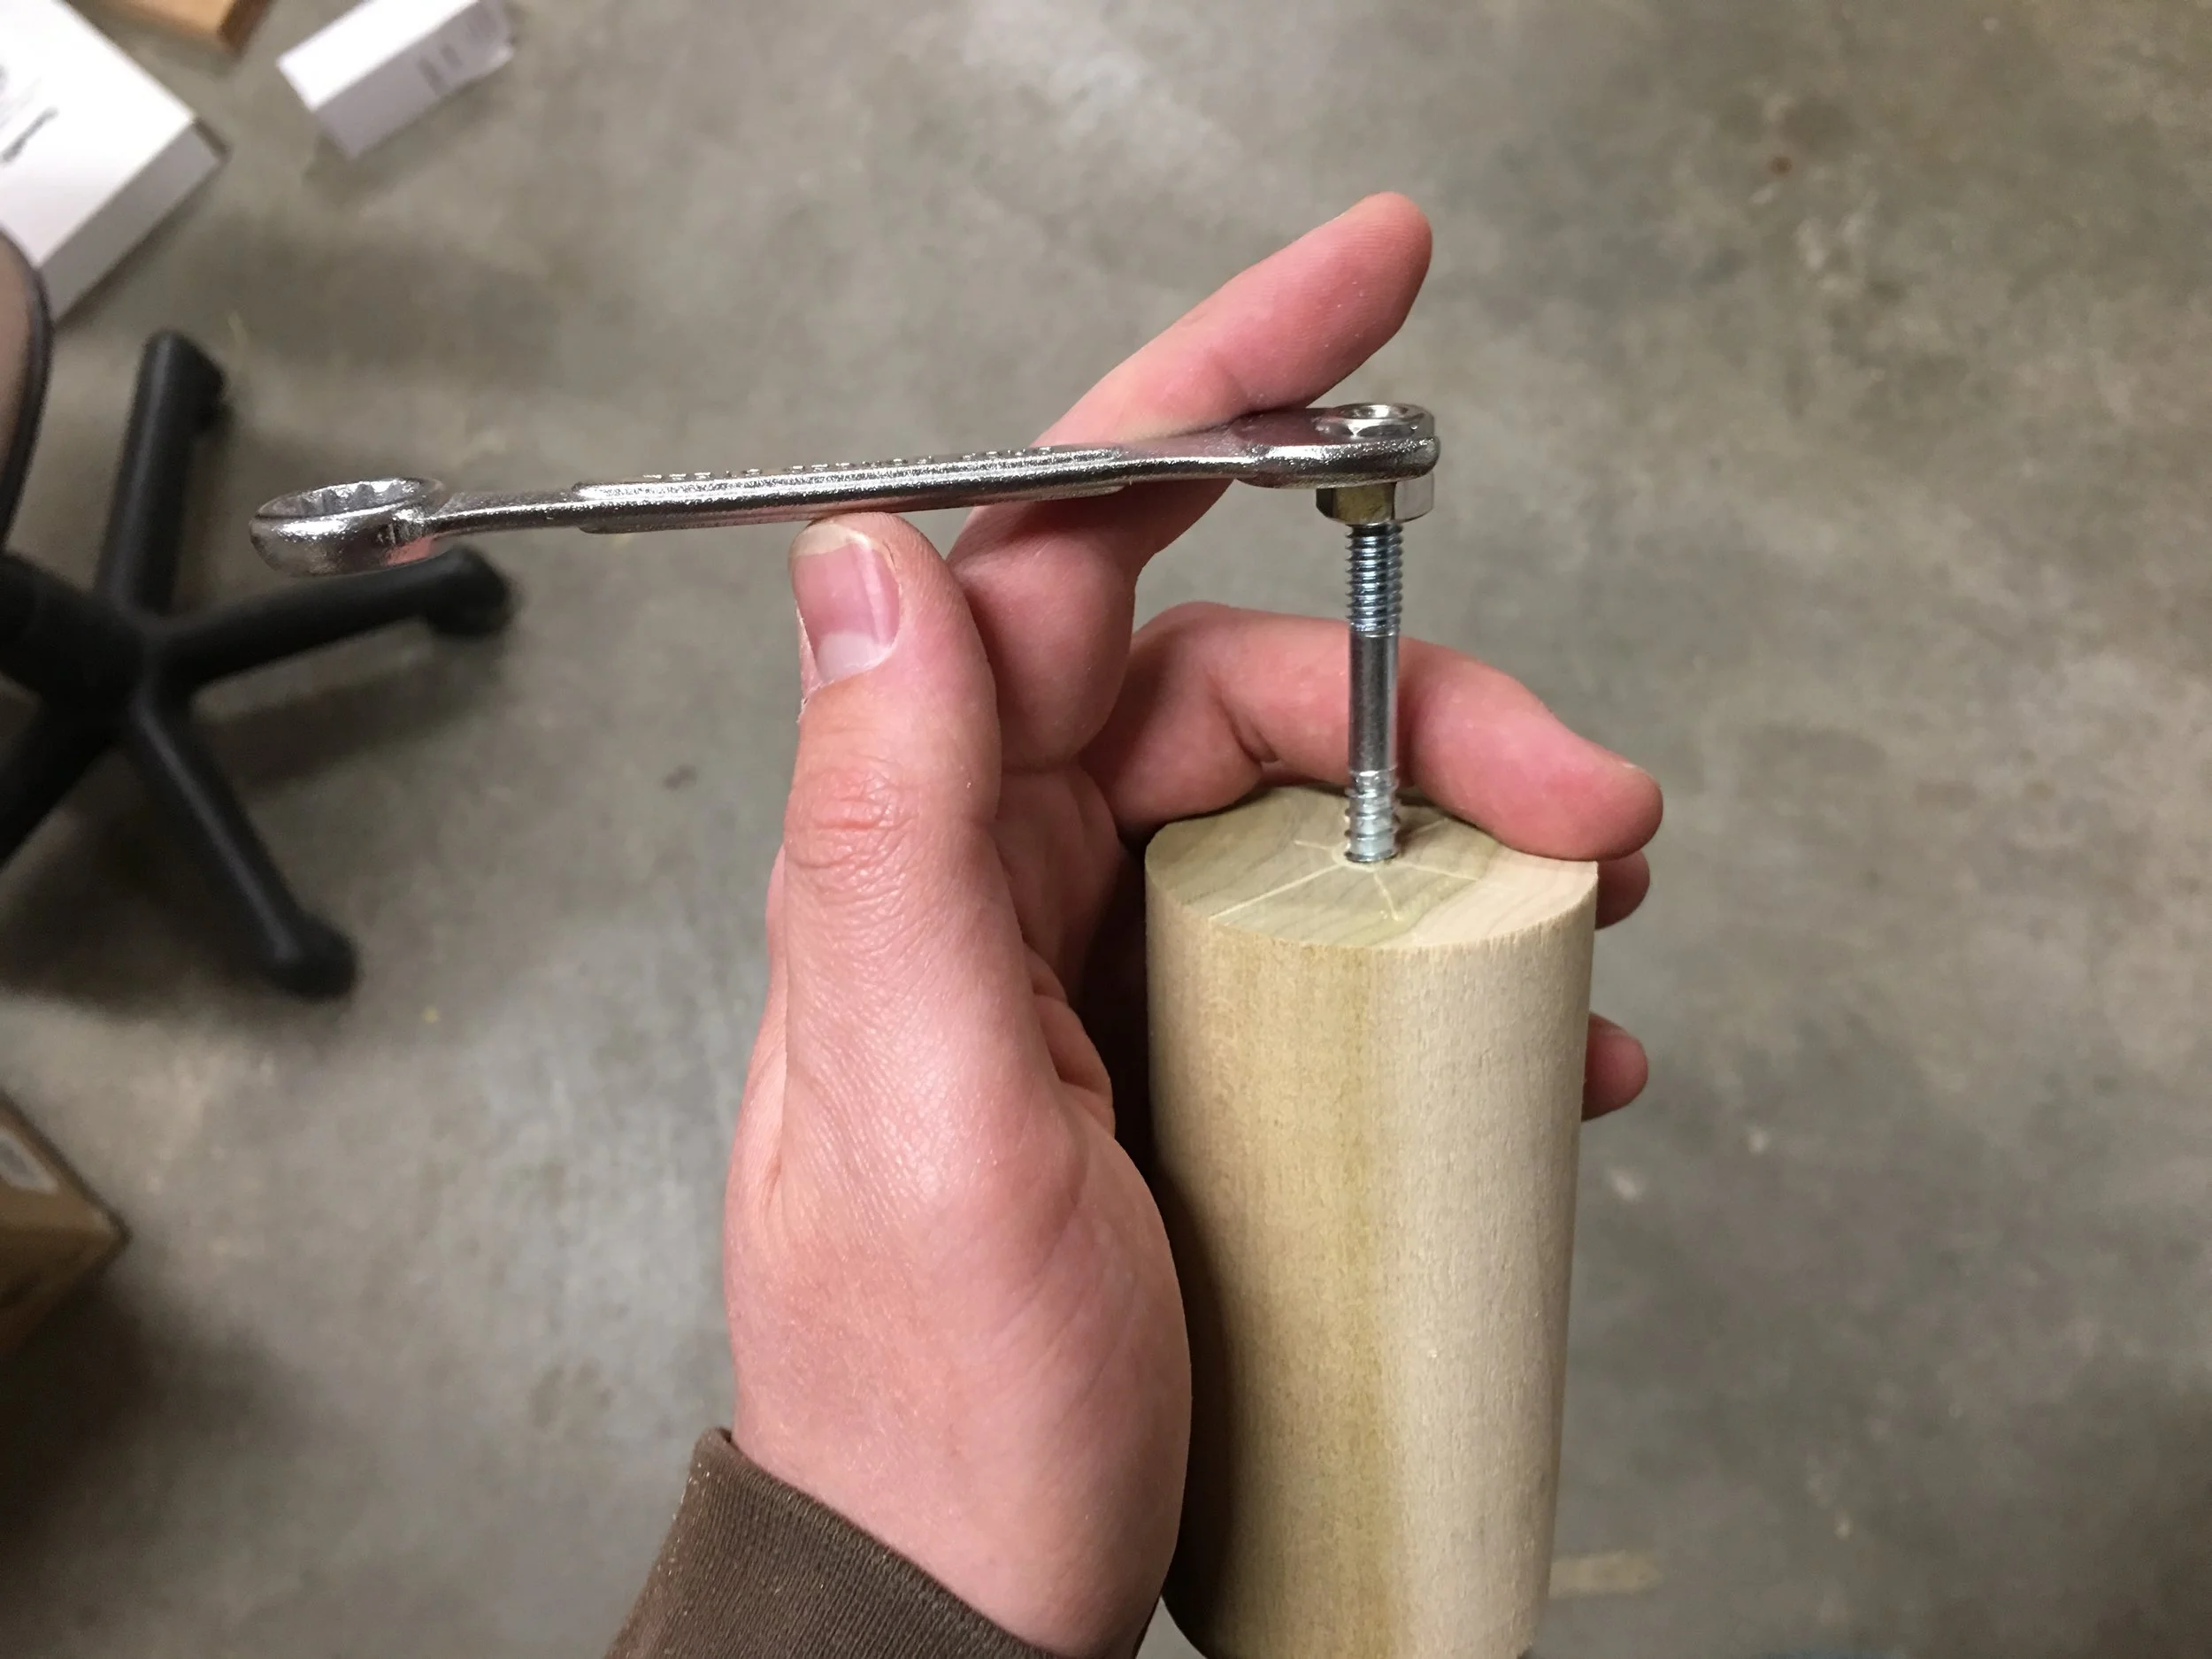
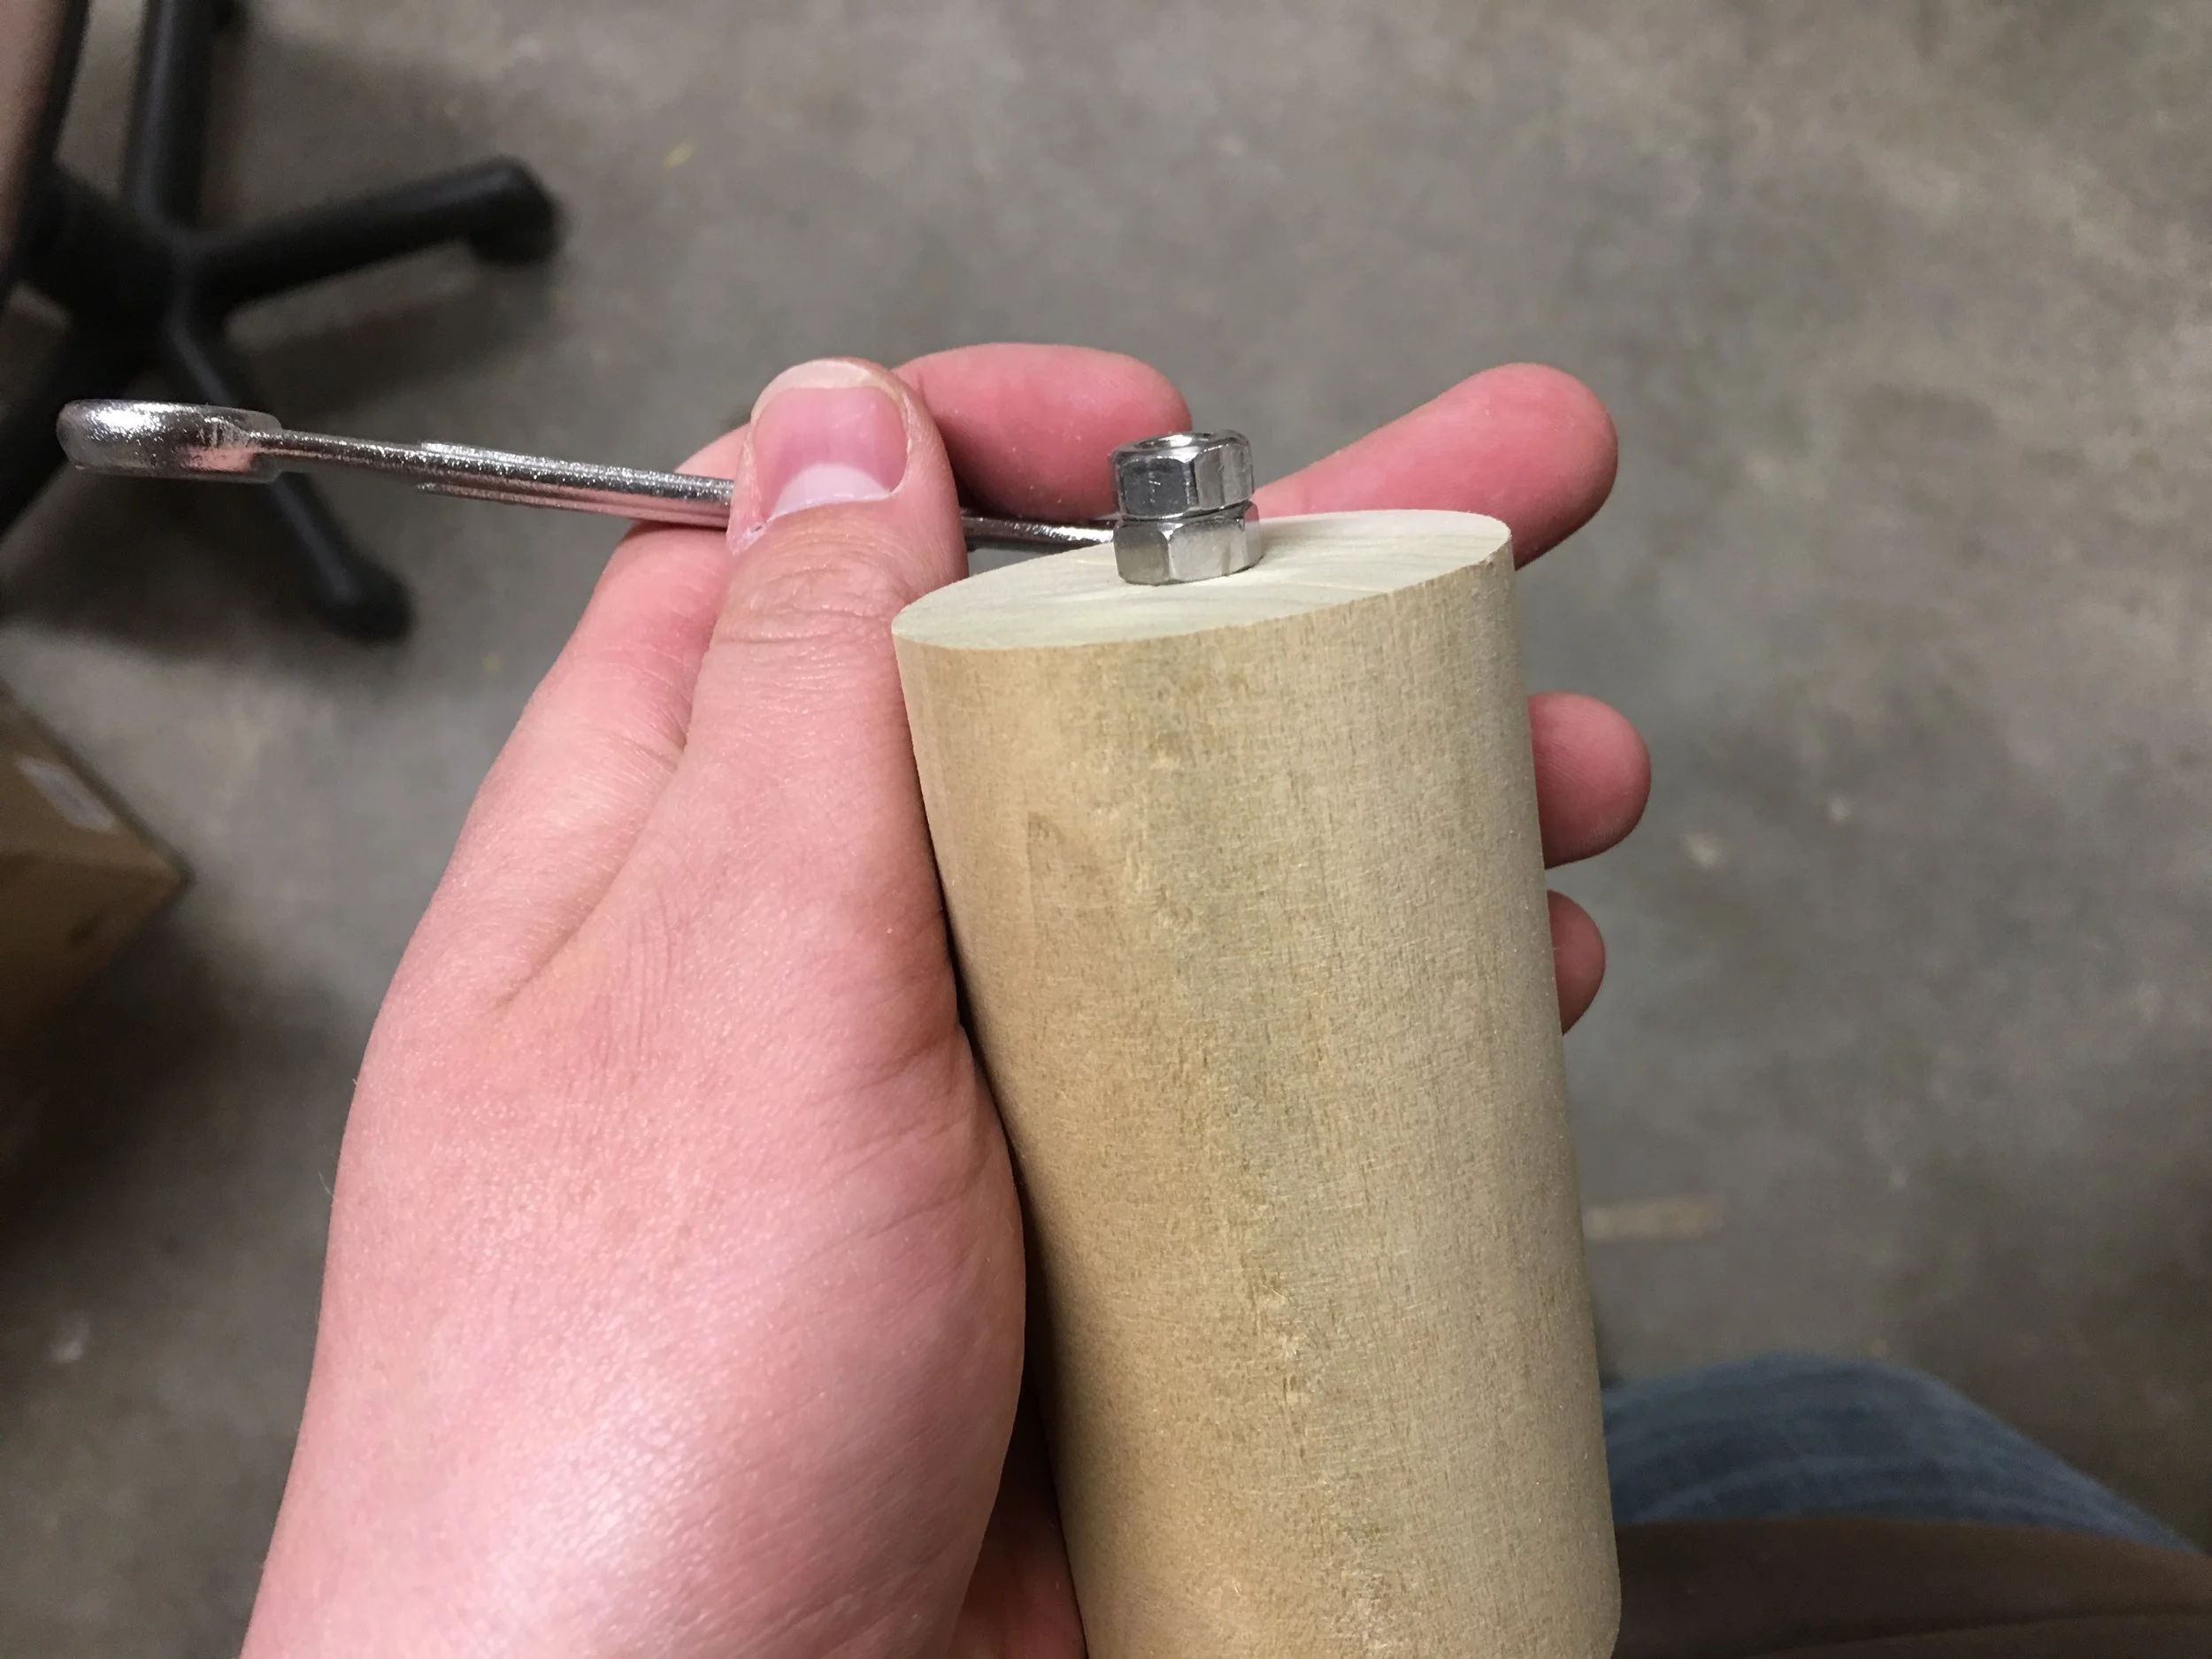
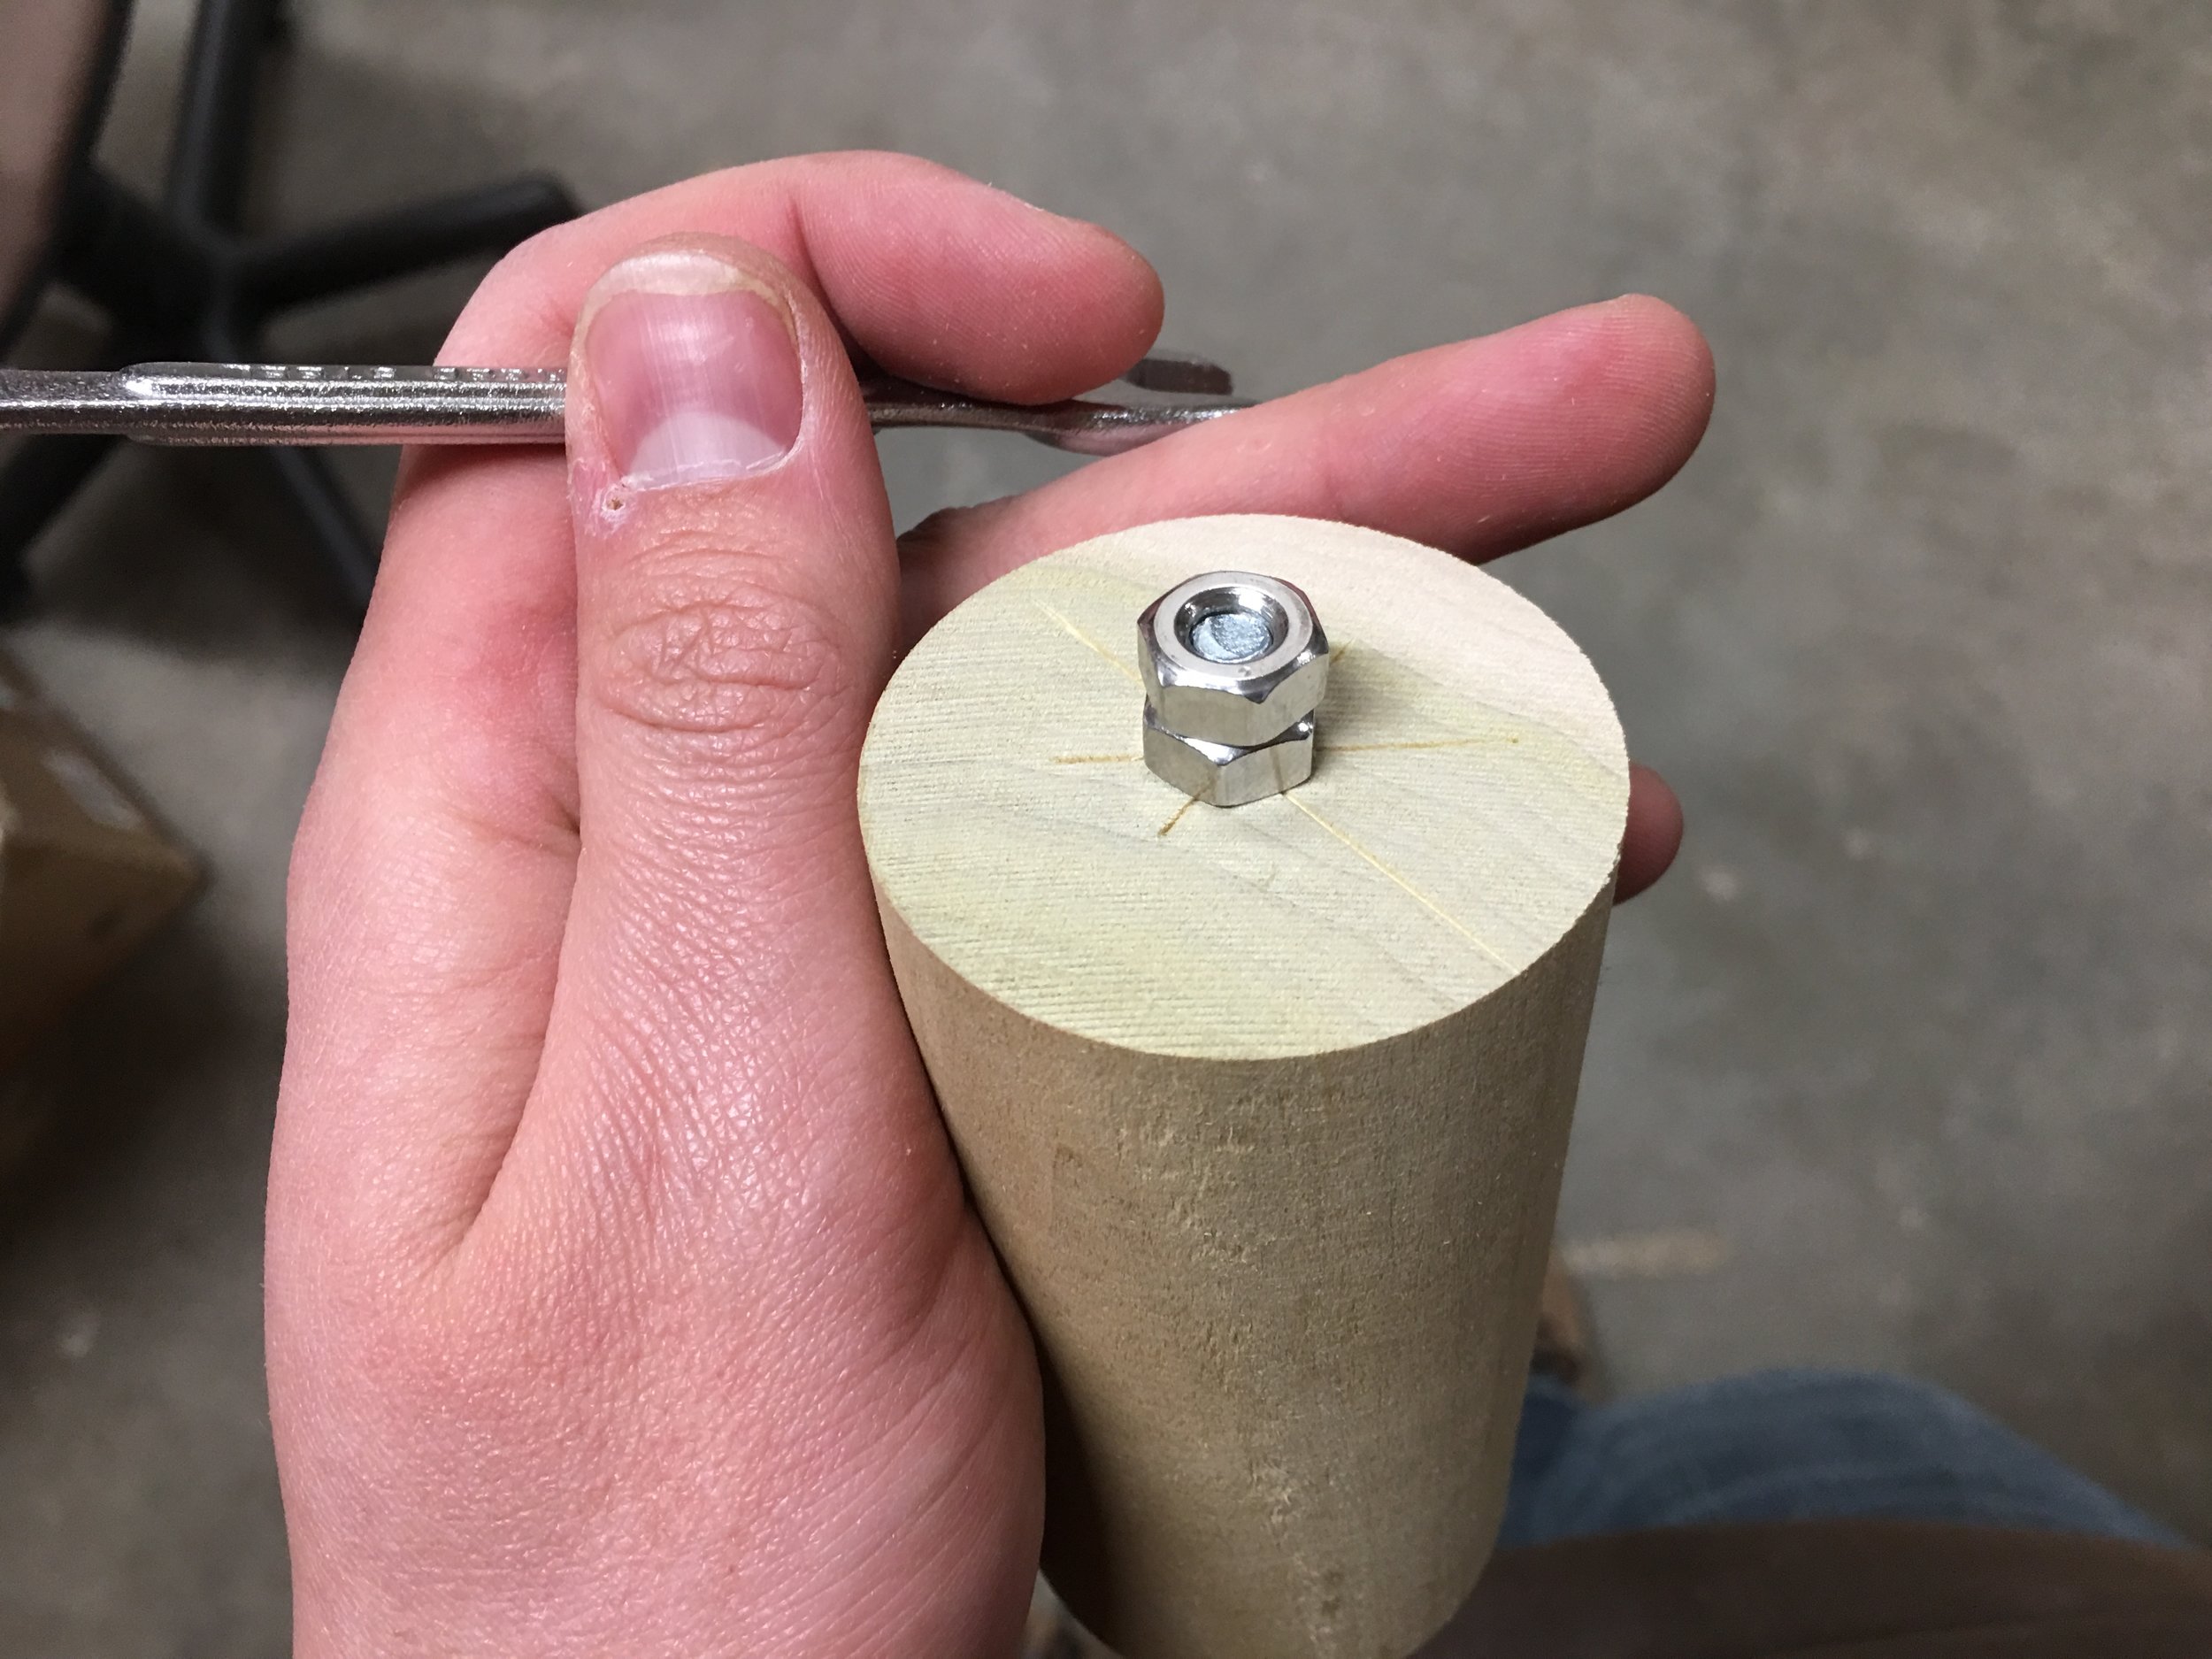
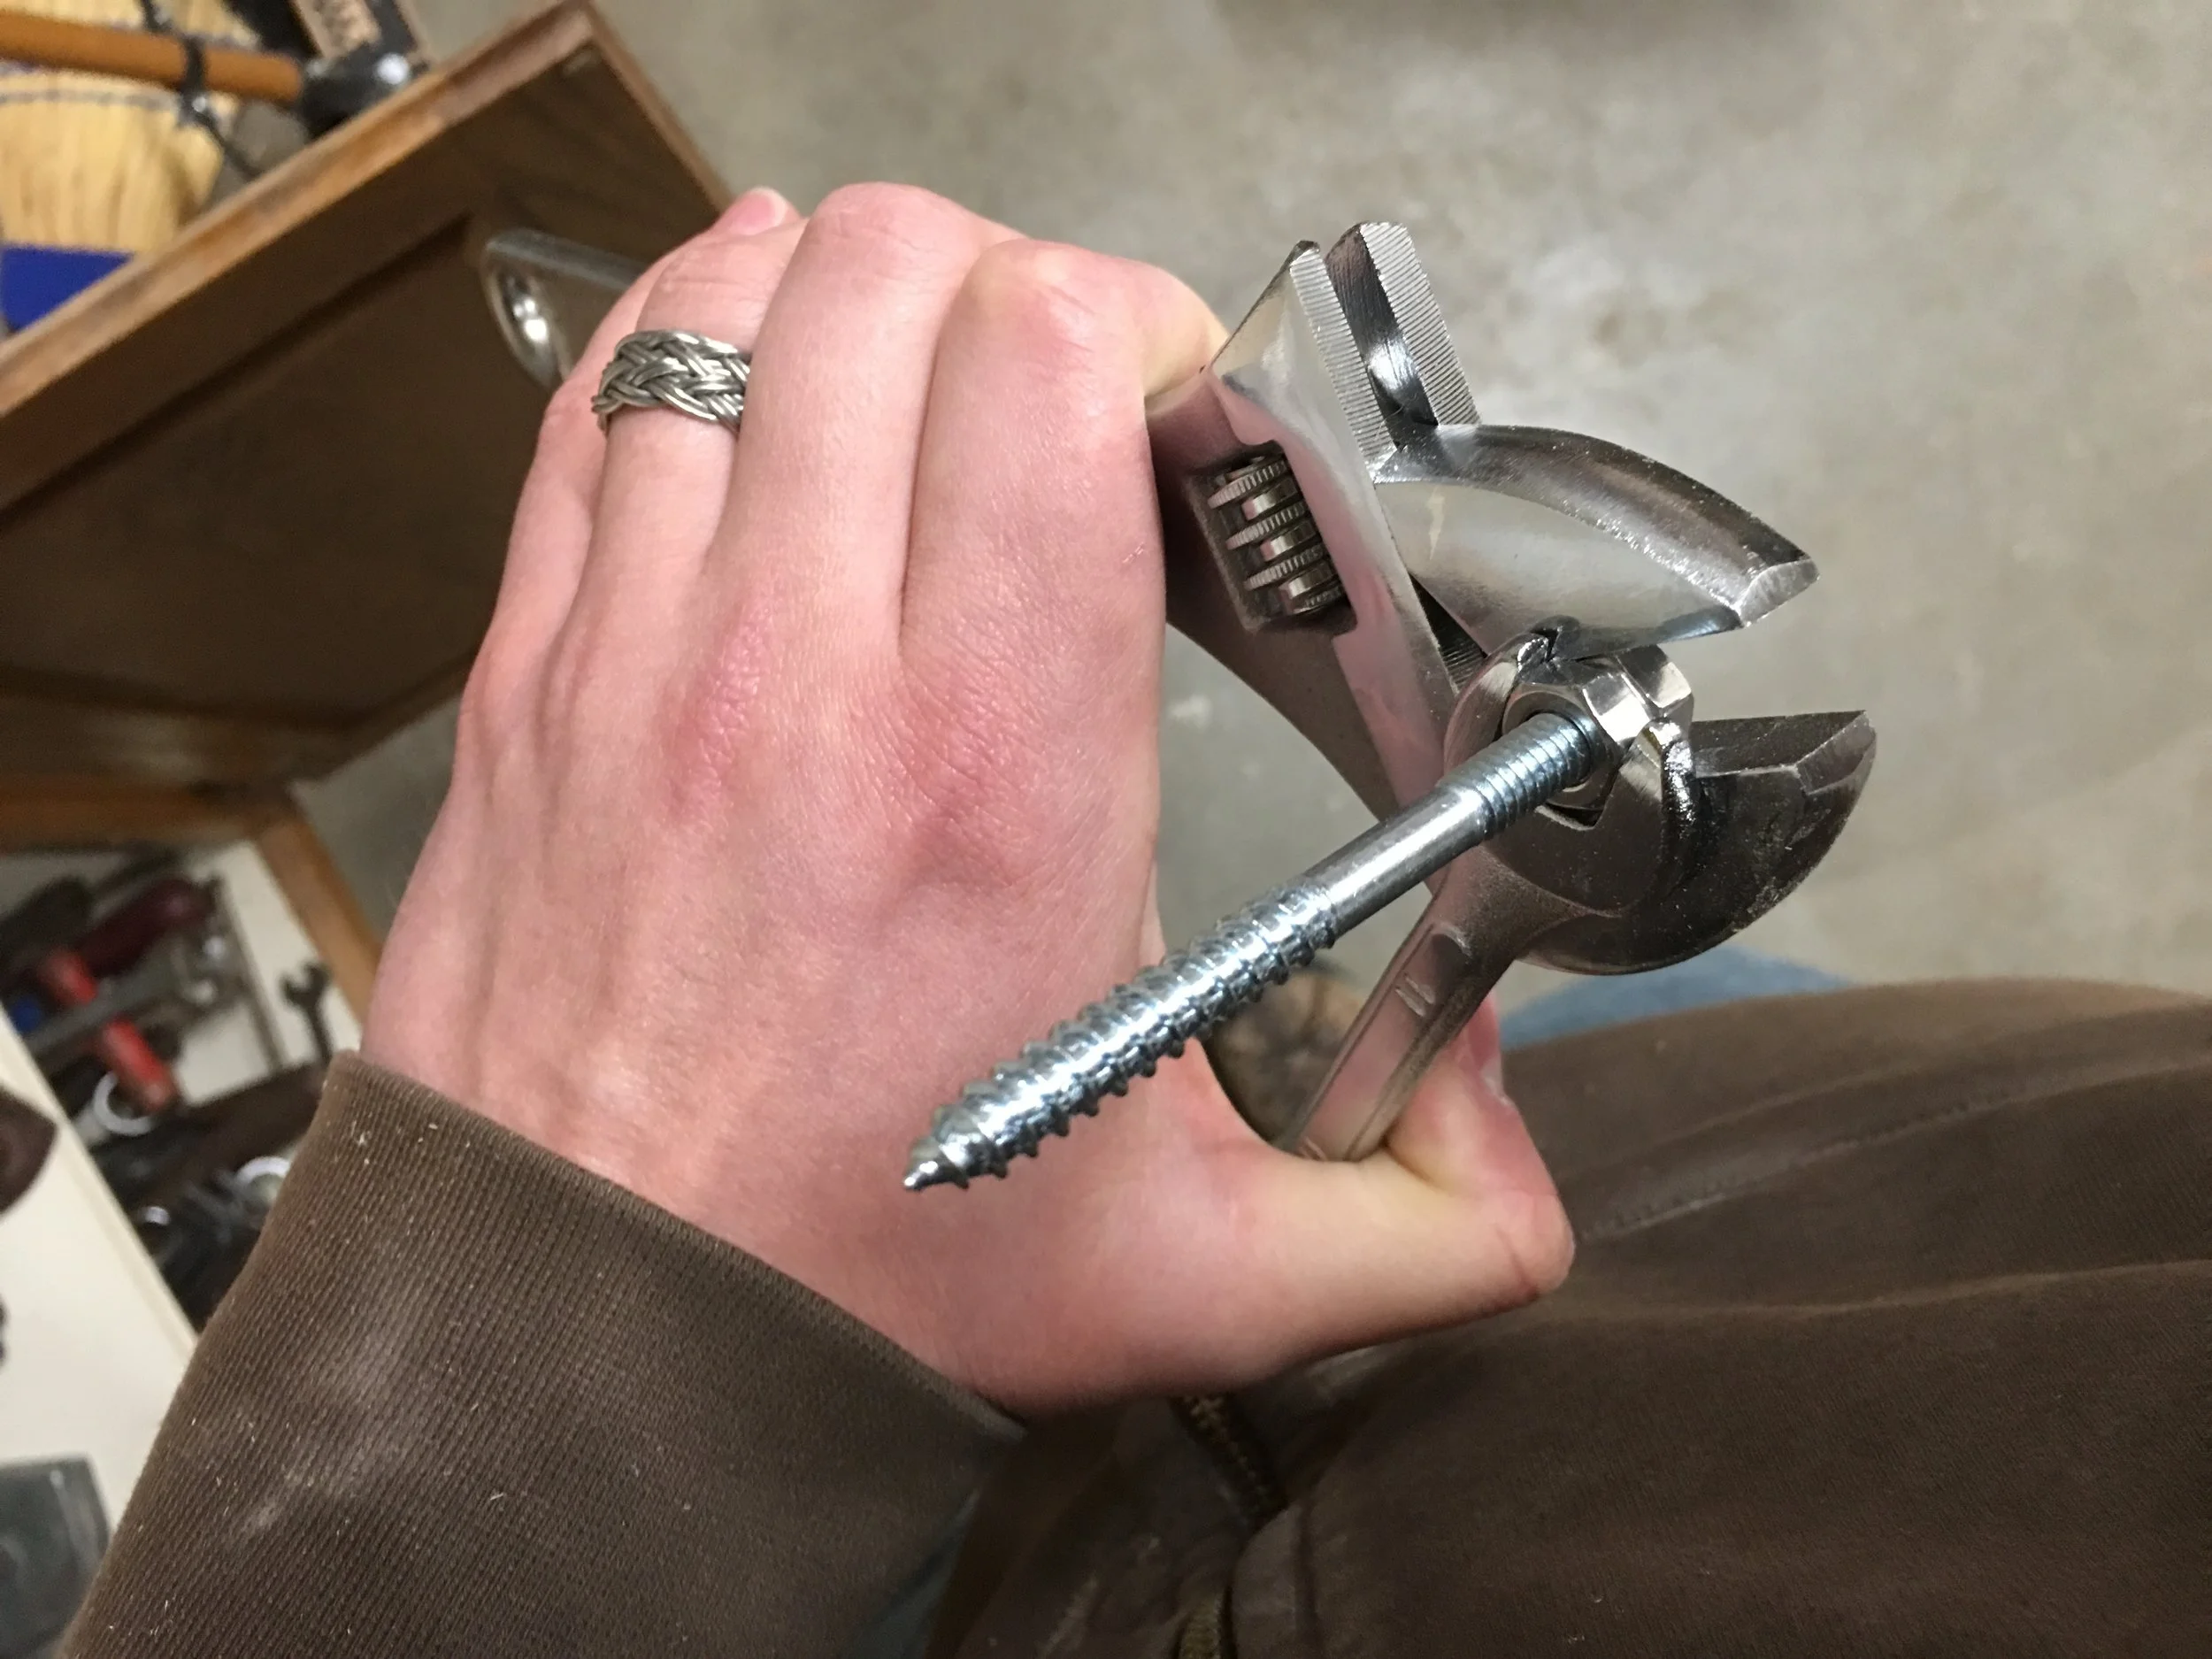
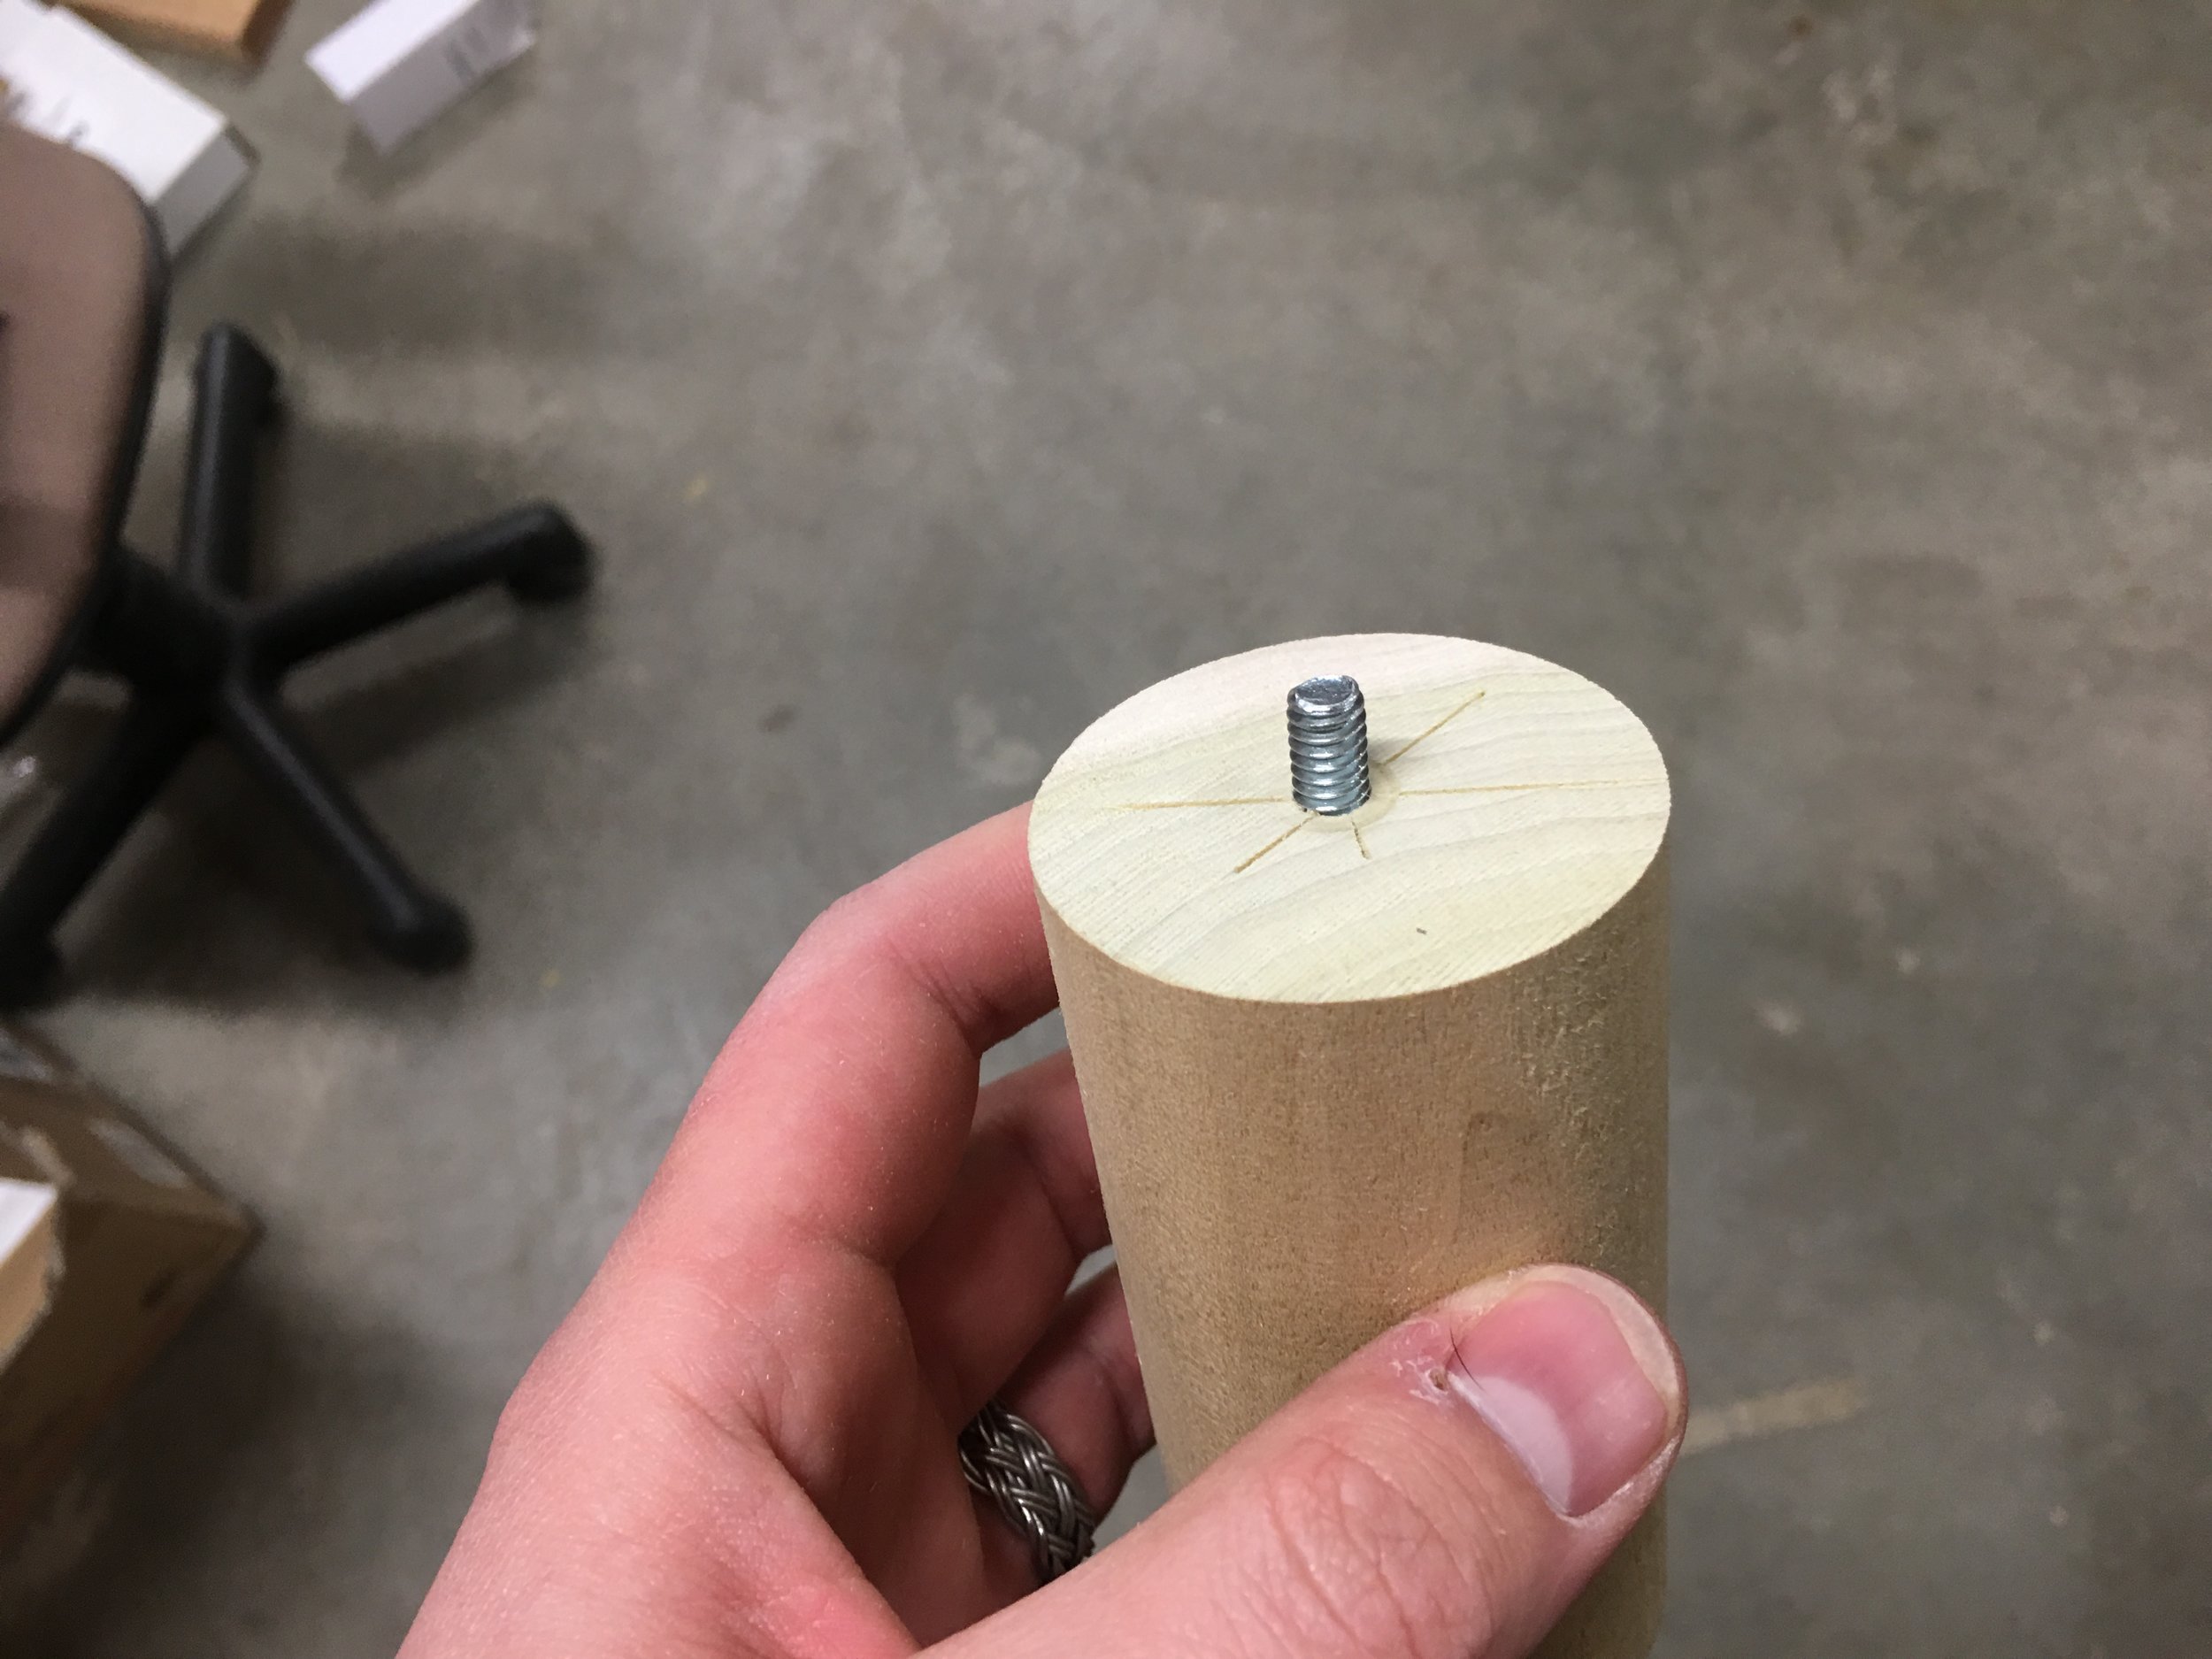
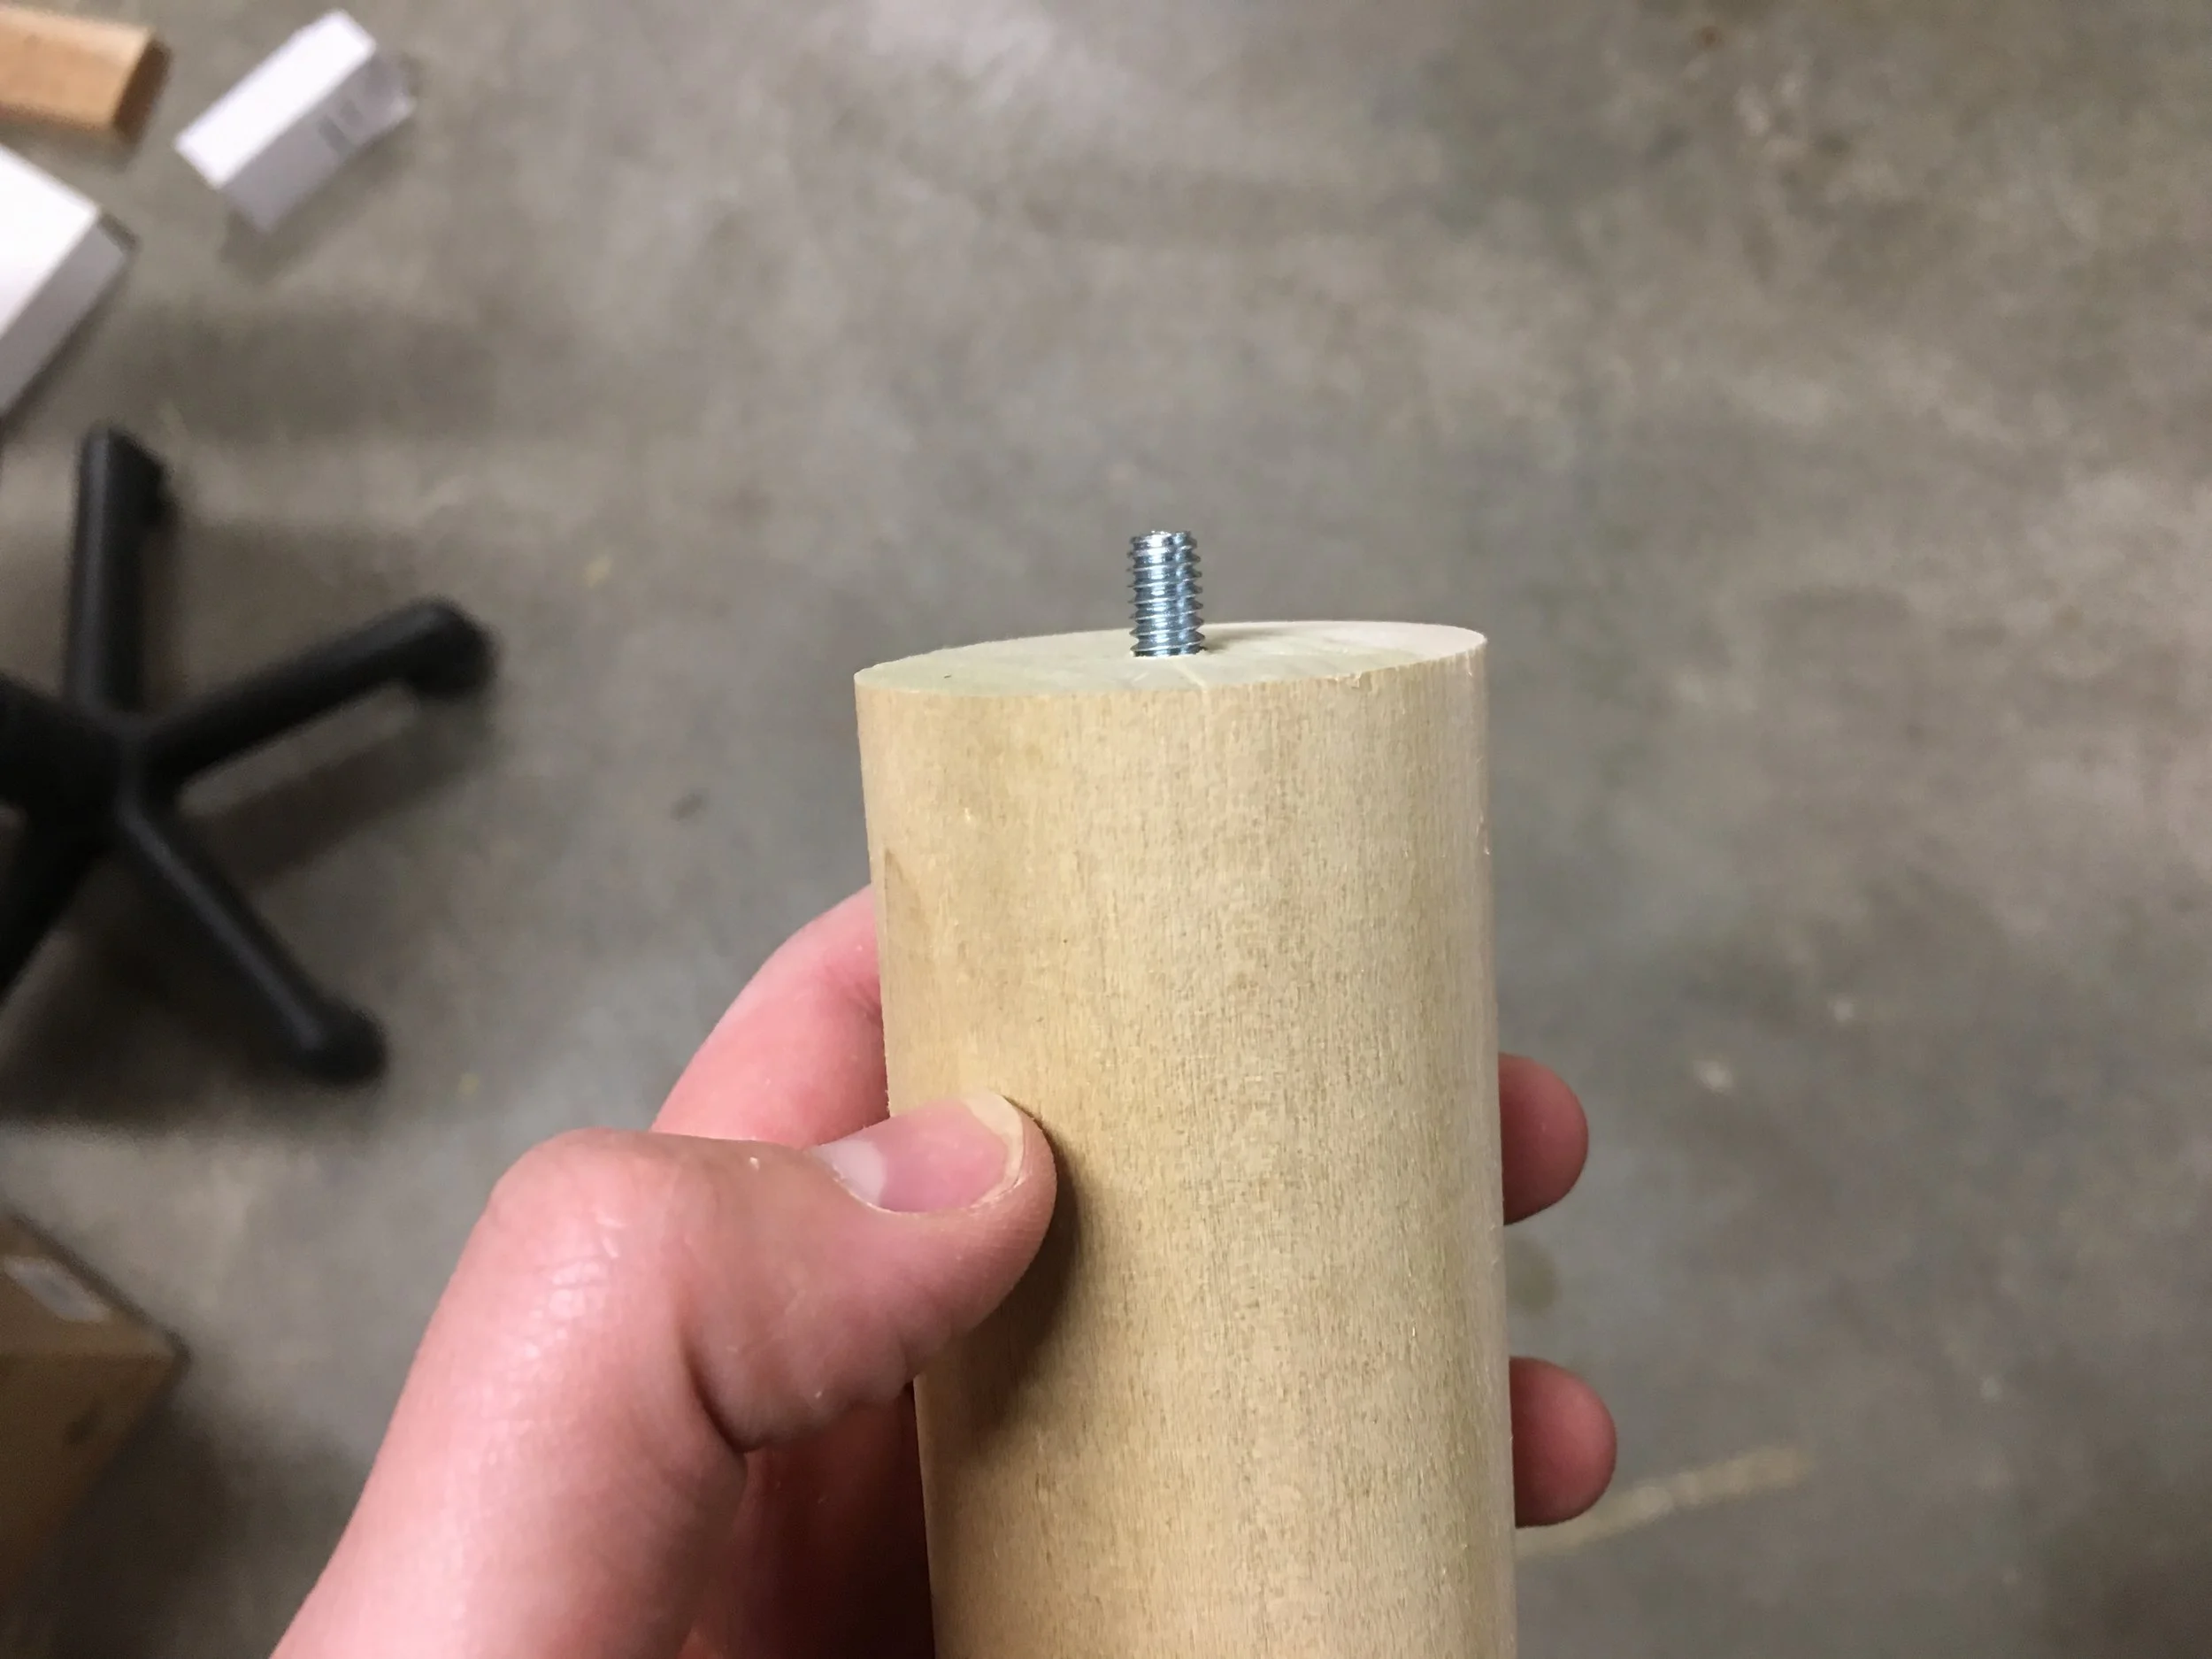
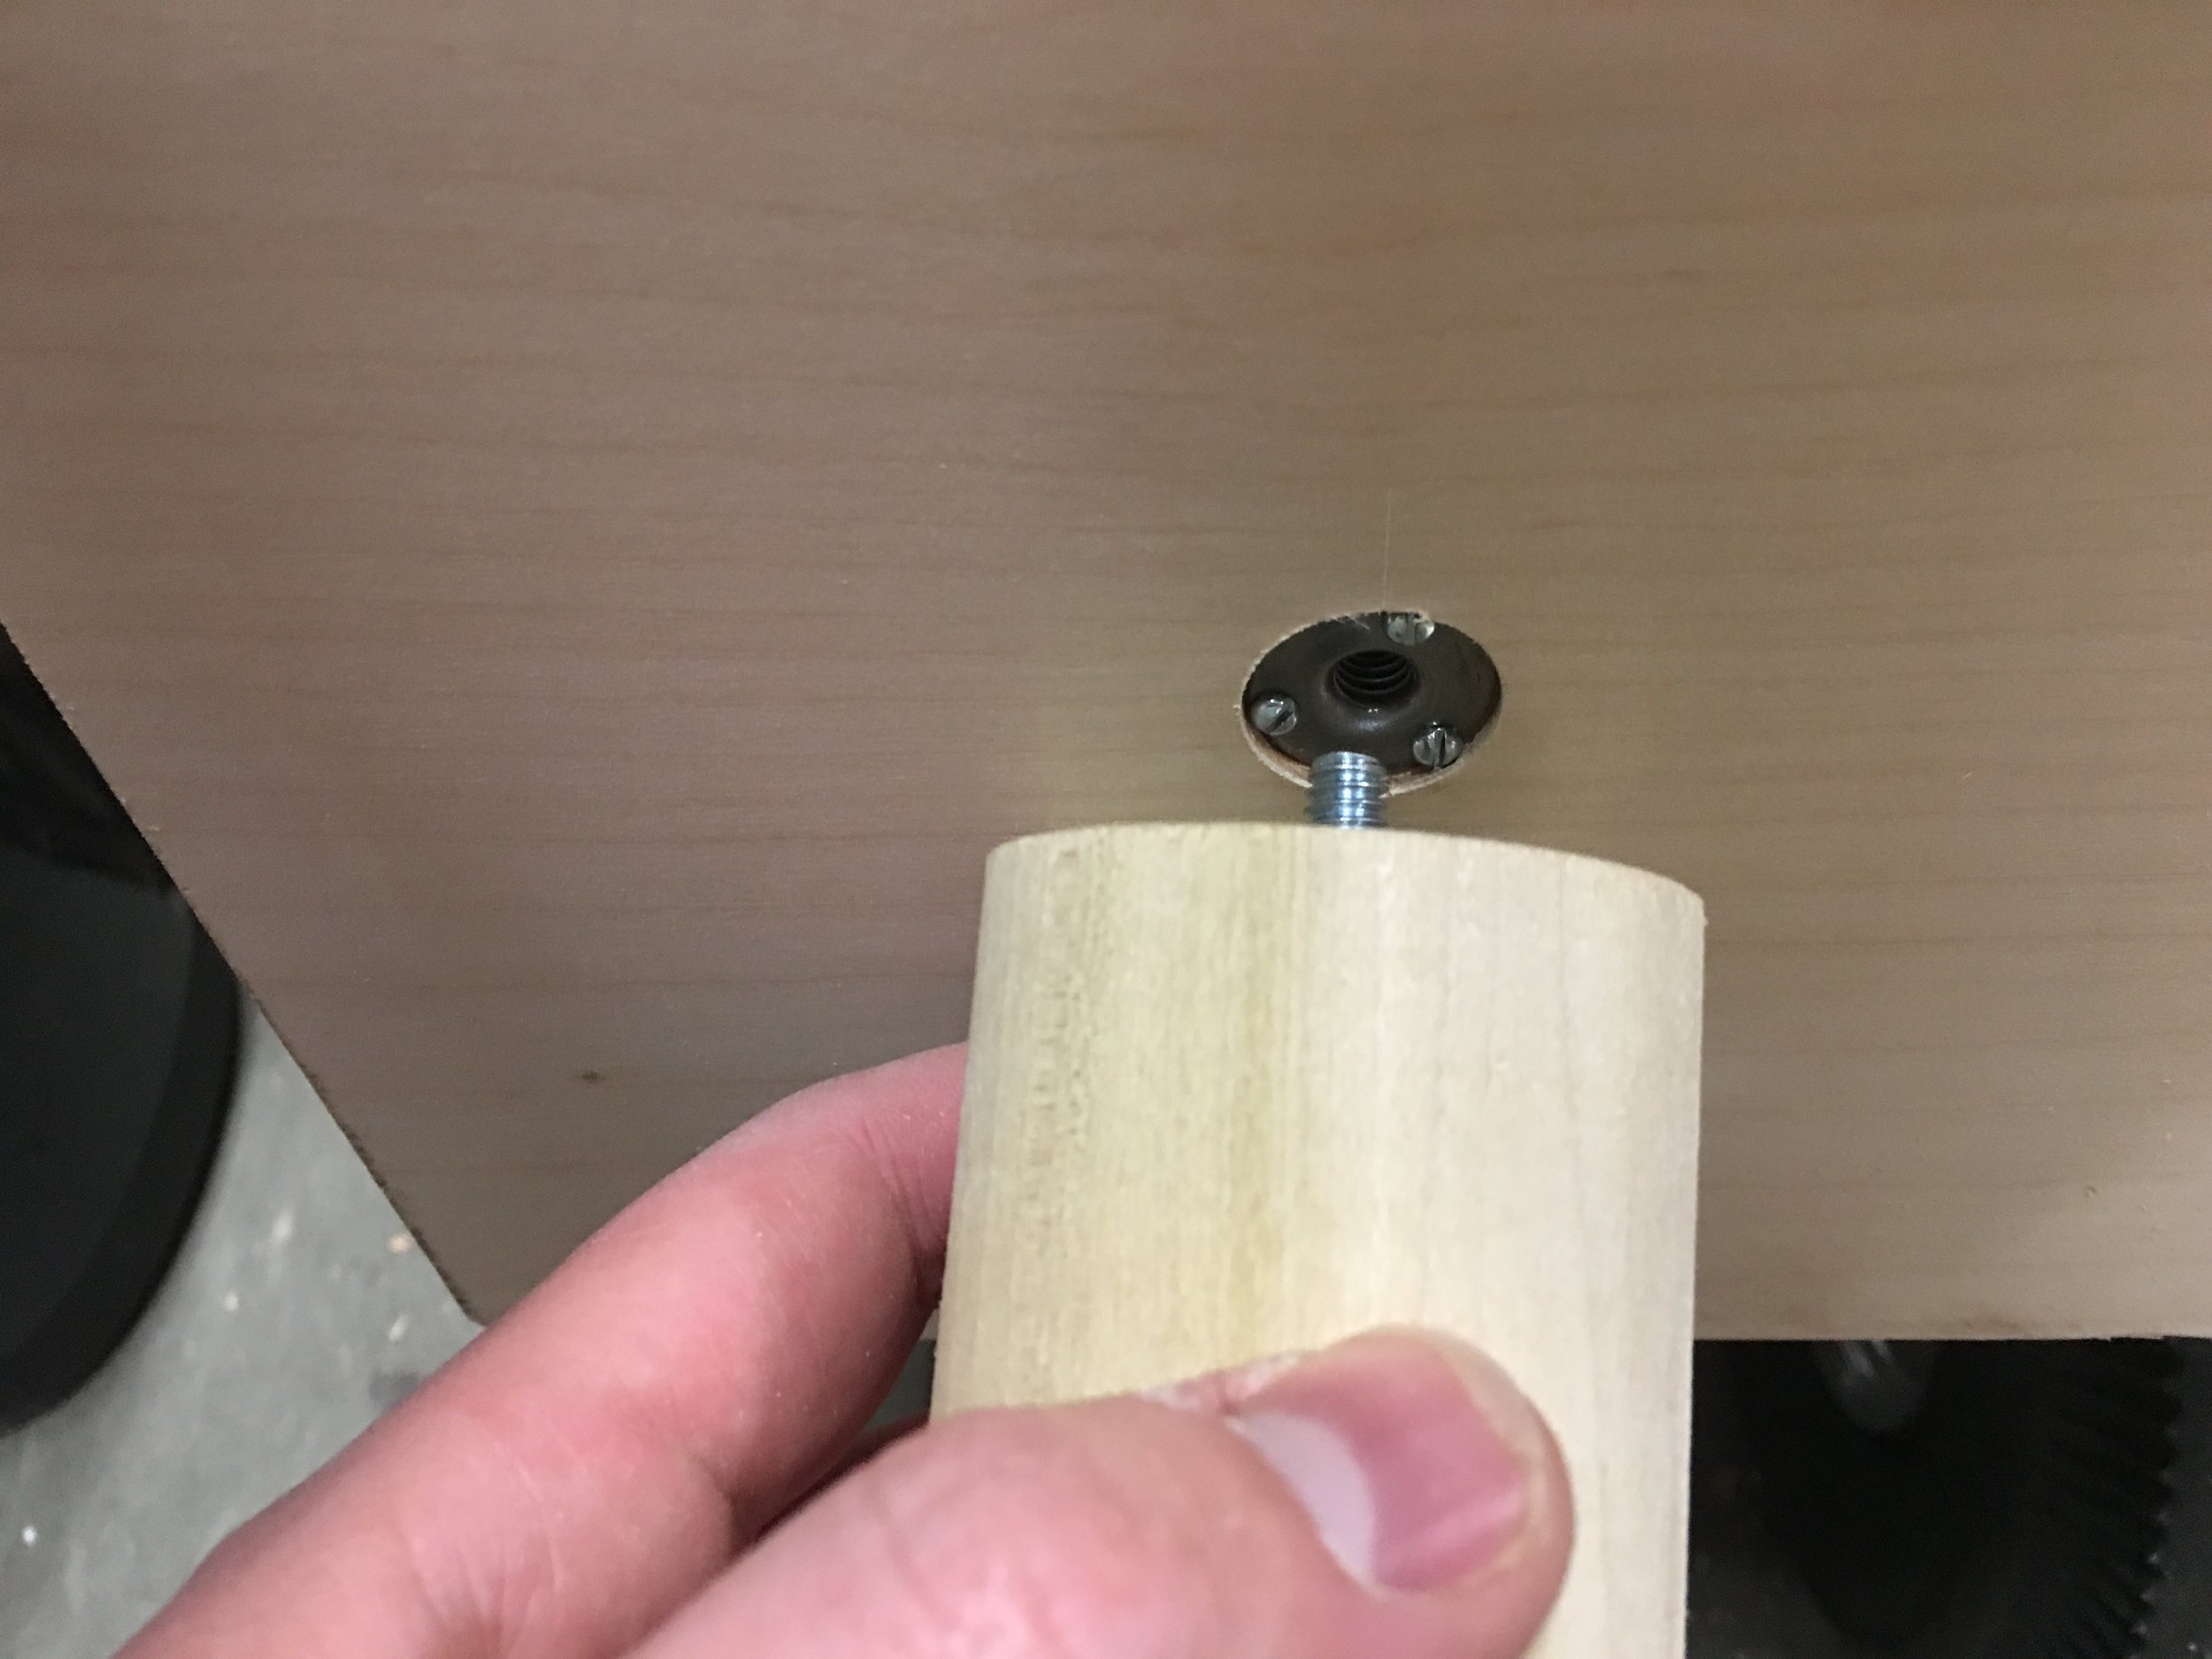
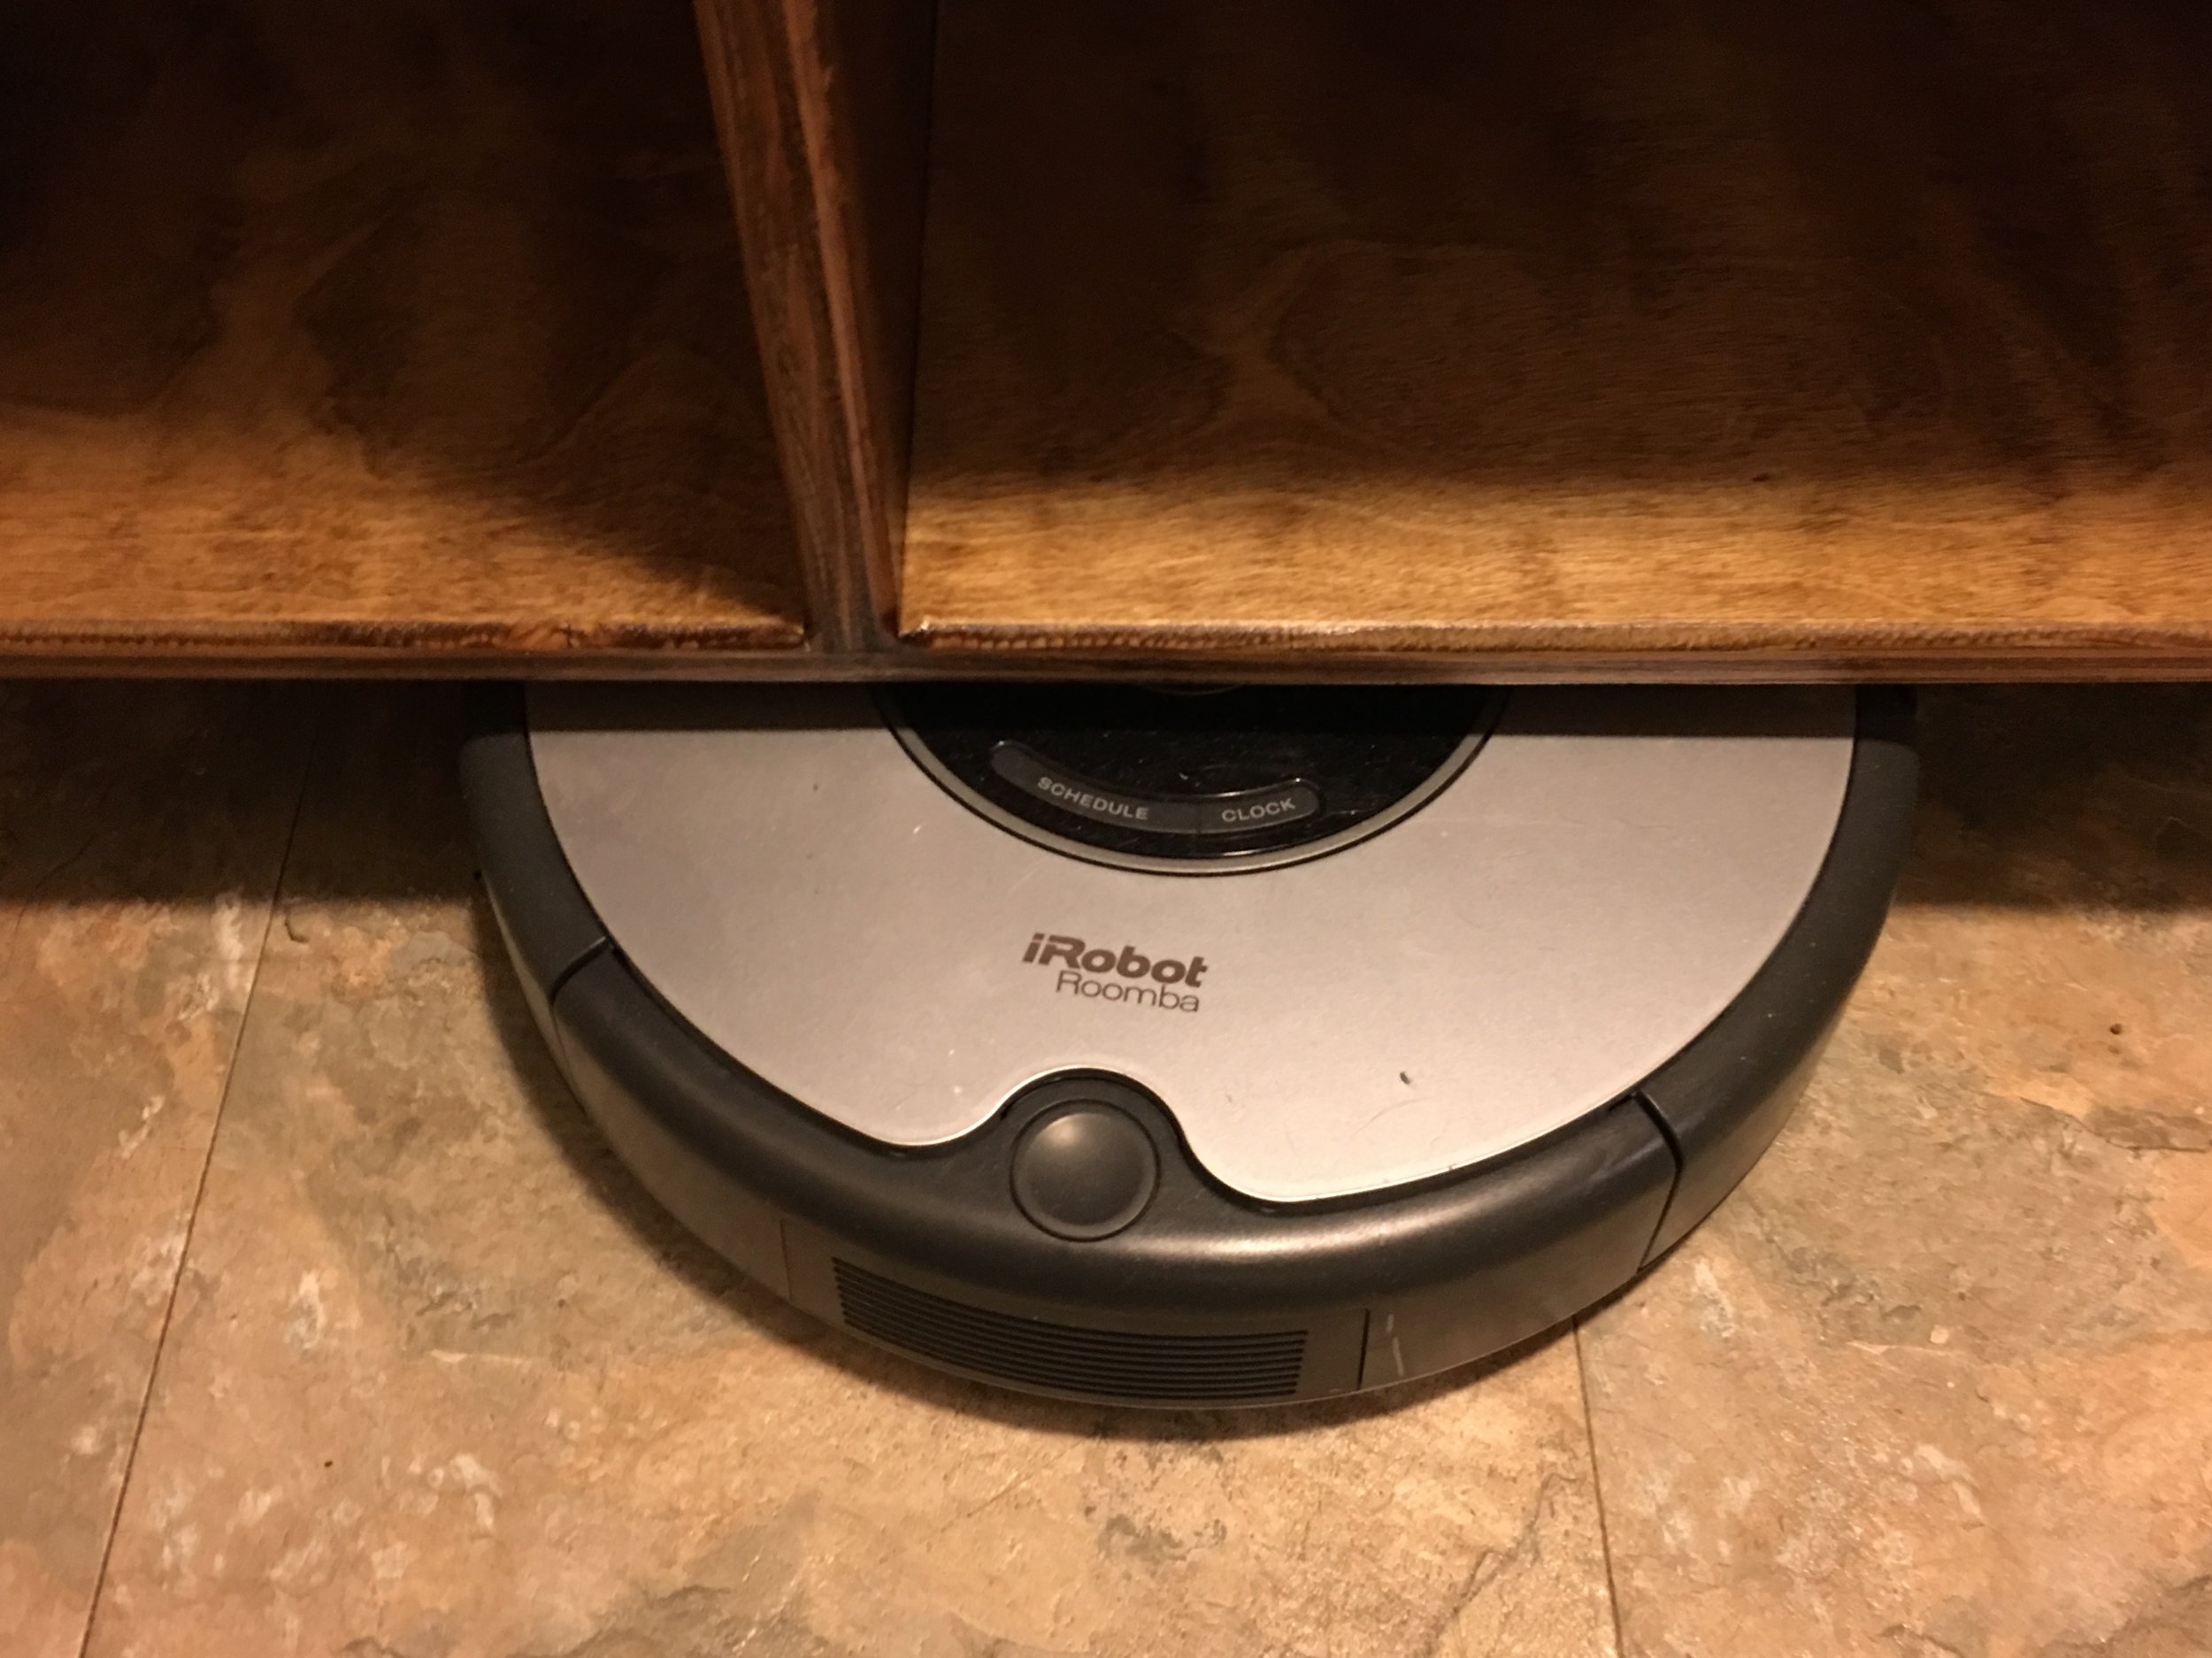
Since the shelf was going in the laundry room, my wife wanted to be able to fold cloths on it. I figured it should have a toe kick if we were going to be standing in front of it. I mentioned that to my wife and she insisted that the Roomba be able to fit under it if I did that. I ended up adding 4" tall 2" diameter cylindrical feet (I have plenty of cylindrical stock laying around to make my knot mandrels). I used some hanger bolts and t-nuts to attach them.

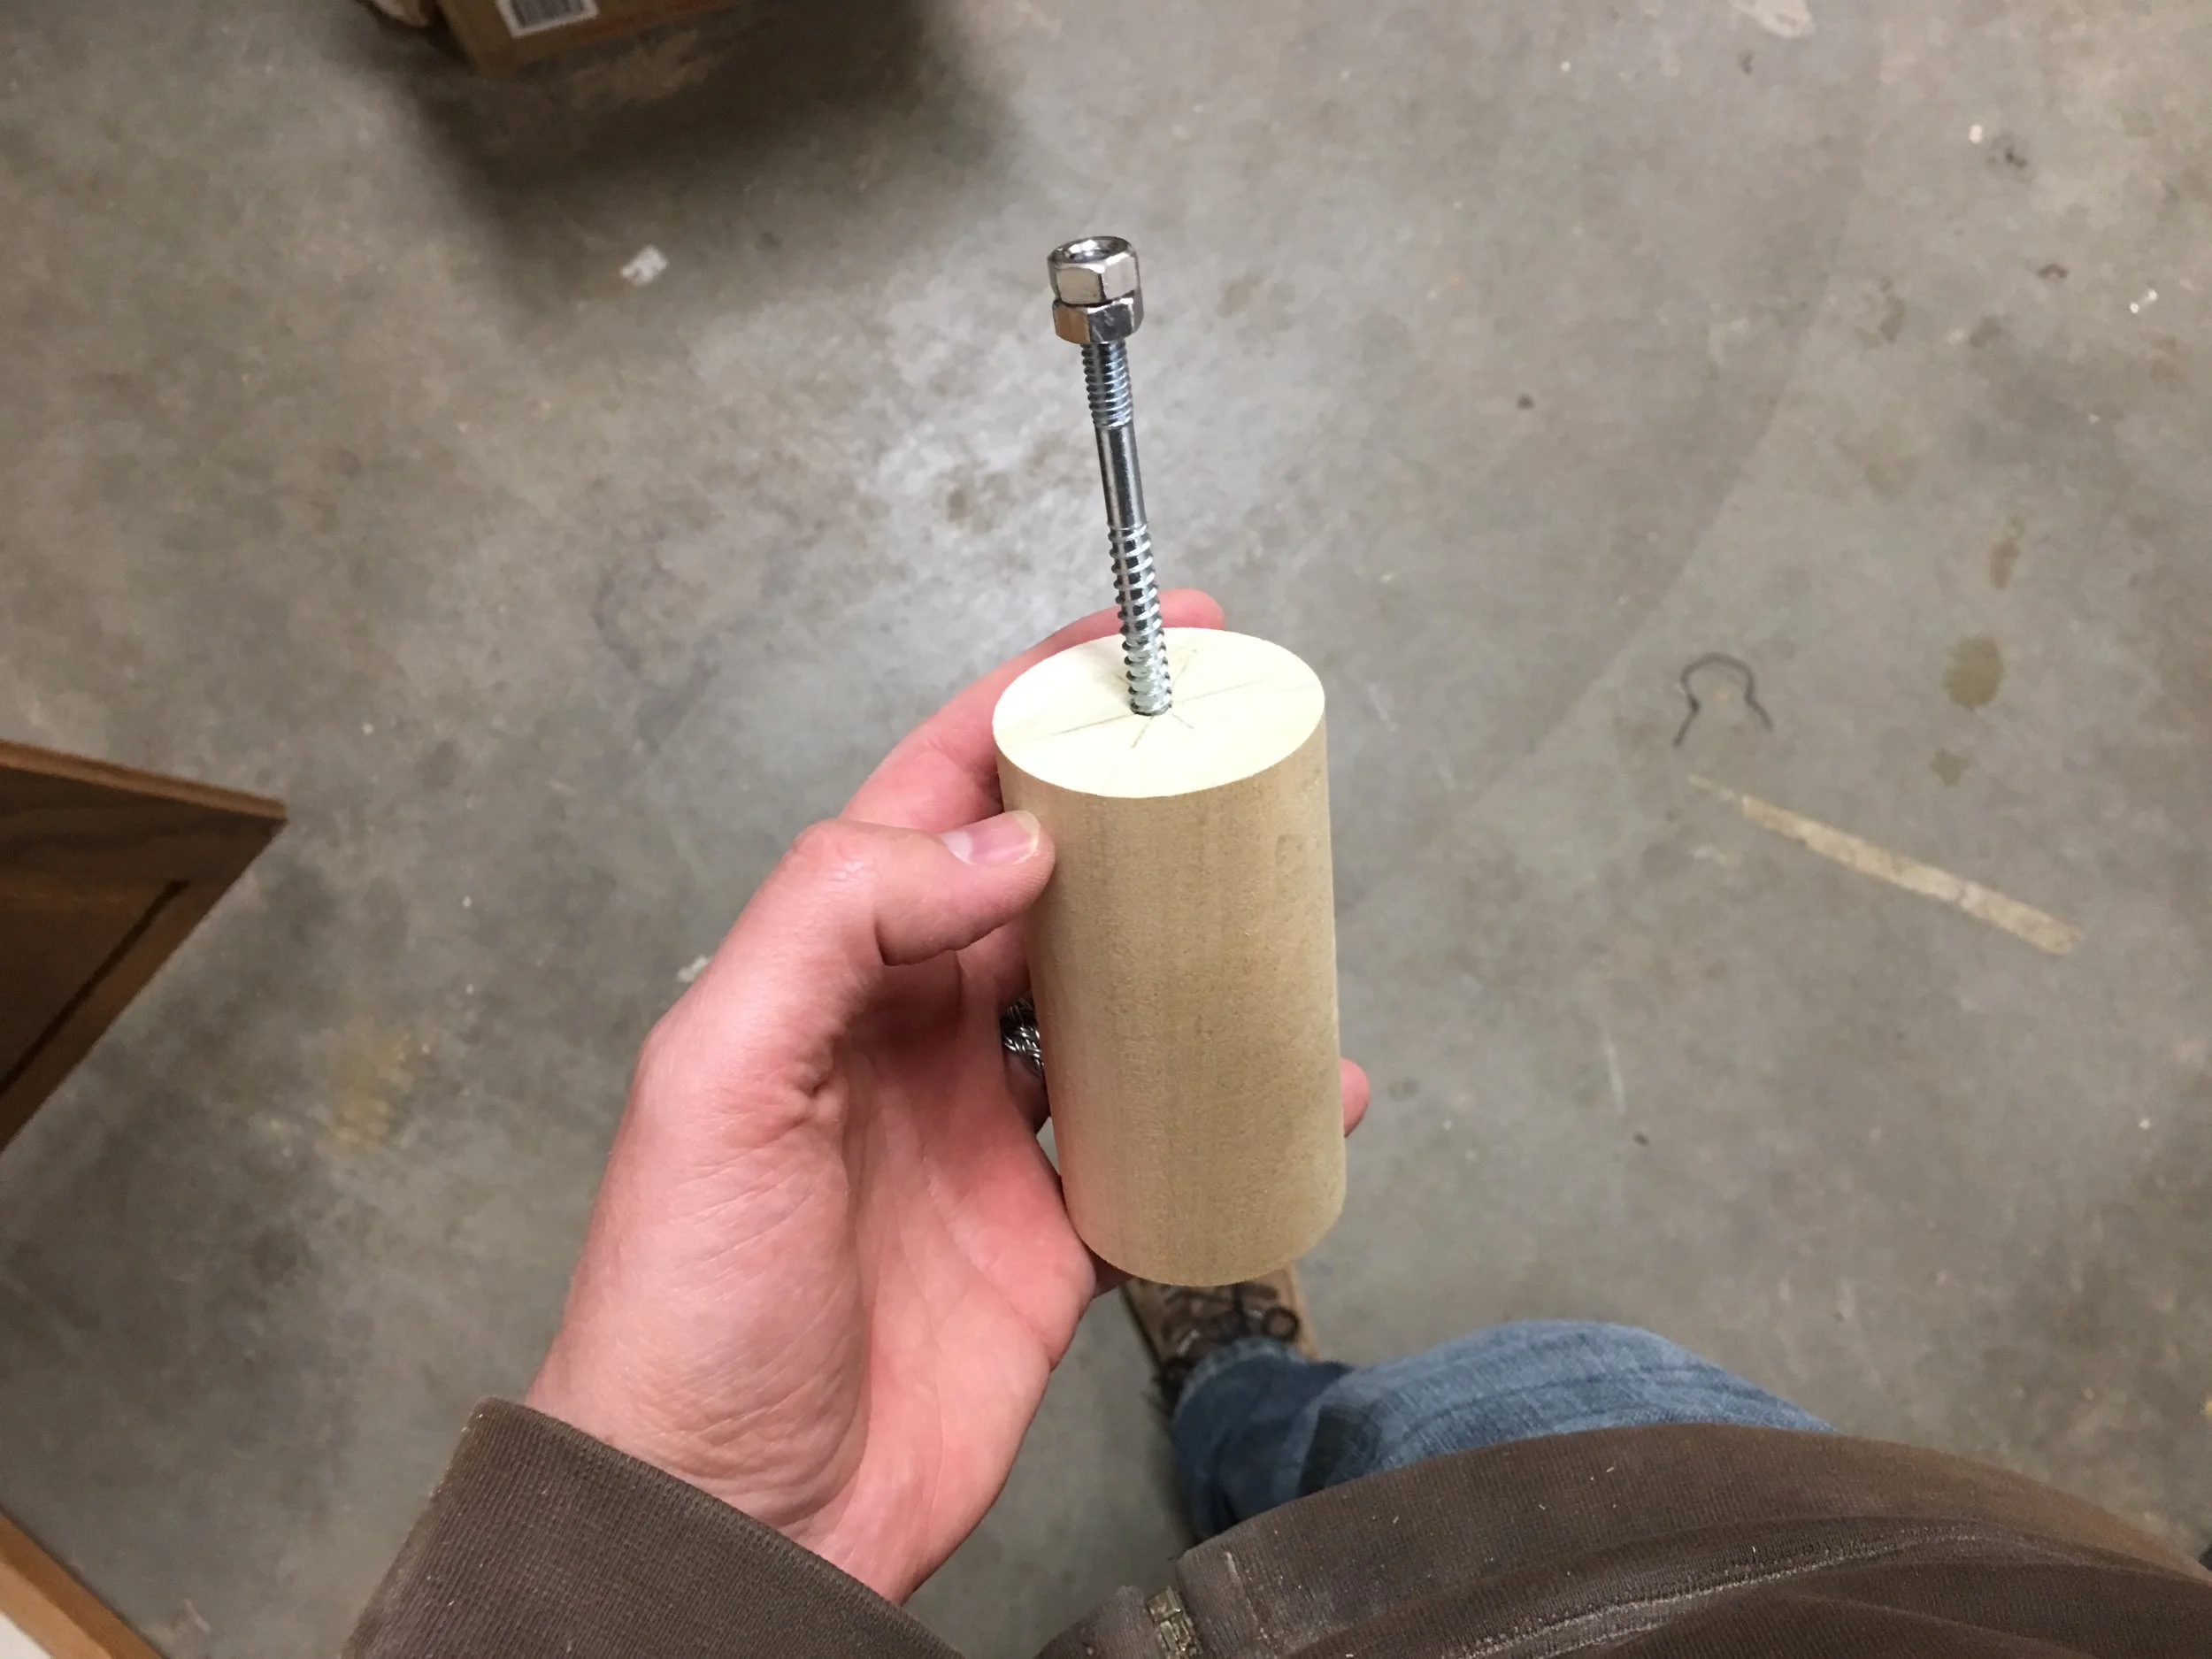
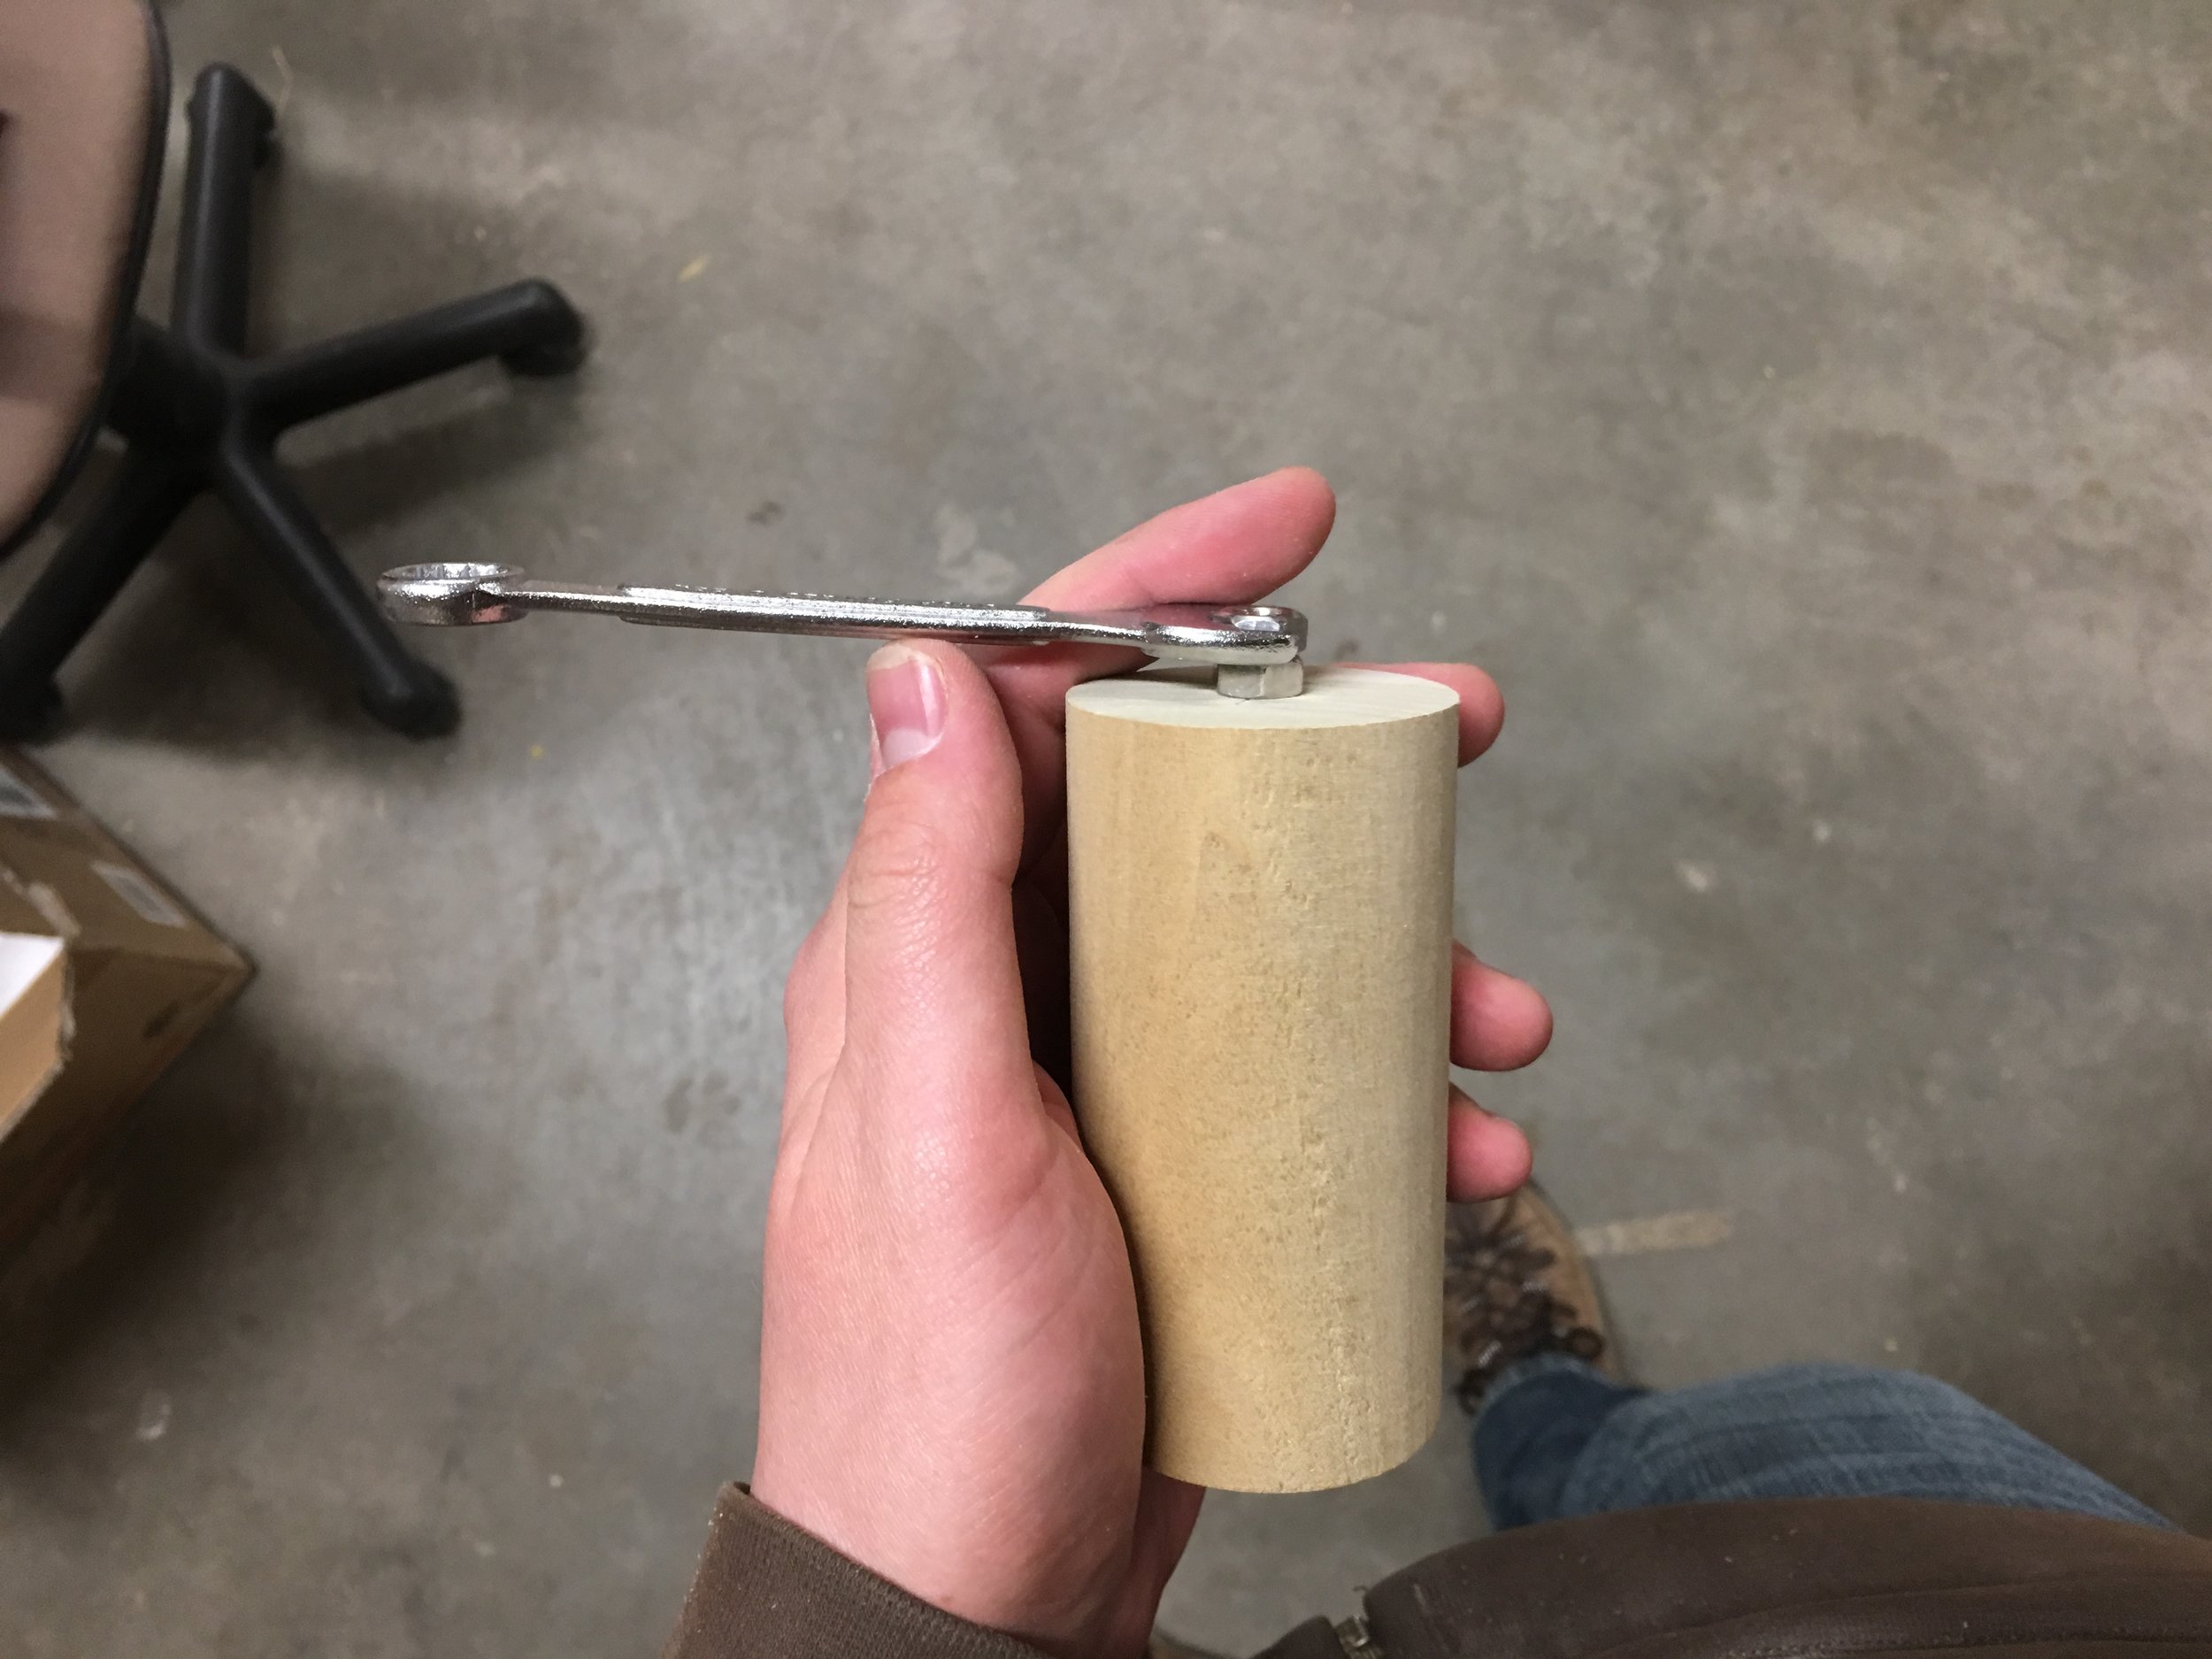
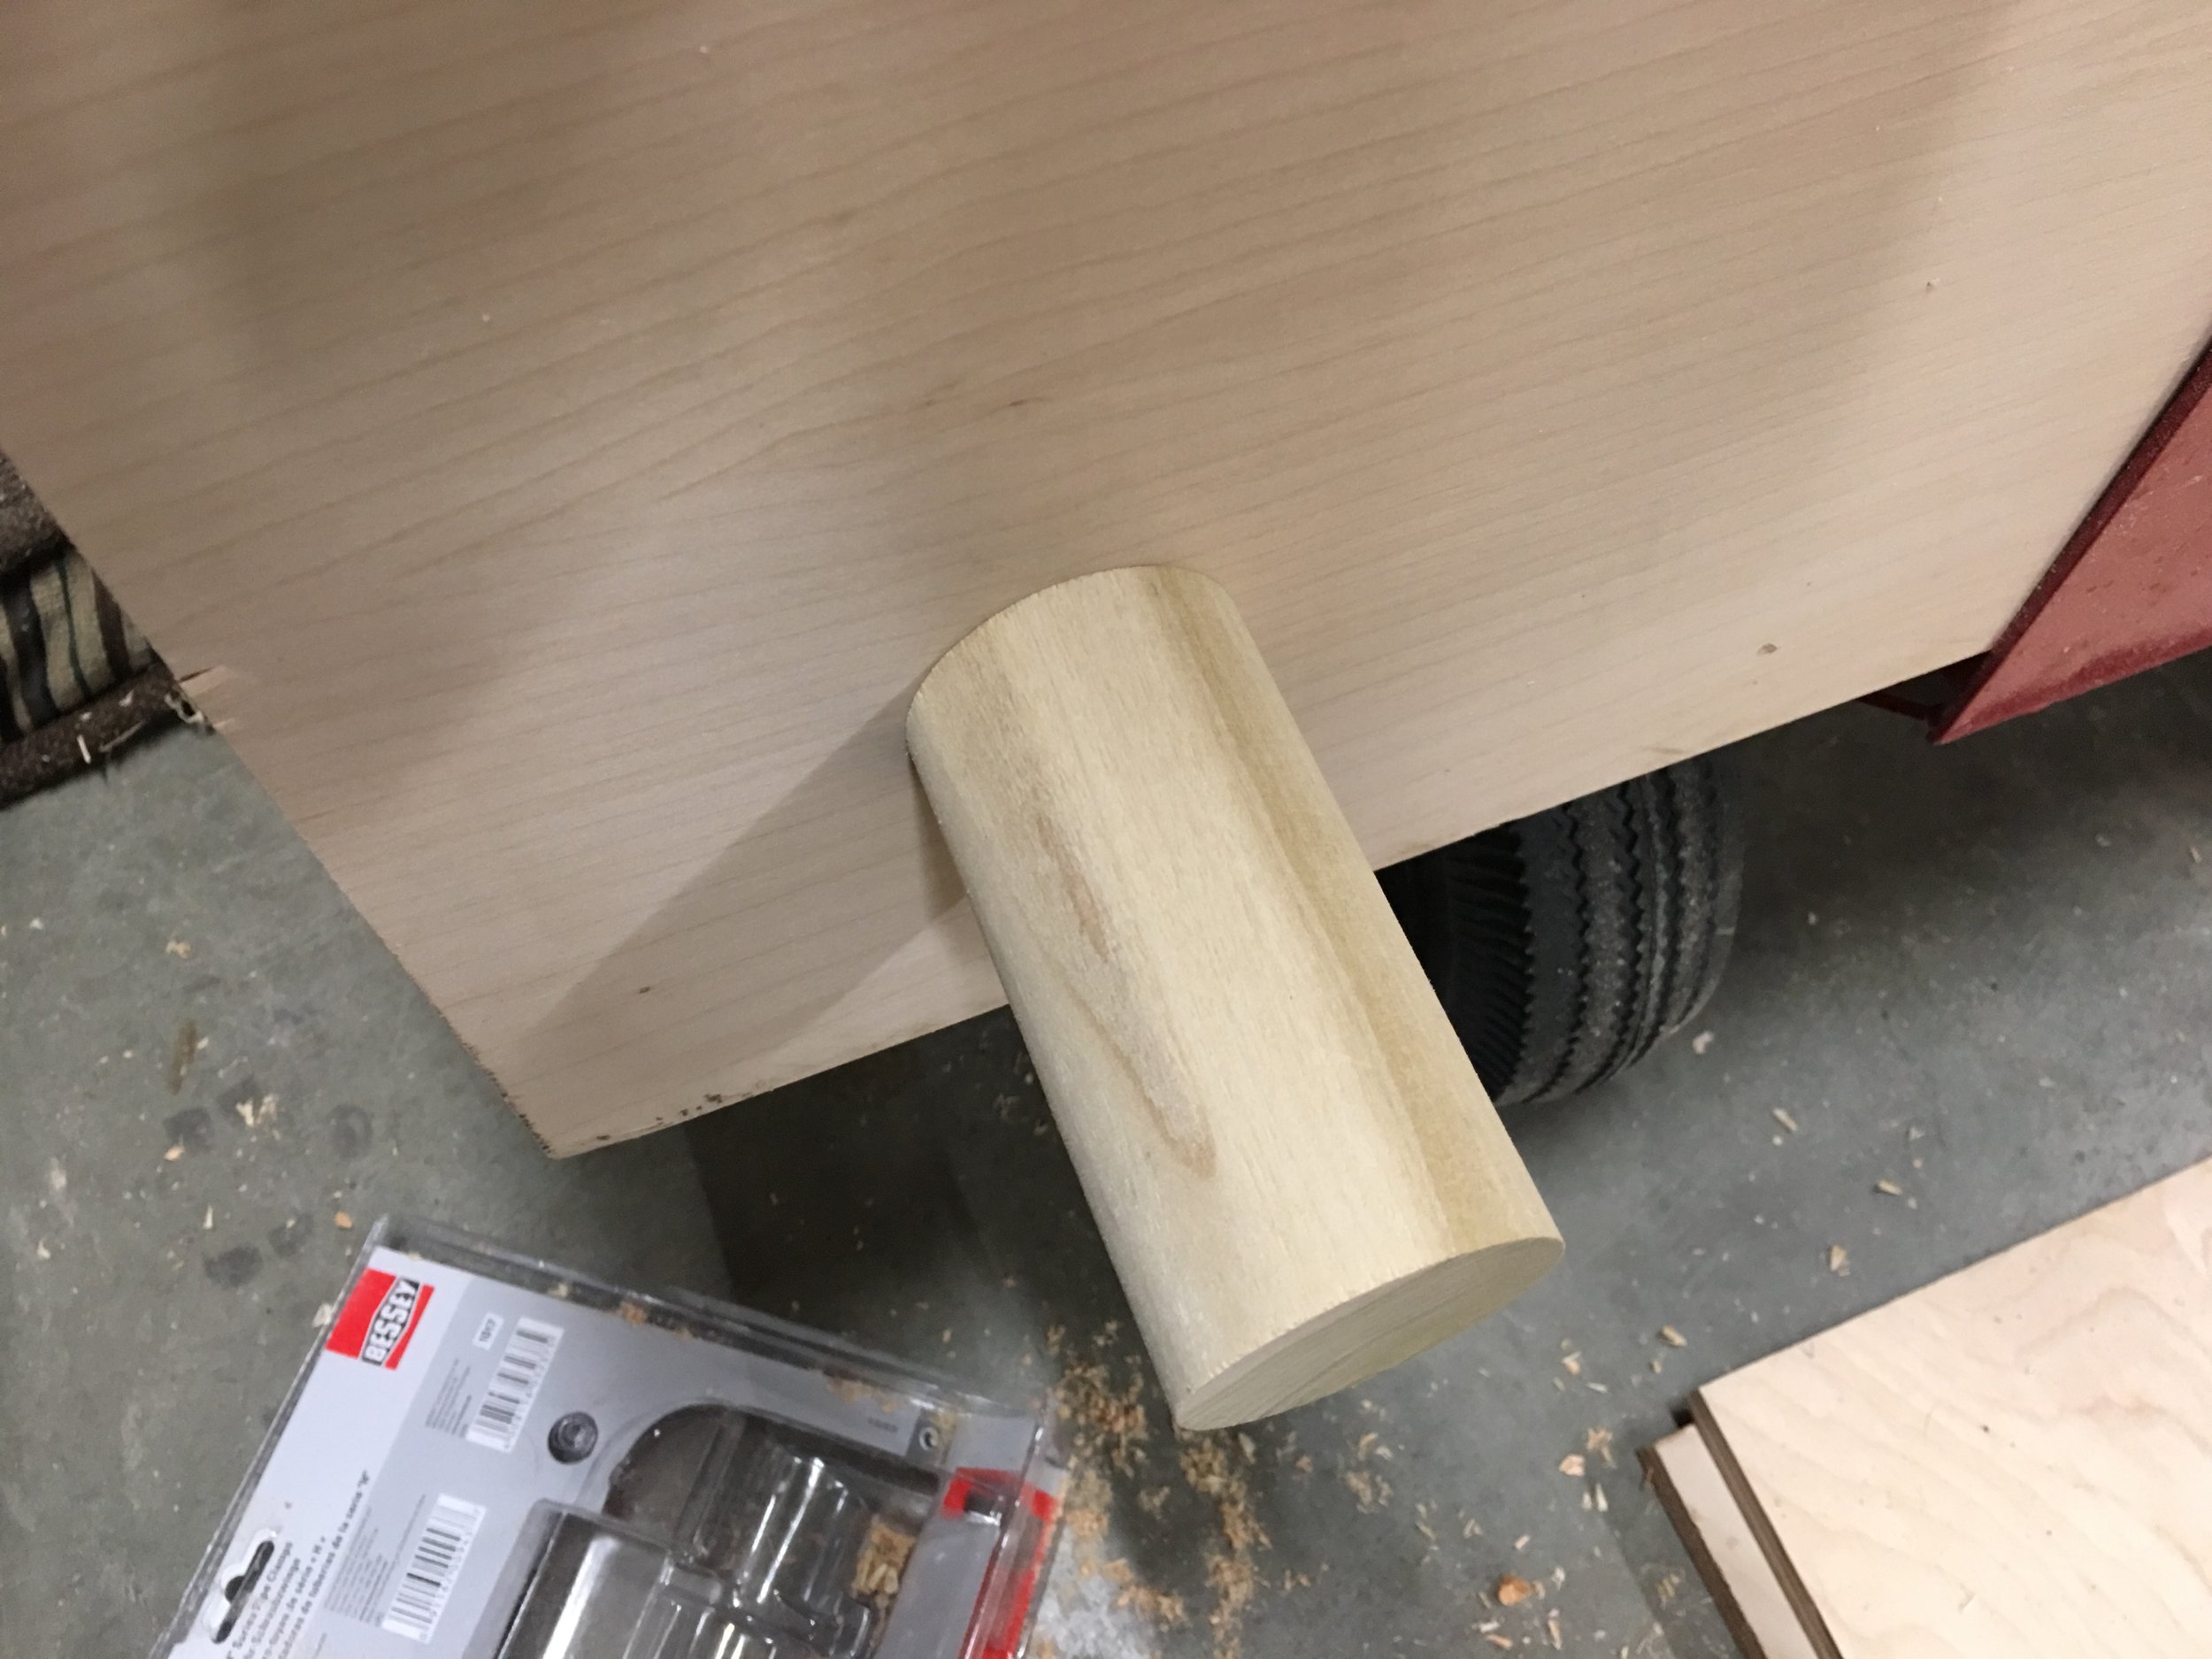
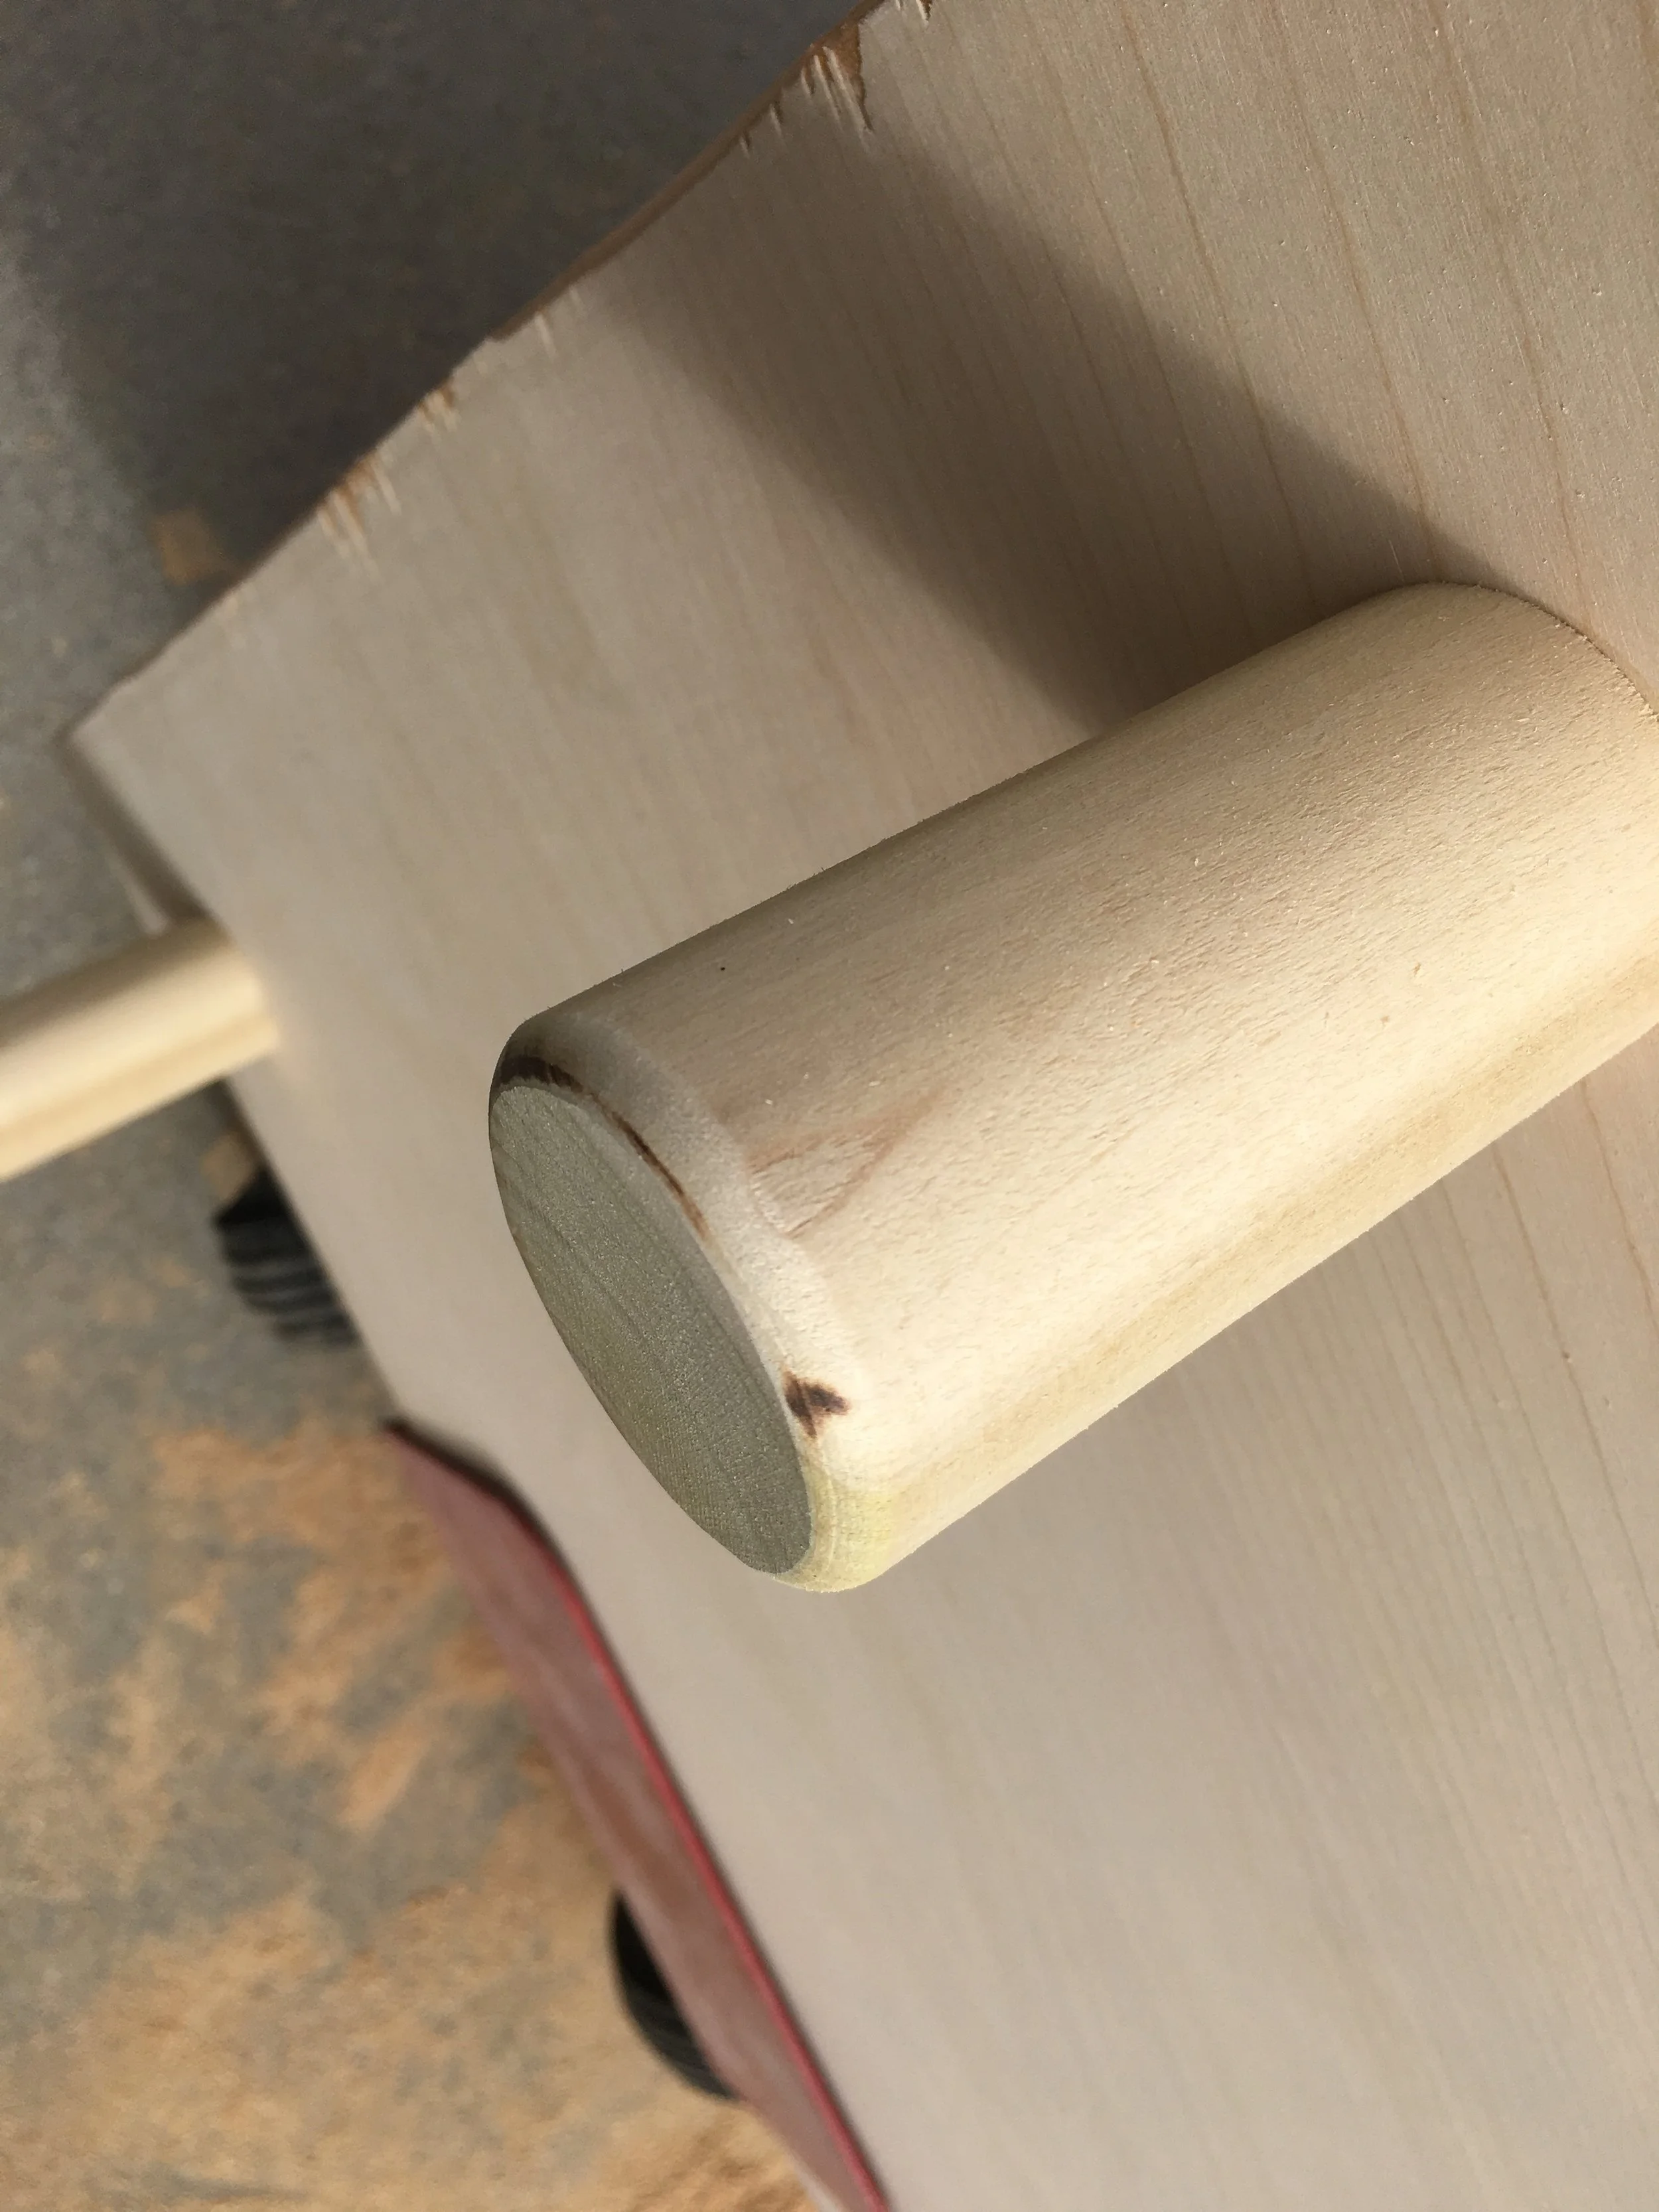
With all 4 feet attached.
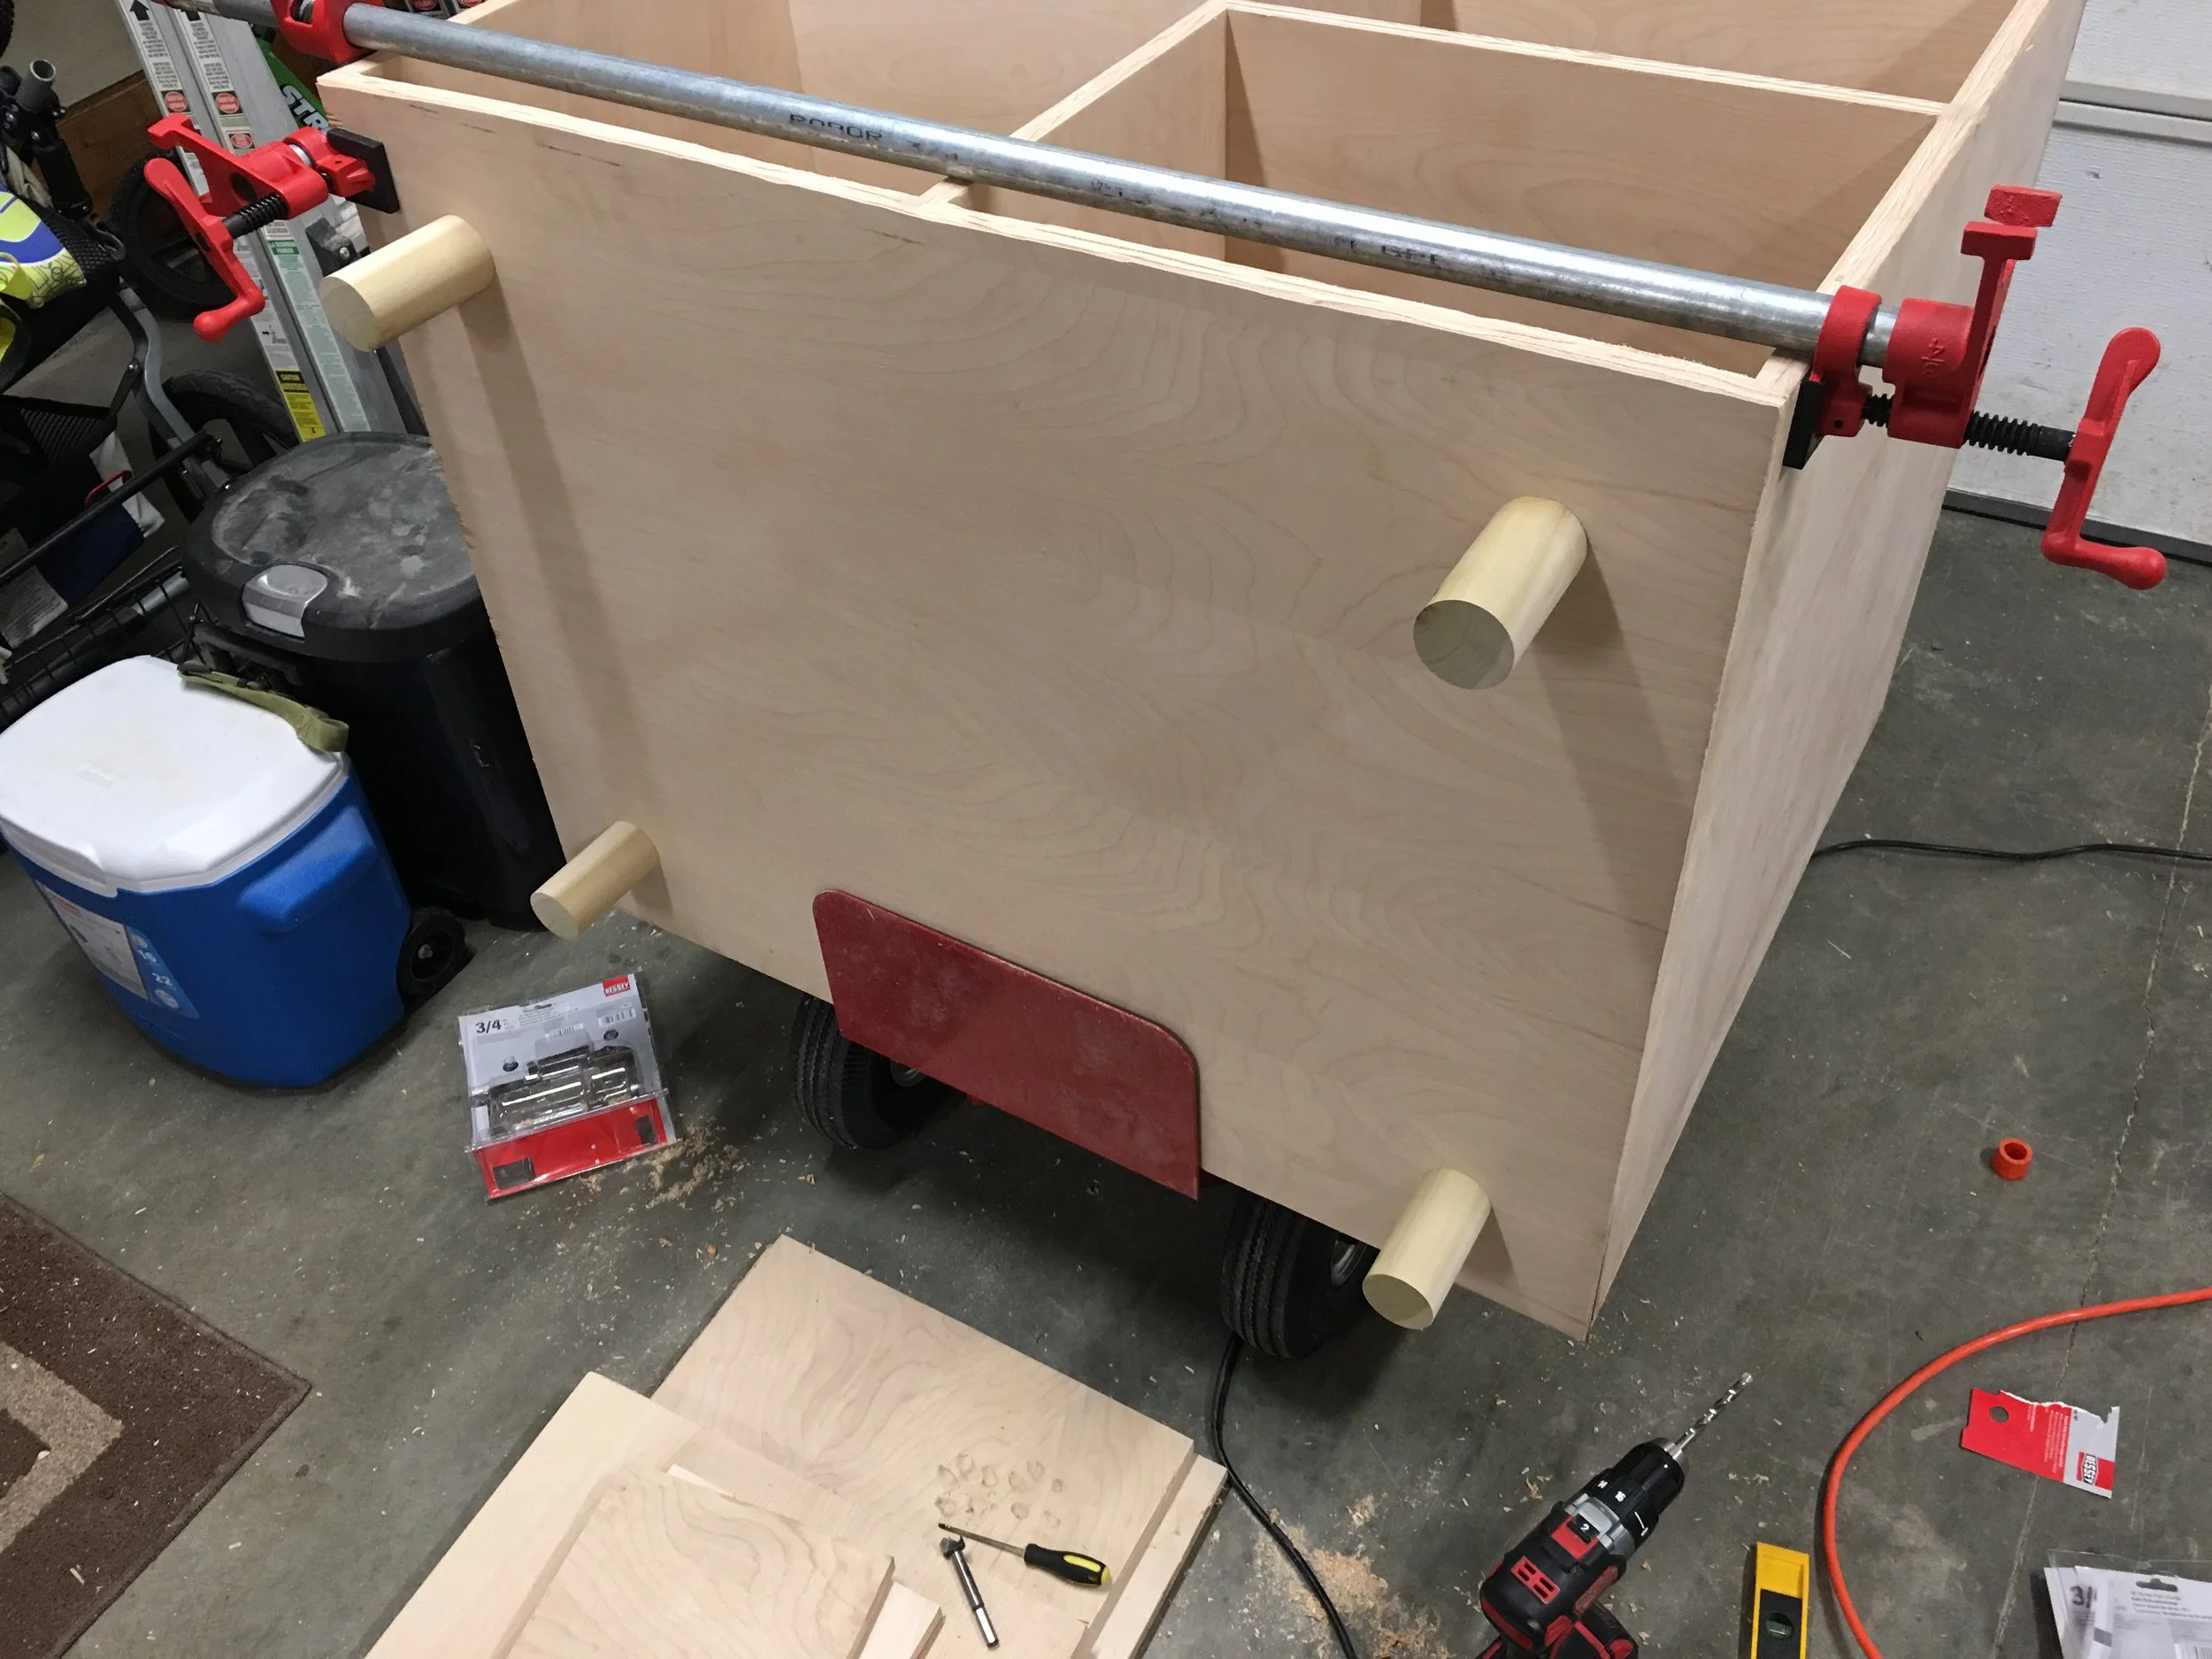
I was called out on Facebook for my poor foot placement. The distance between feet leads to a significant amount of bowing in the center. After finishing the shelf, putting in its place and jumping on the top, I was able to measure about 1/8" bow in the center of the shelf vs directly above the feet. I recorded the bottom of the shelf while jumping on it to show a more dramatic bowing. I ended up putting a couple more feet in the center to better support it.
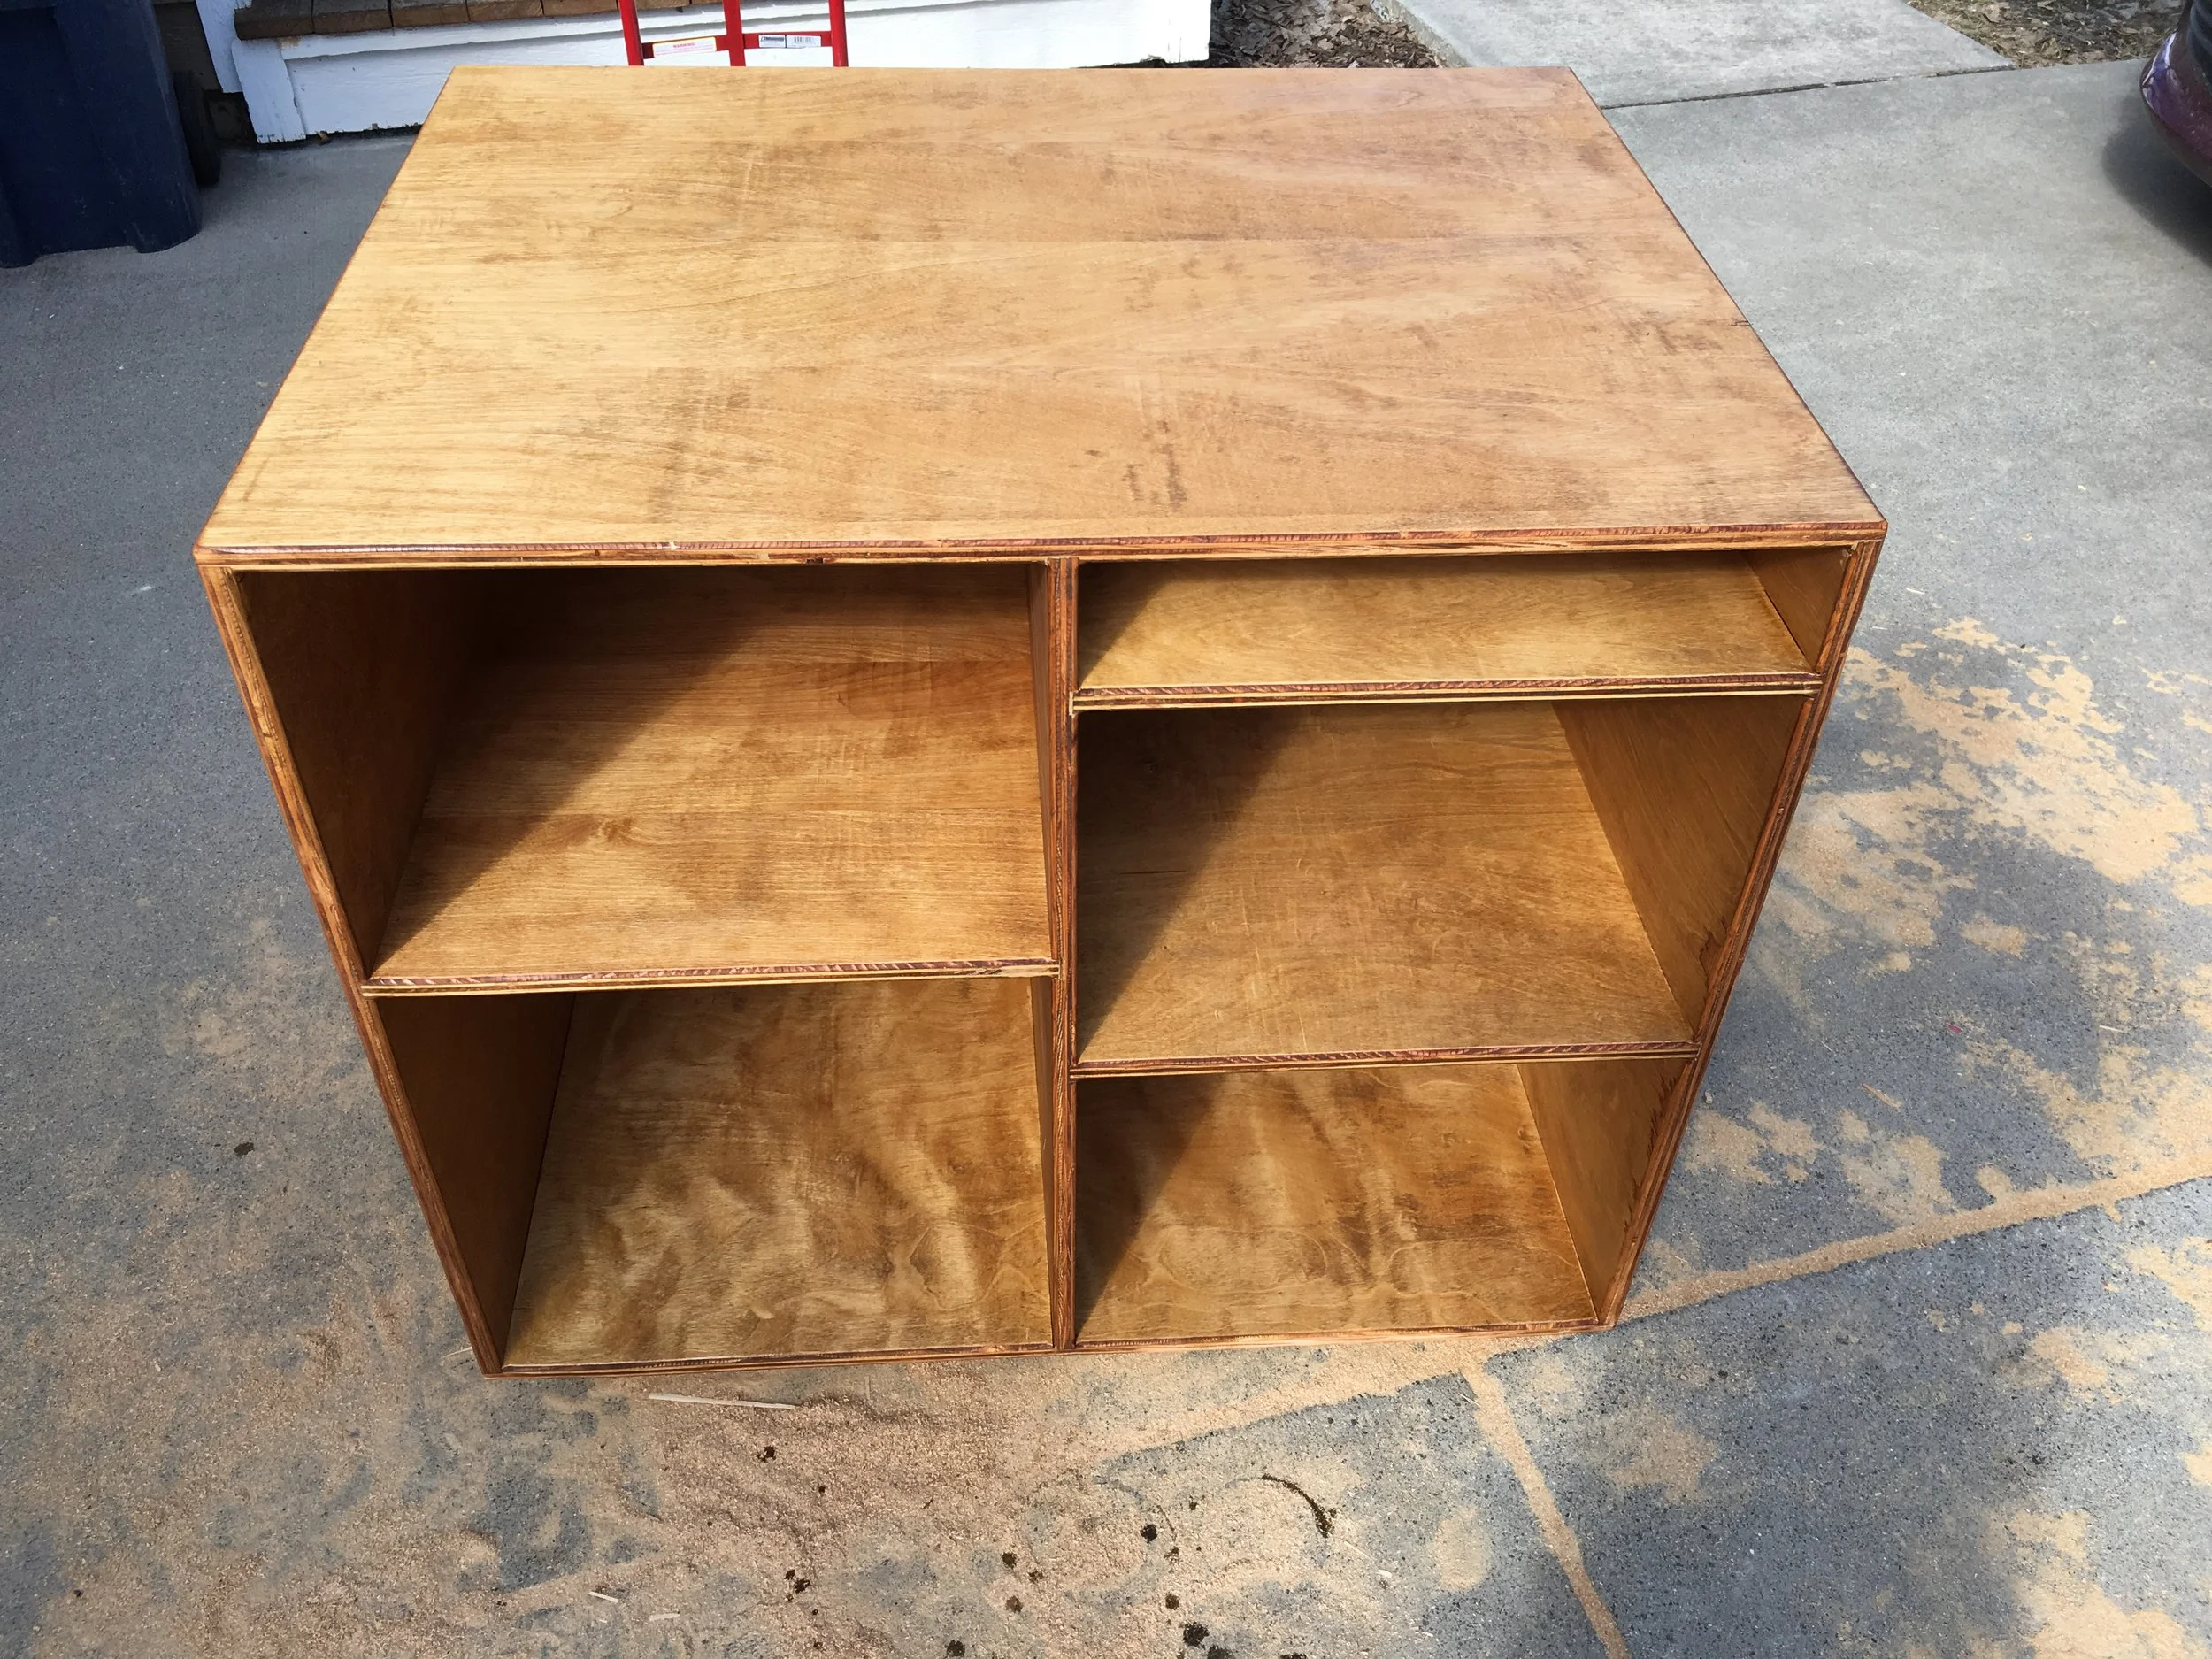
I applied some wood filler to fill some of my dados that were too big, voids in the plywood and other imperfections before taking a router to all the edges of the shelf to round them off.
Finally, I applied some stain and a layer of polyurethane to finish it. I recommend finishing your boards before assembling them, but I read that you should tape off your dados and parts of the boards that go in the dados to ensure the glue bonds well. I was lazy and didn't want to tape everything up and assembled my shelf first, but paid for it by having to apply finish into the deep shelves. The top one is only 3-1/2" tall, so I got stain and finish all over myself.

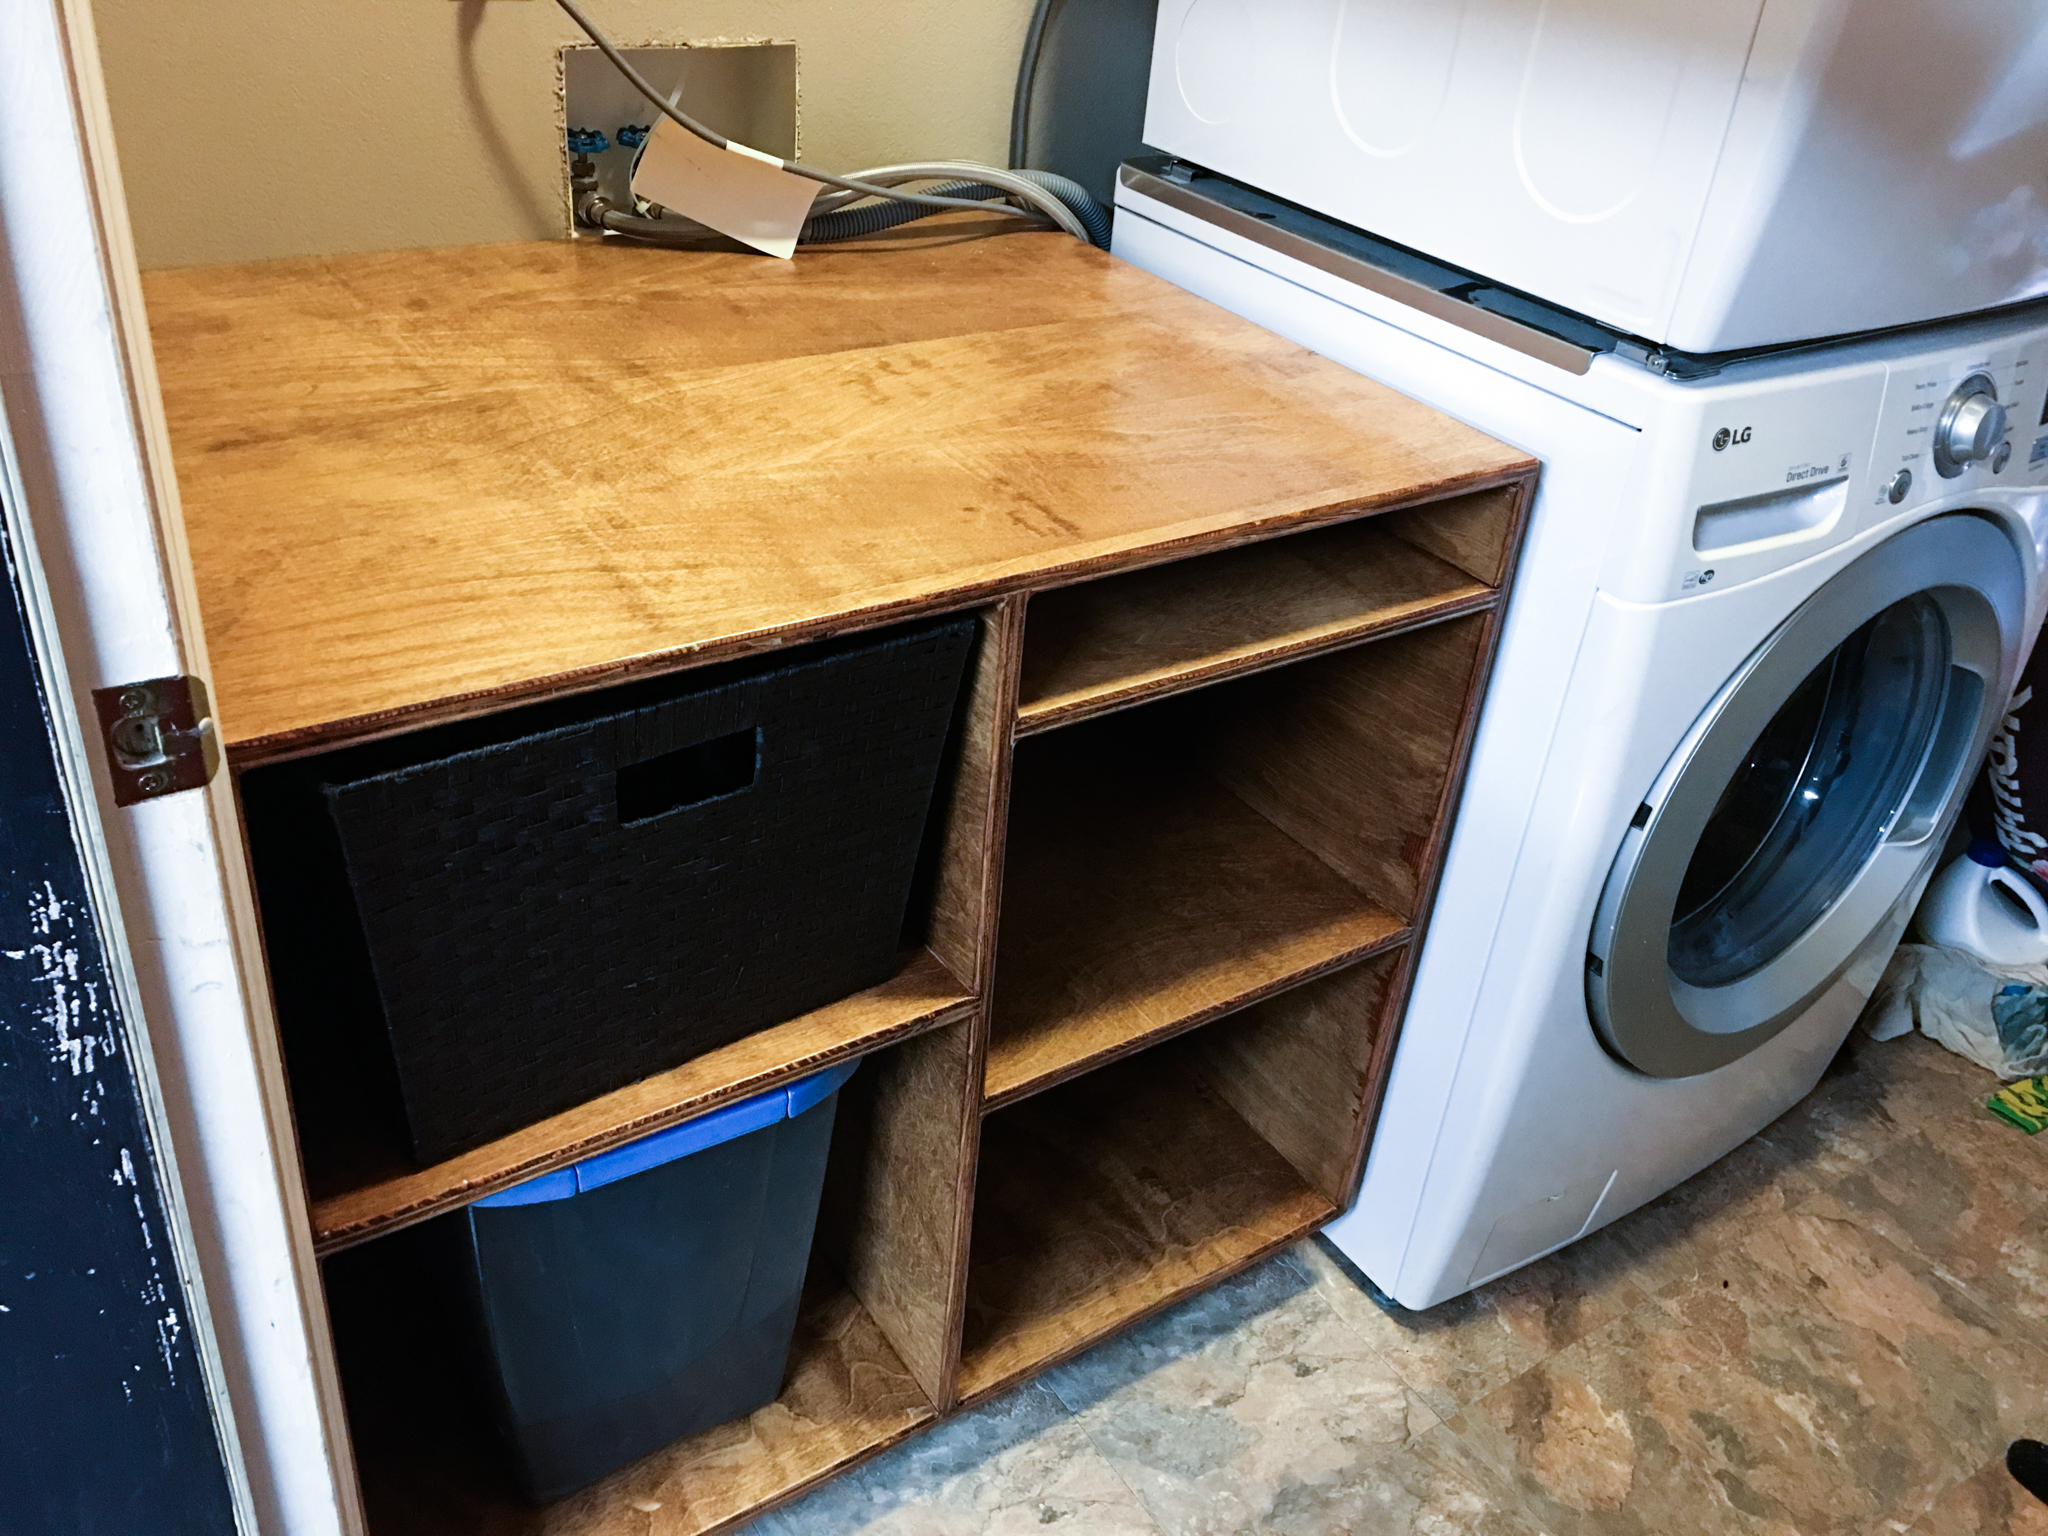
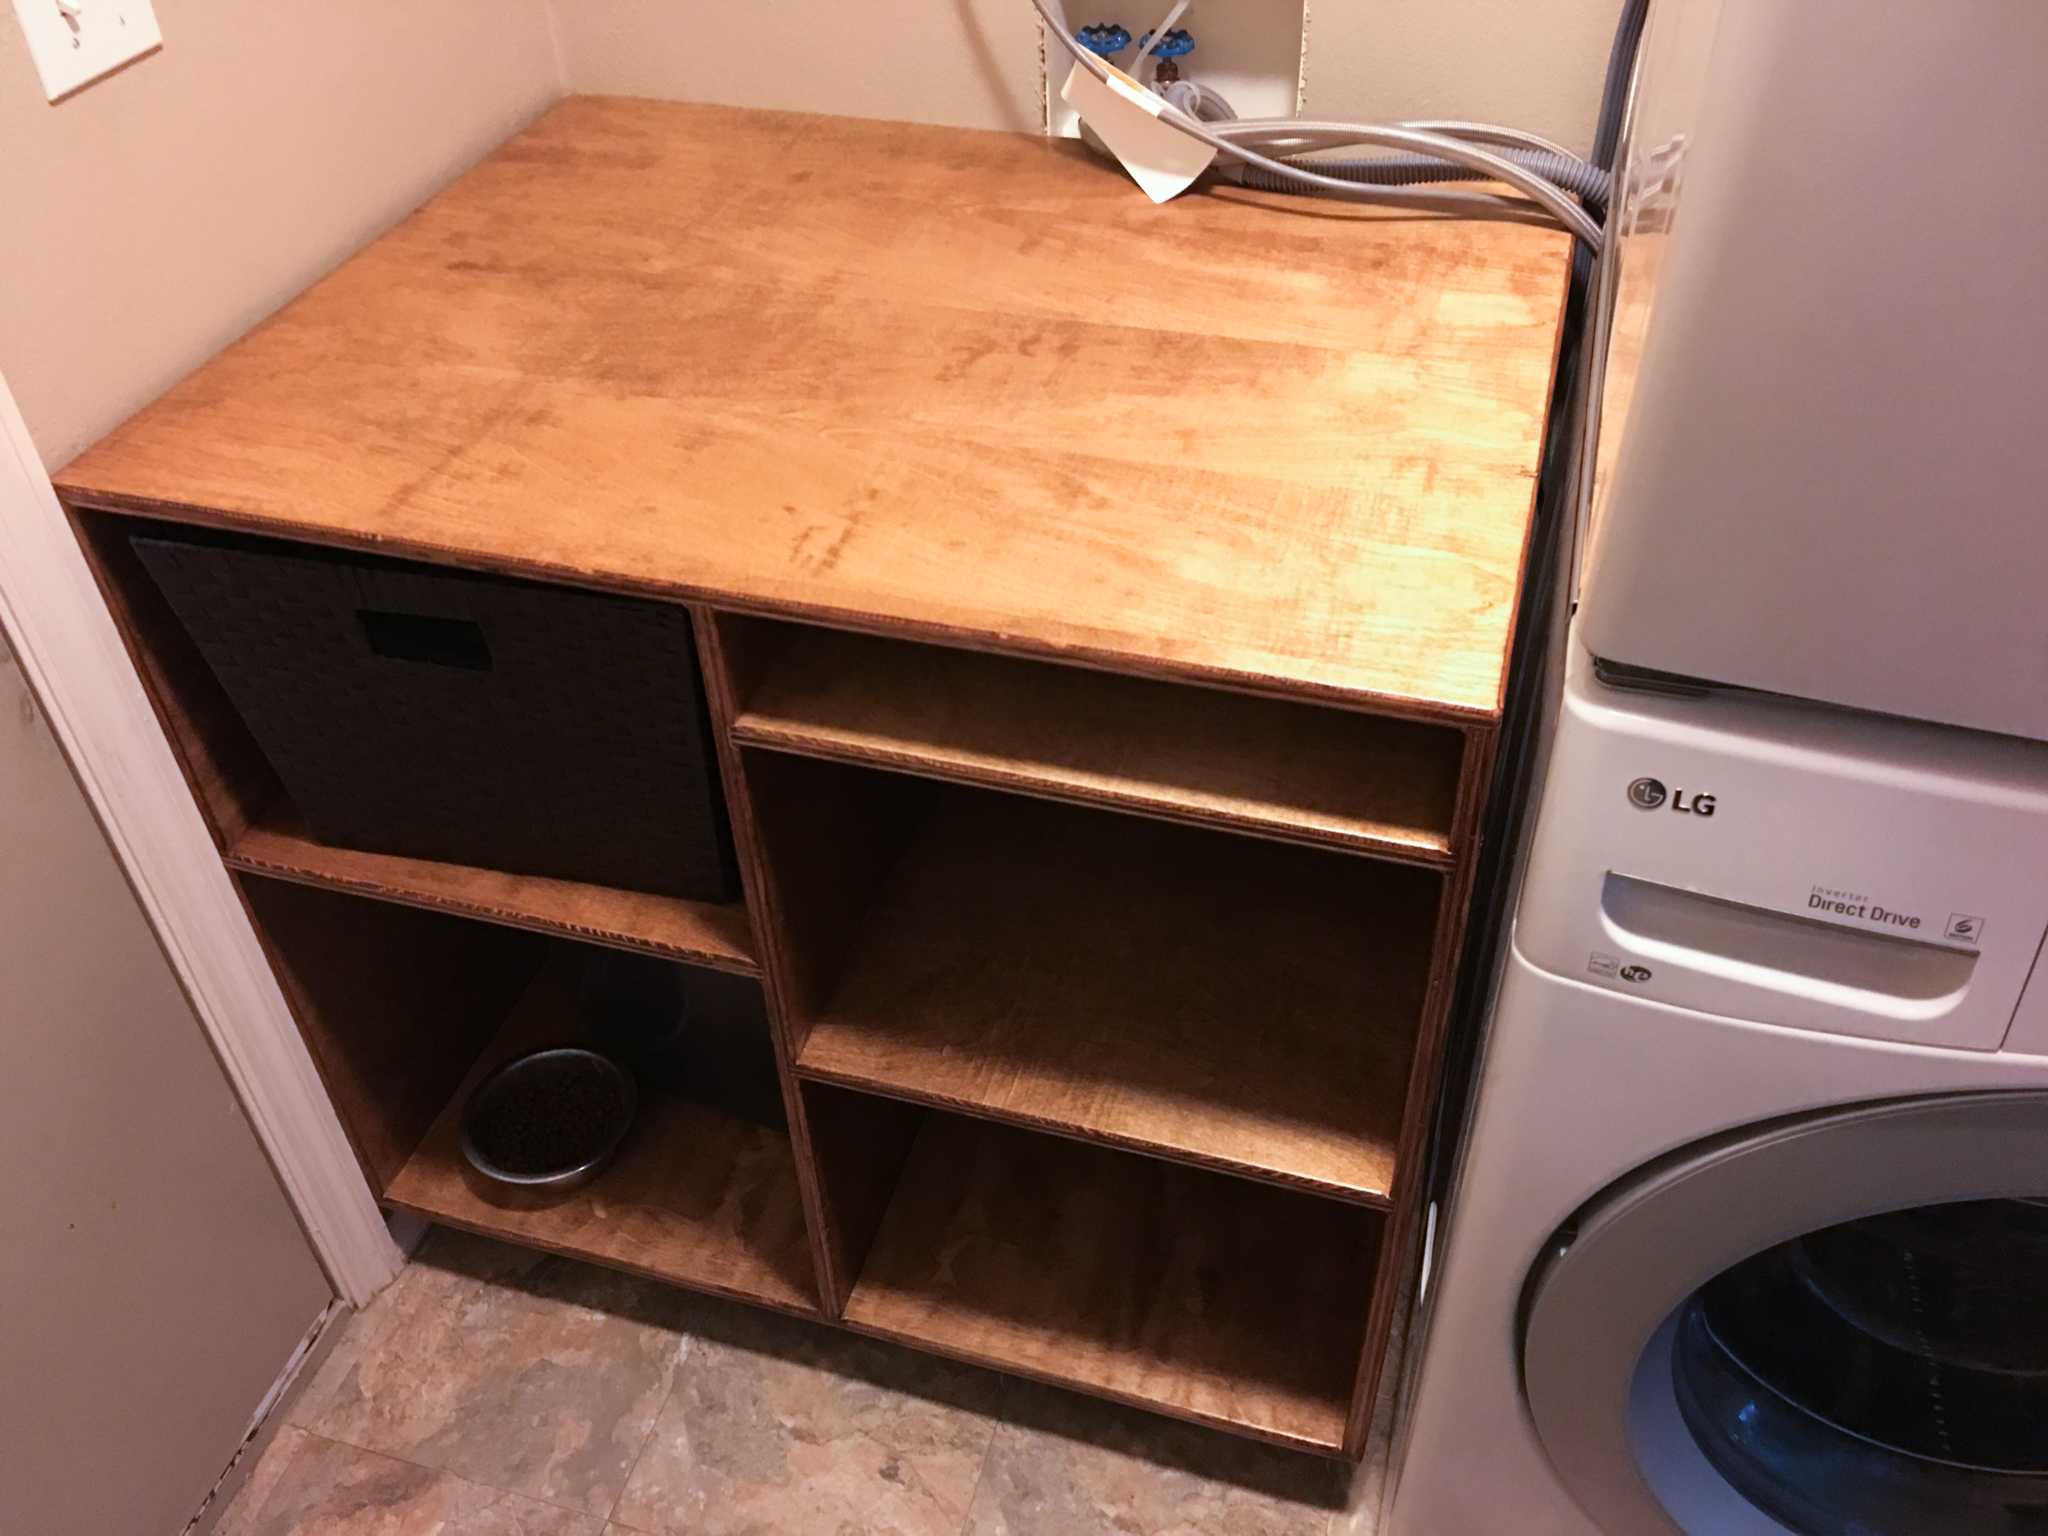
Here it is in place in the laundry room, with proof that the Roomba can fit under it.
My son found a new hiding spot!
Thanks for taking a look! Let me know what you think in the comments below.
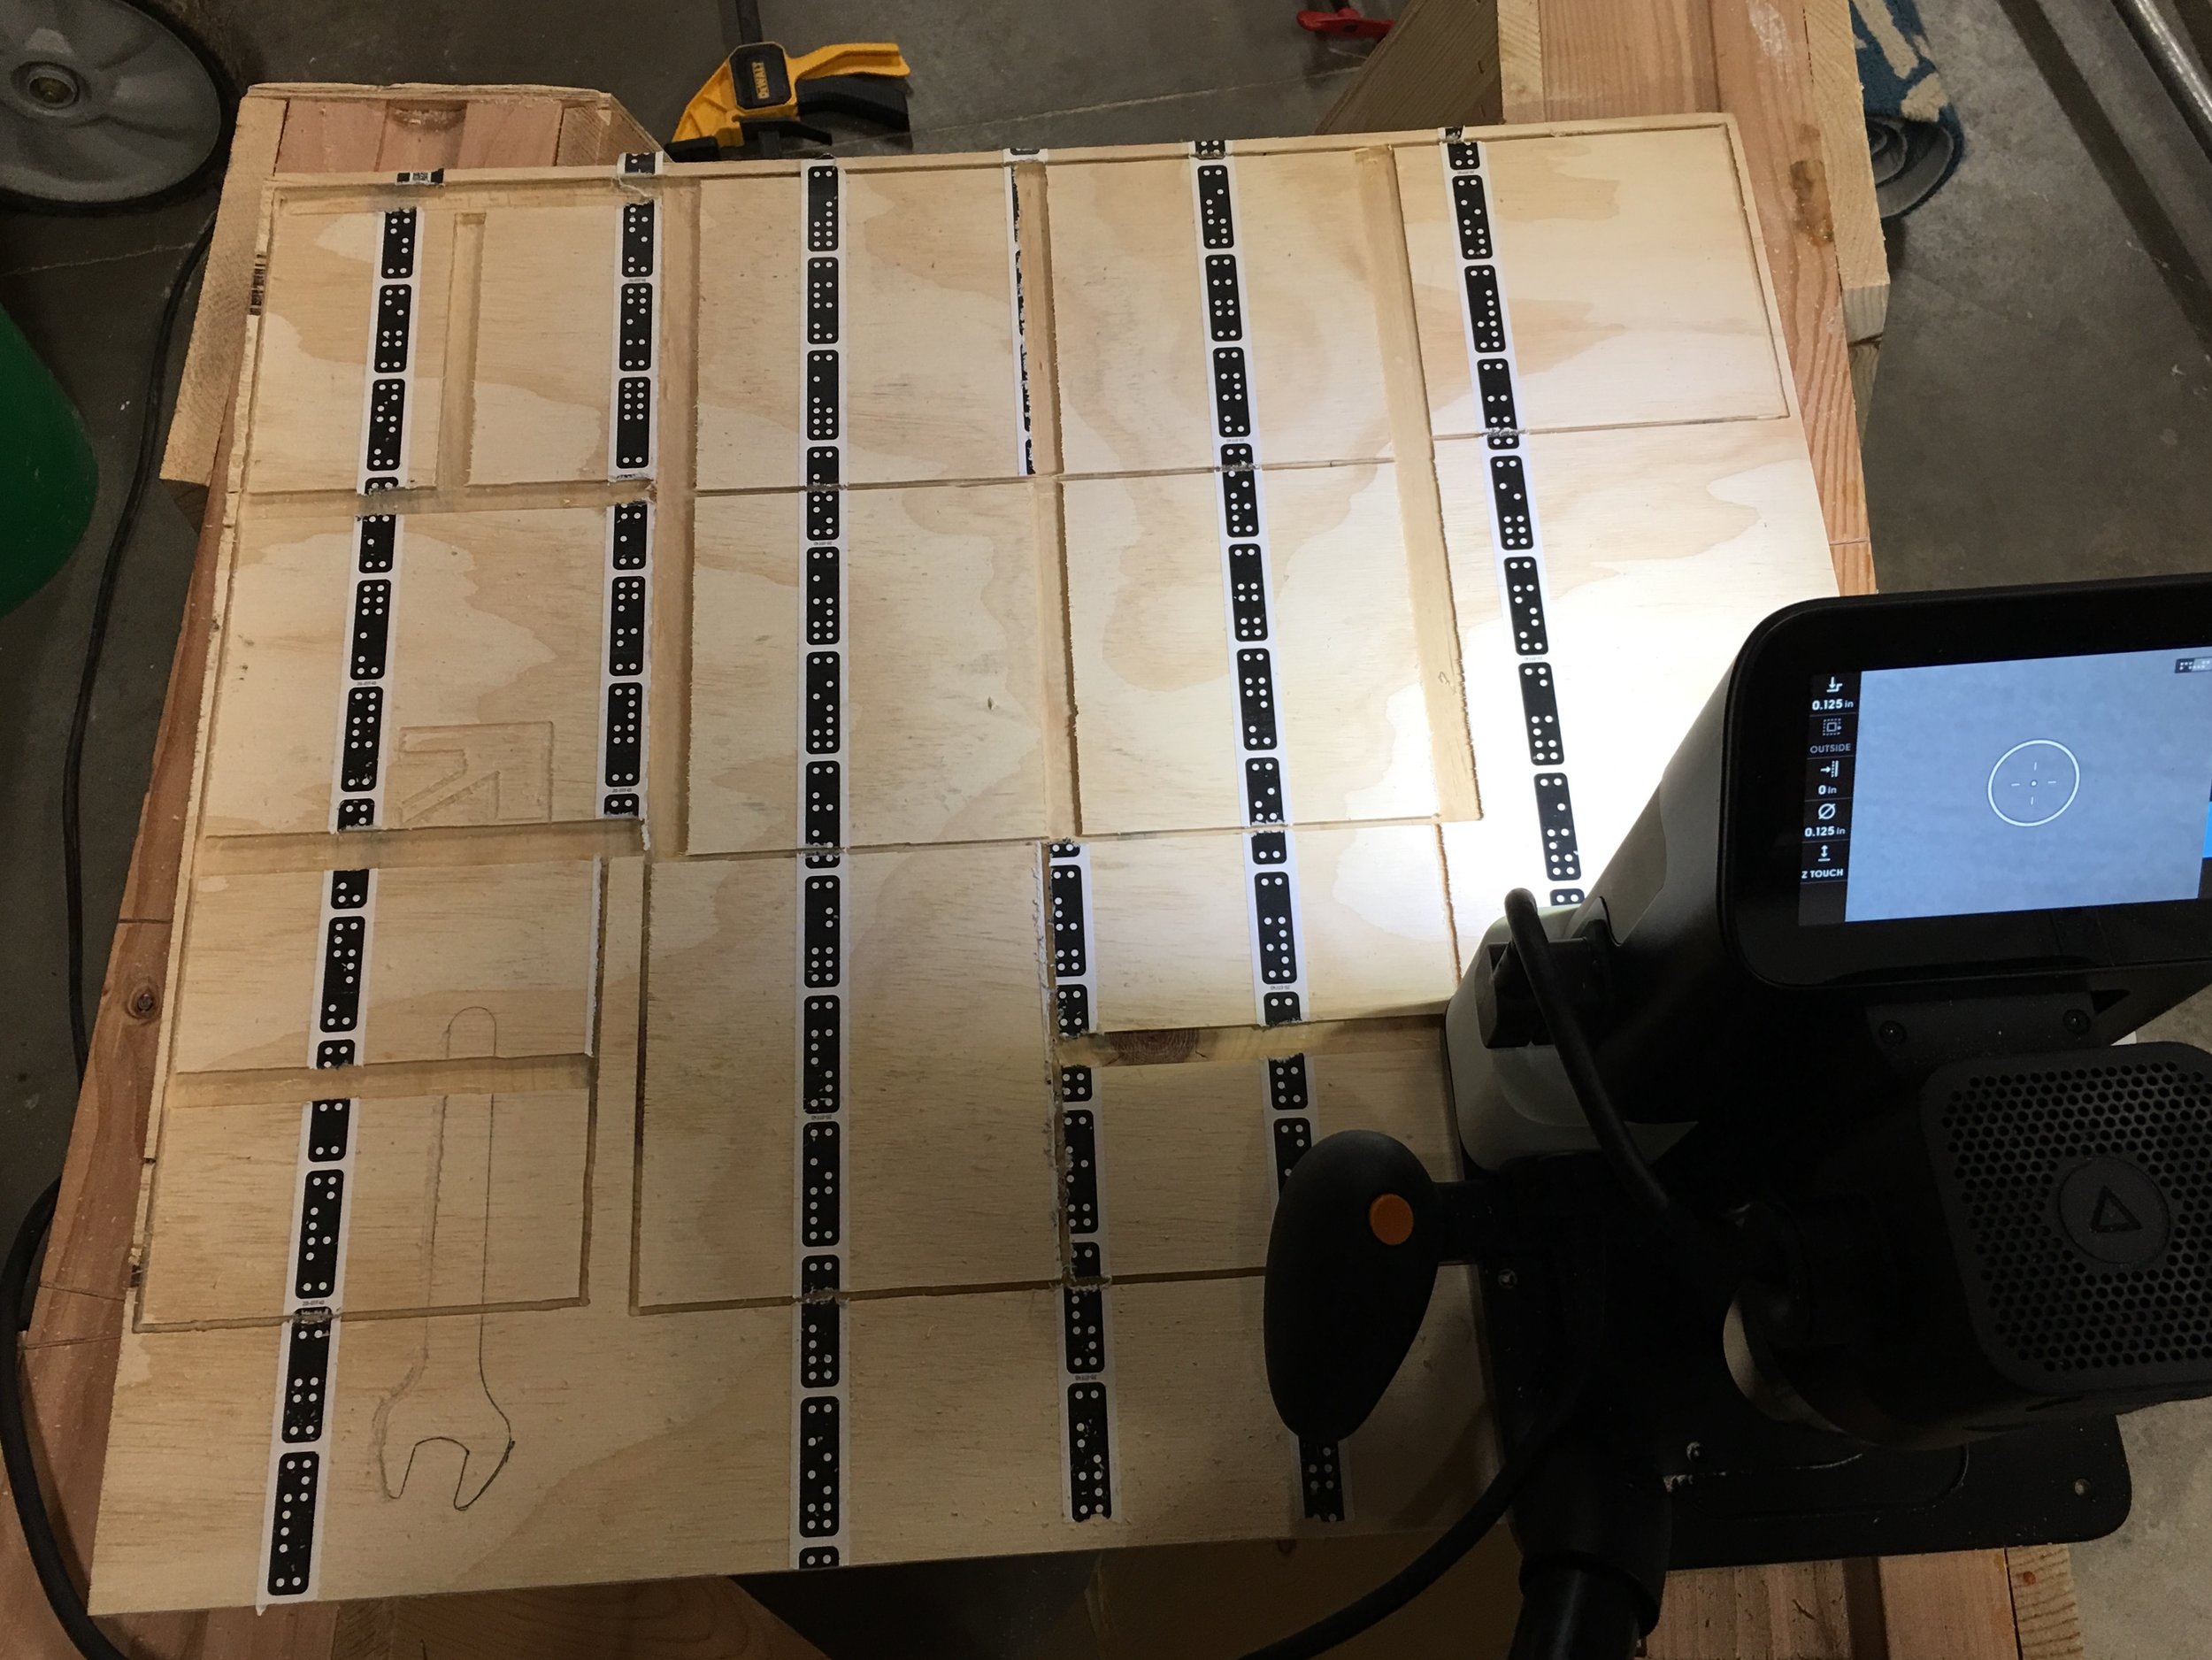
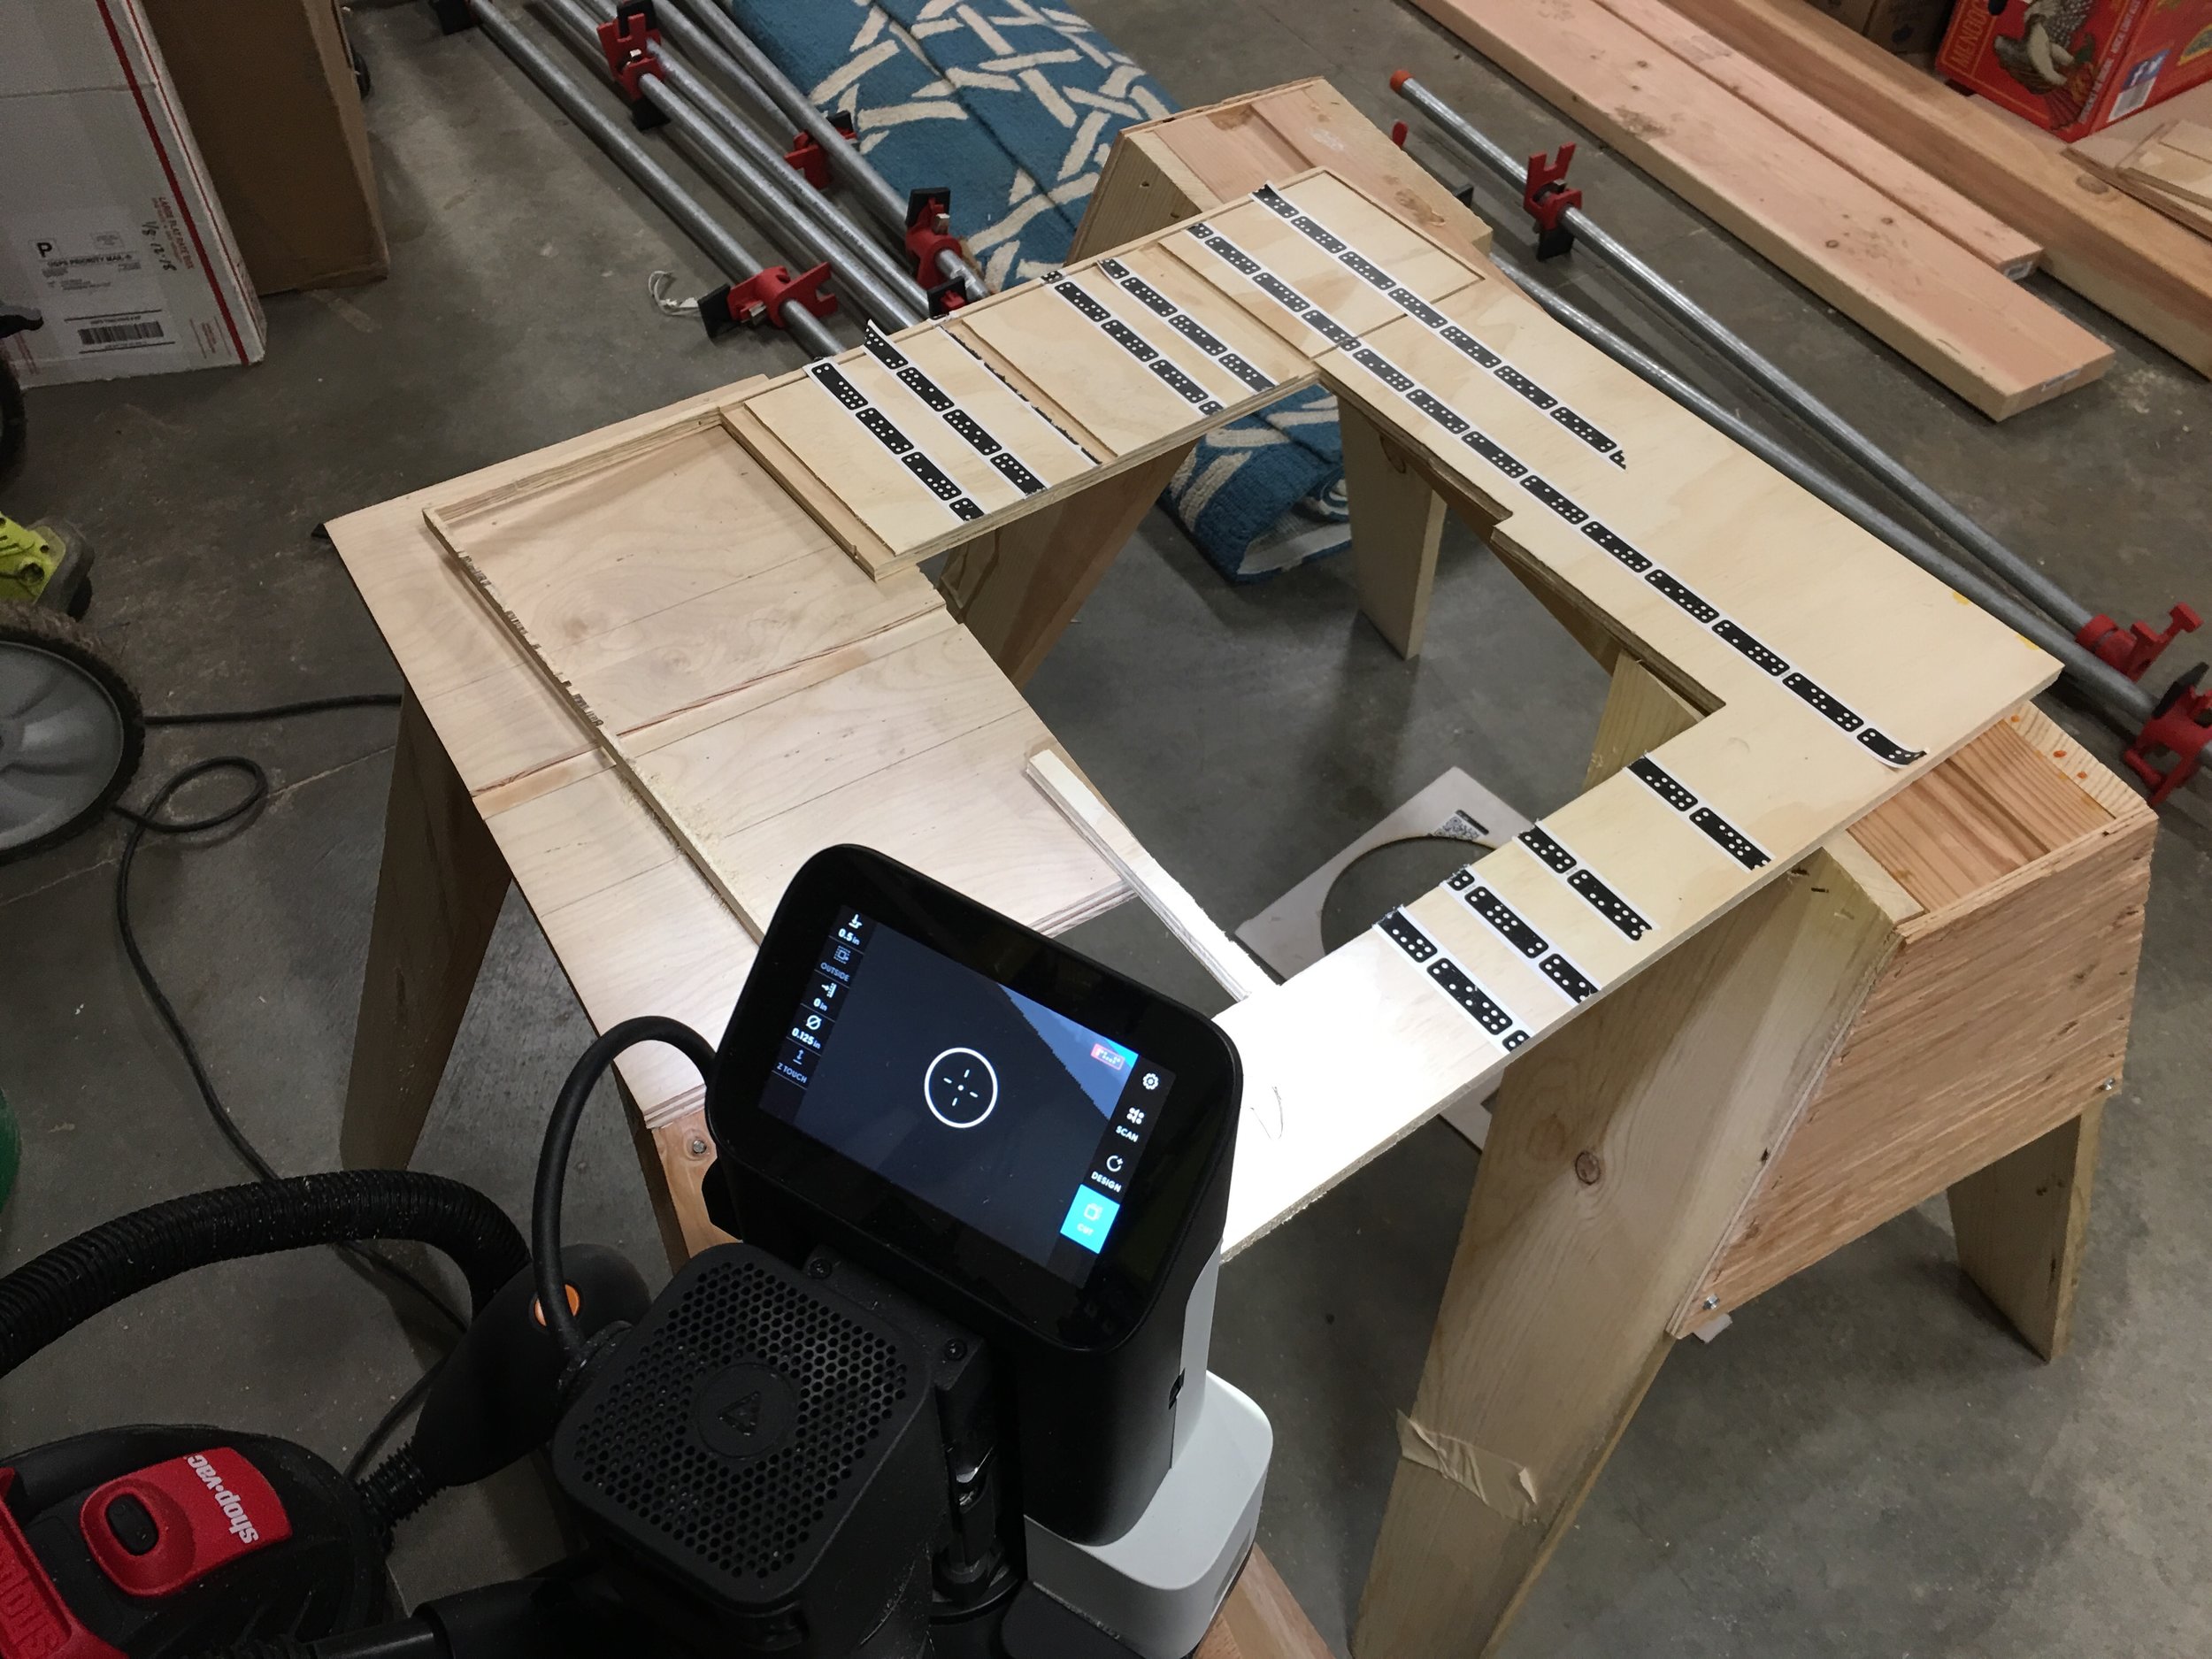
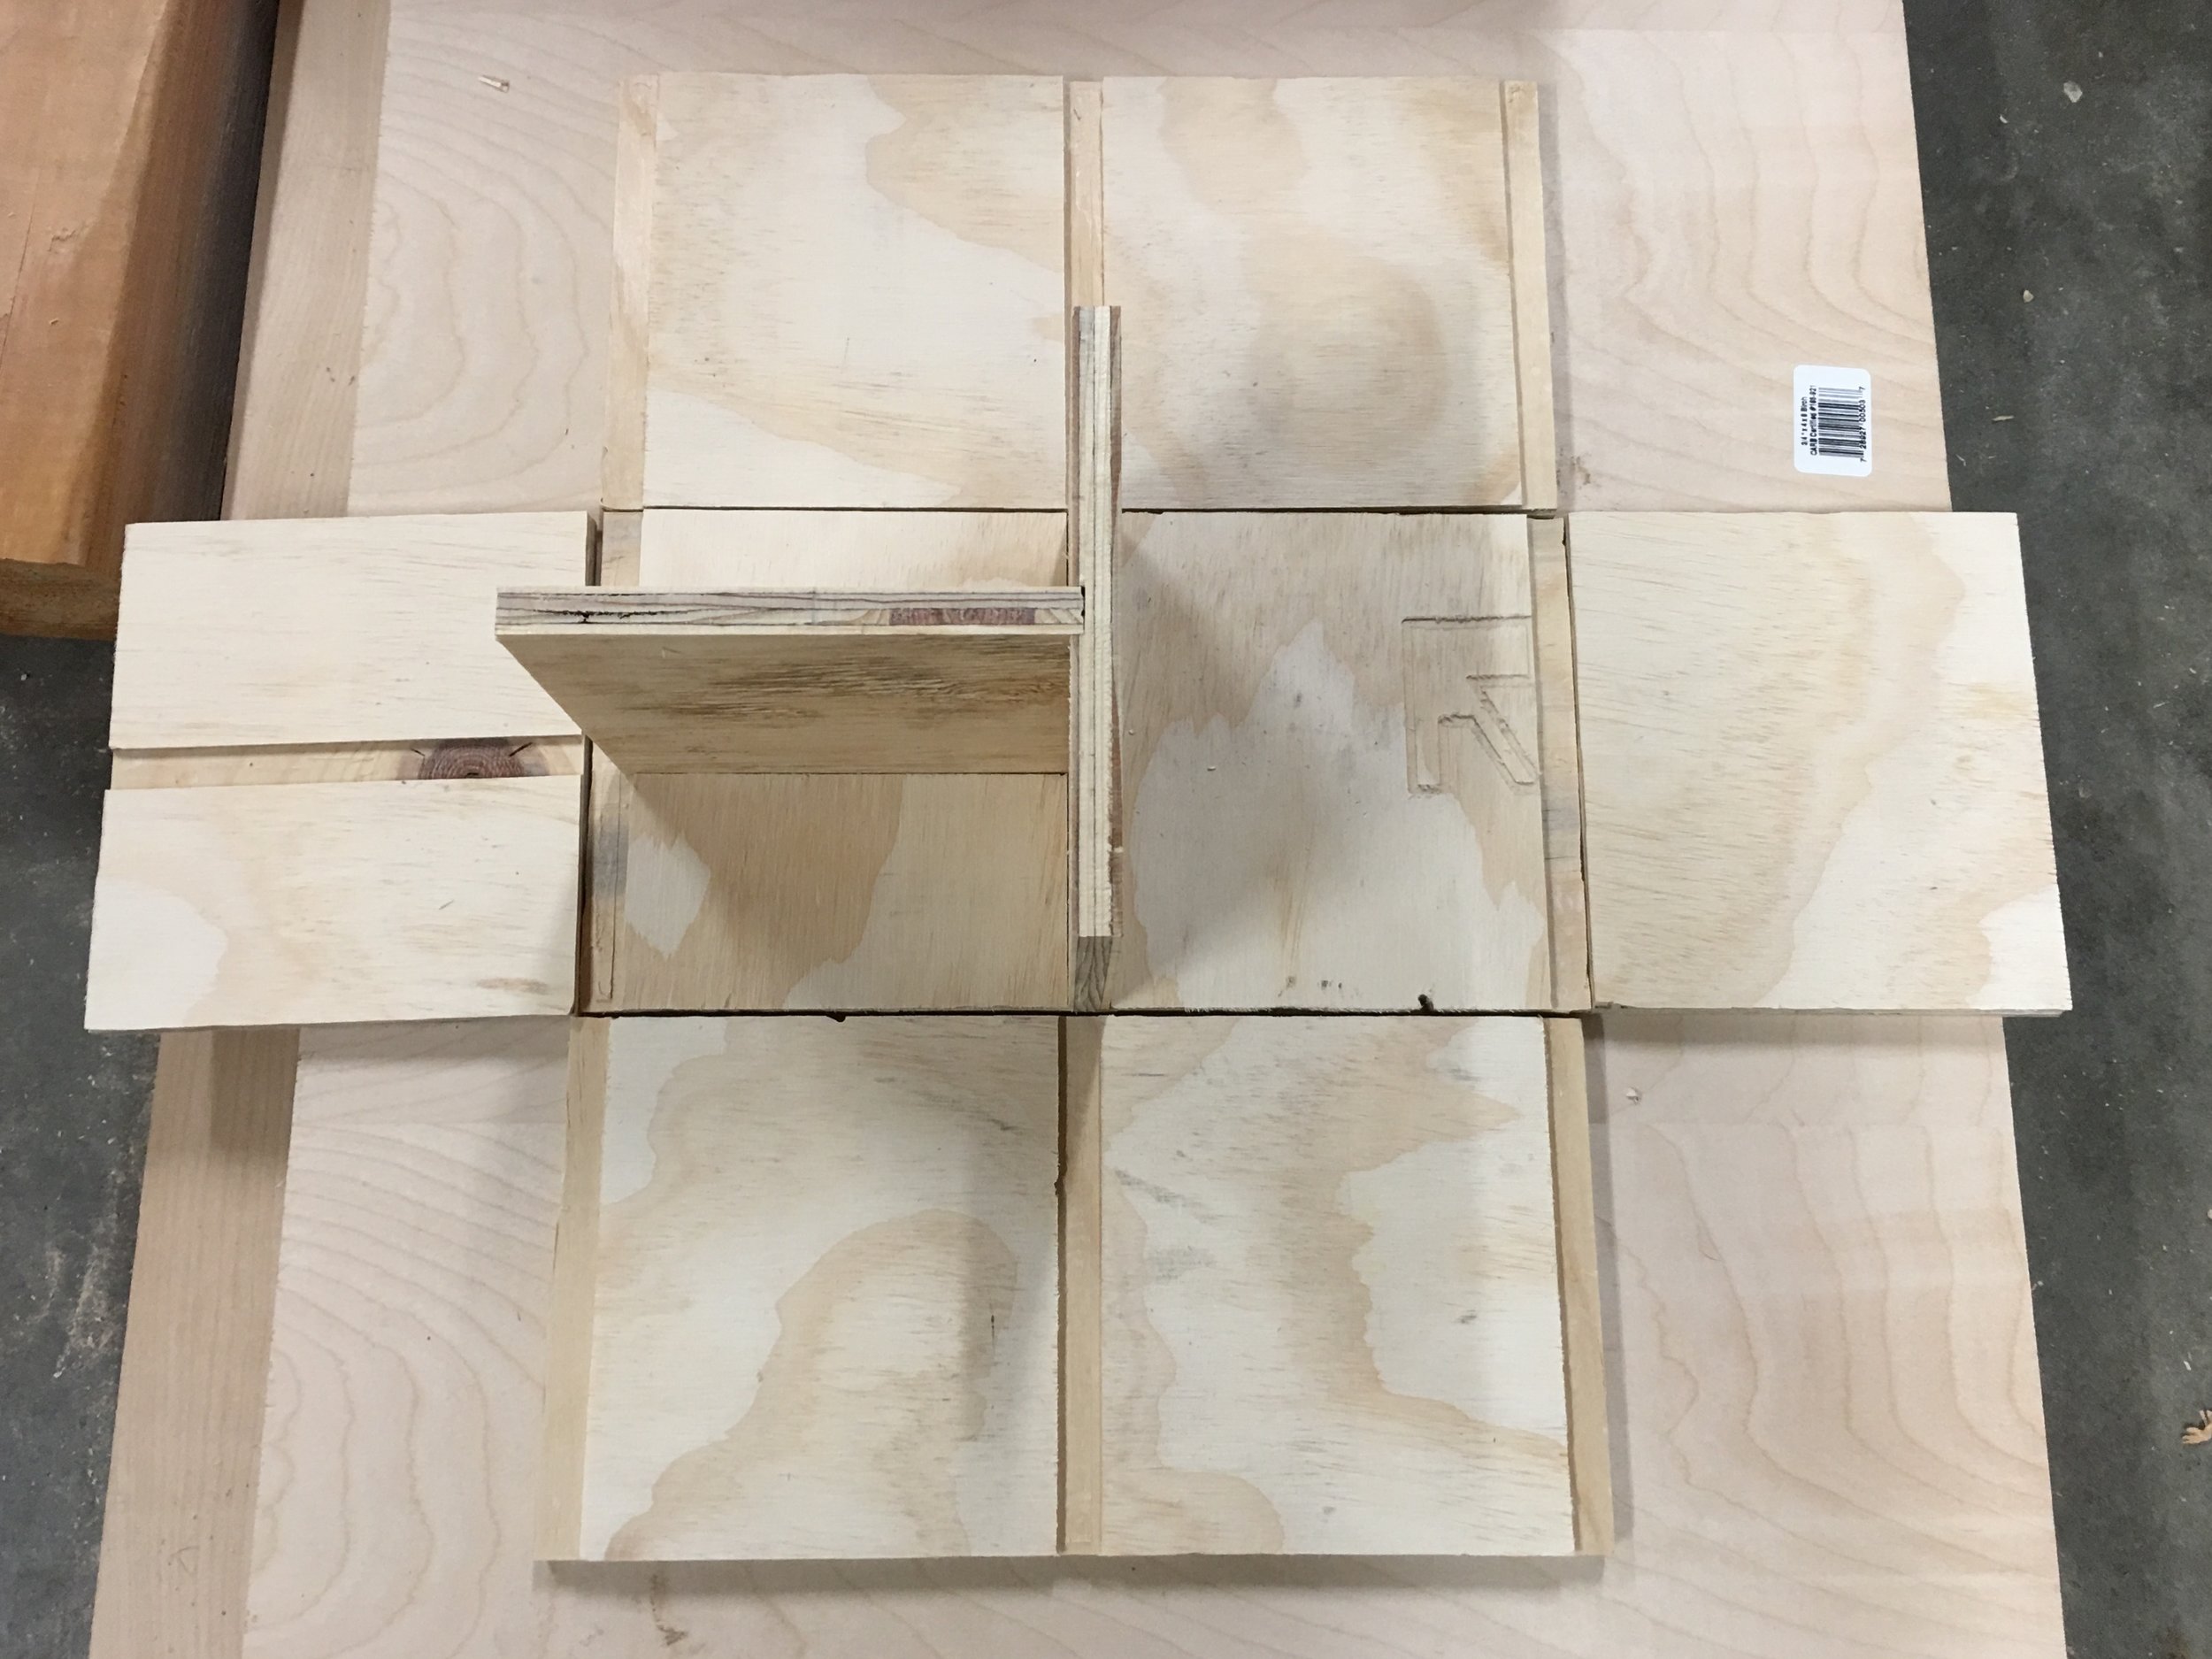
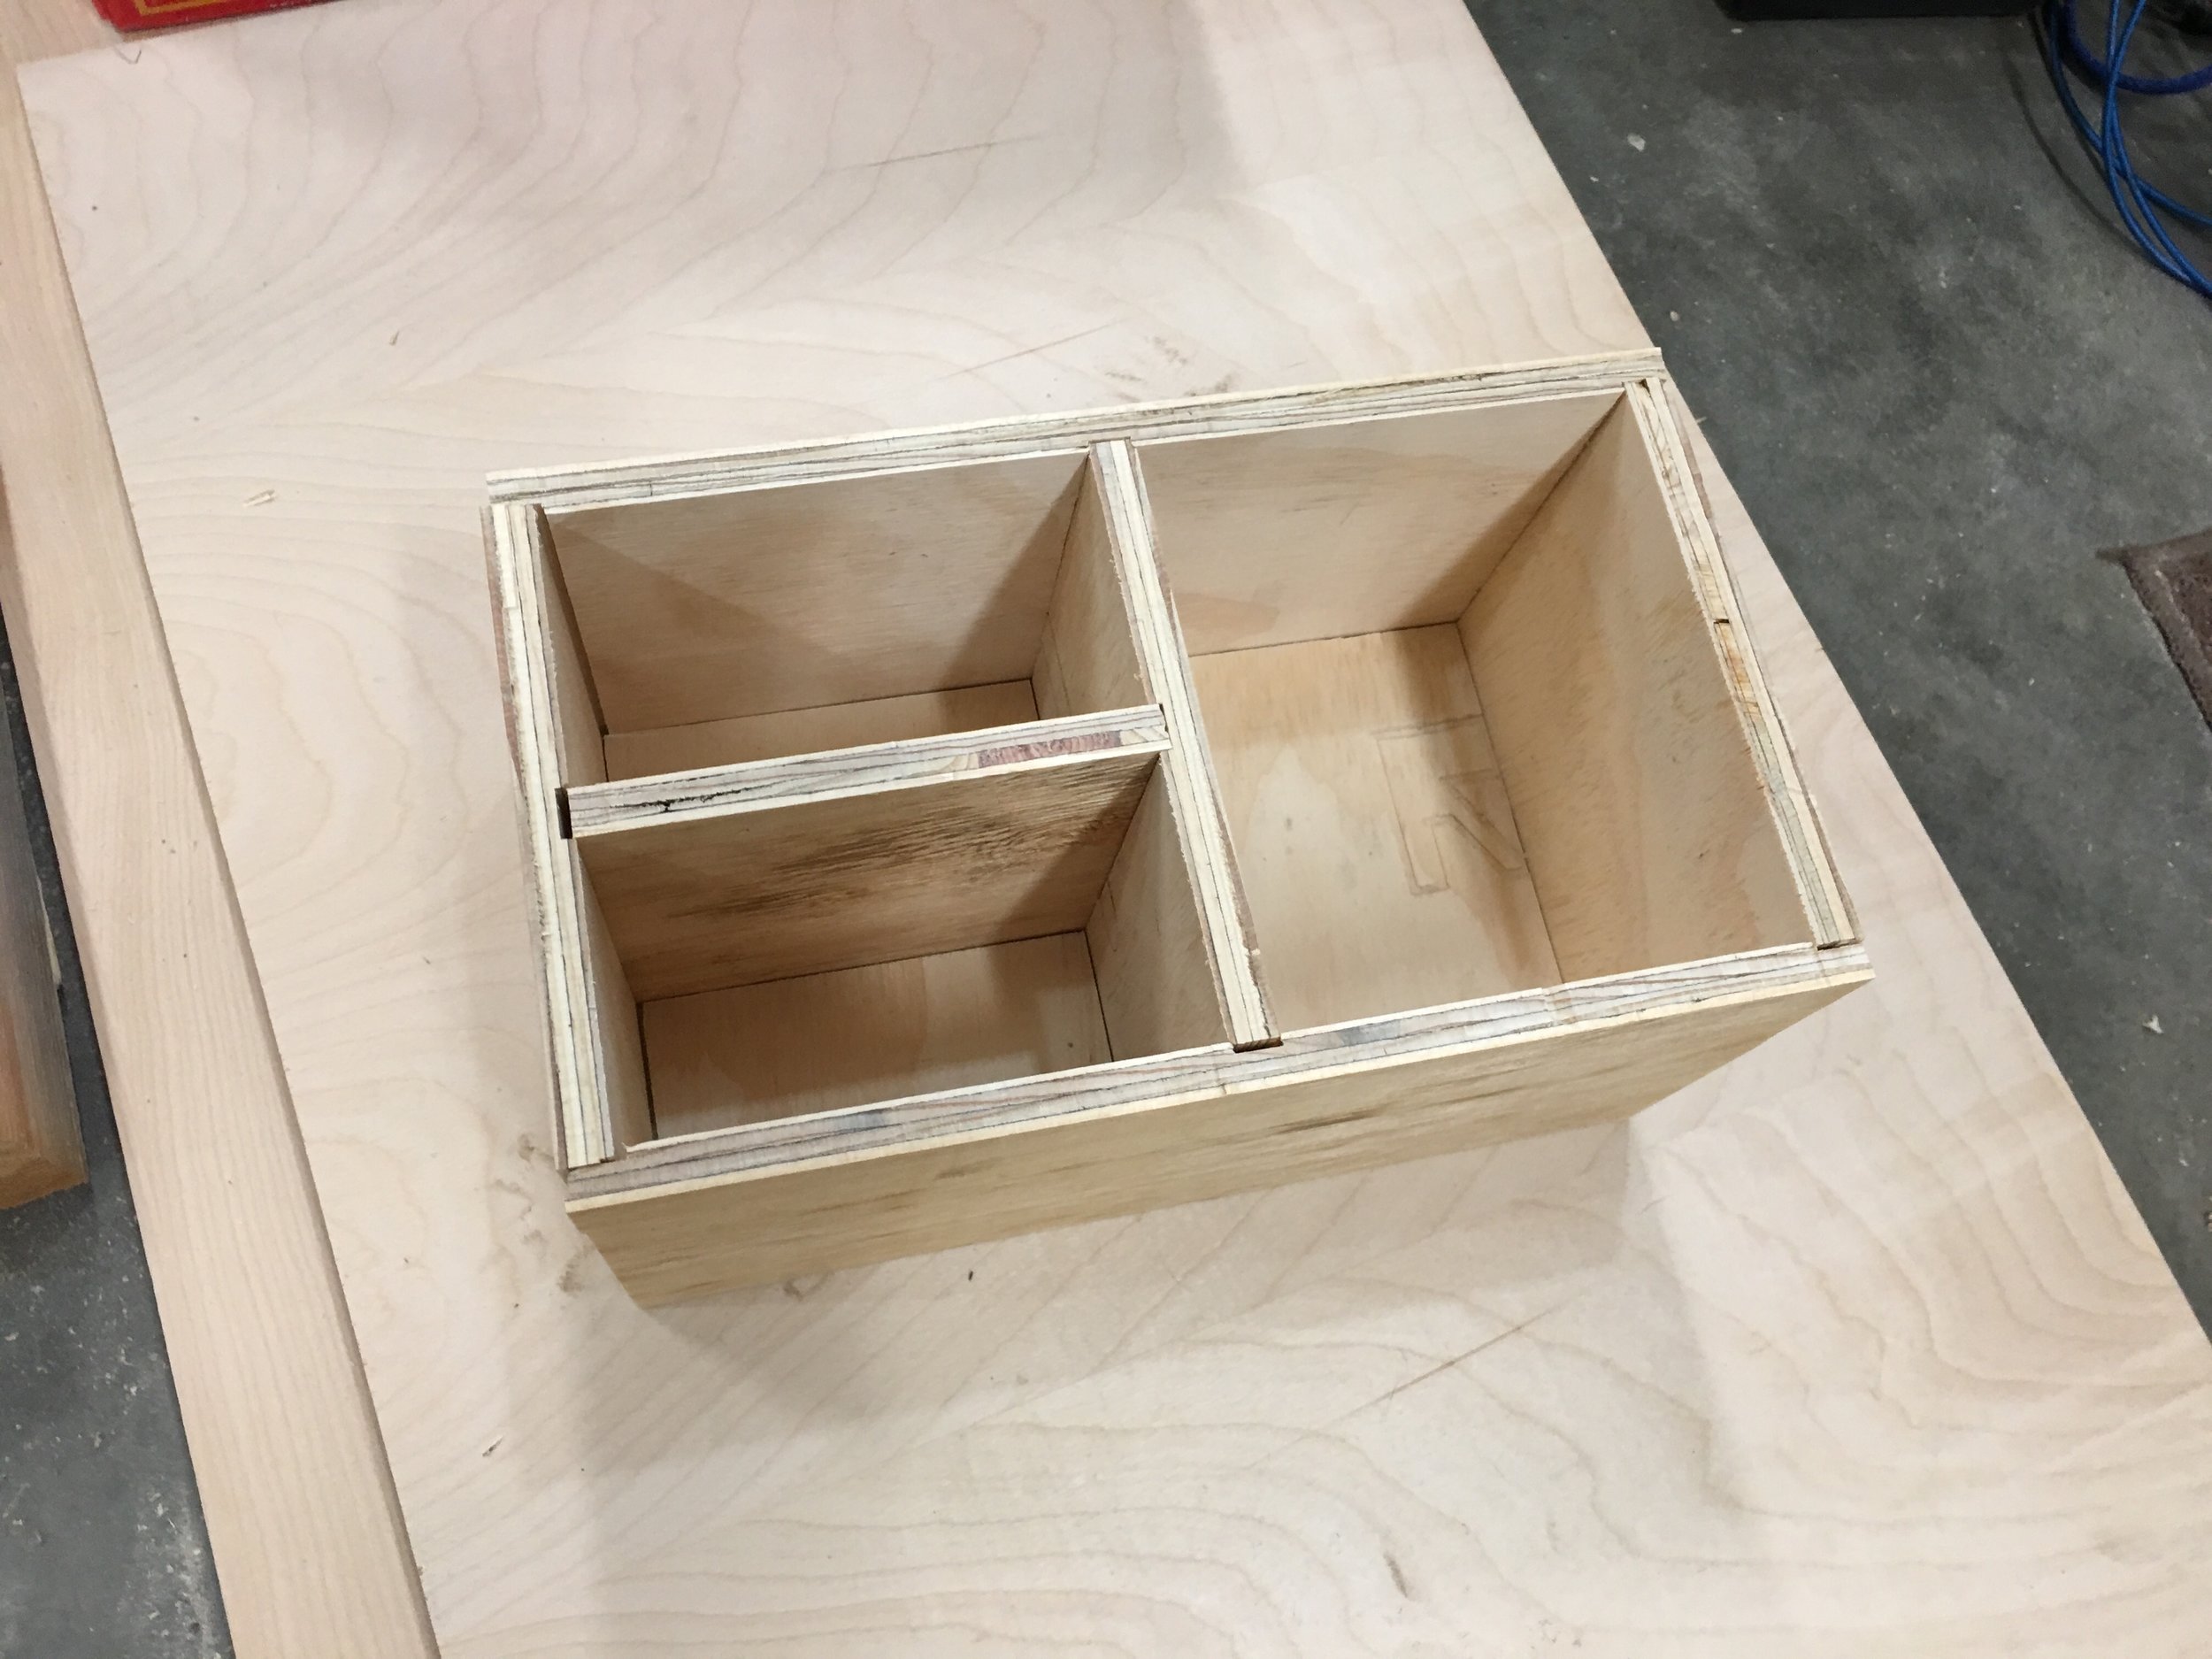
Oh, and here are some shots of the Shaper Origin making a smaller shelf/organizer.