
Introduction
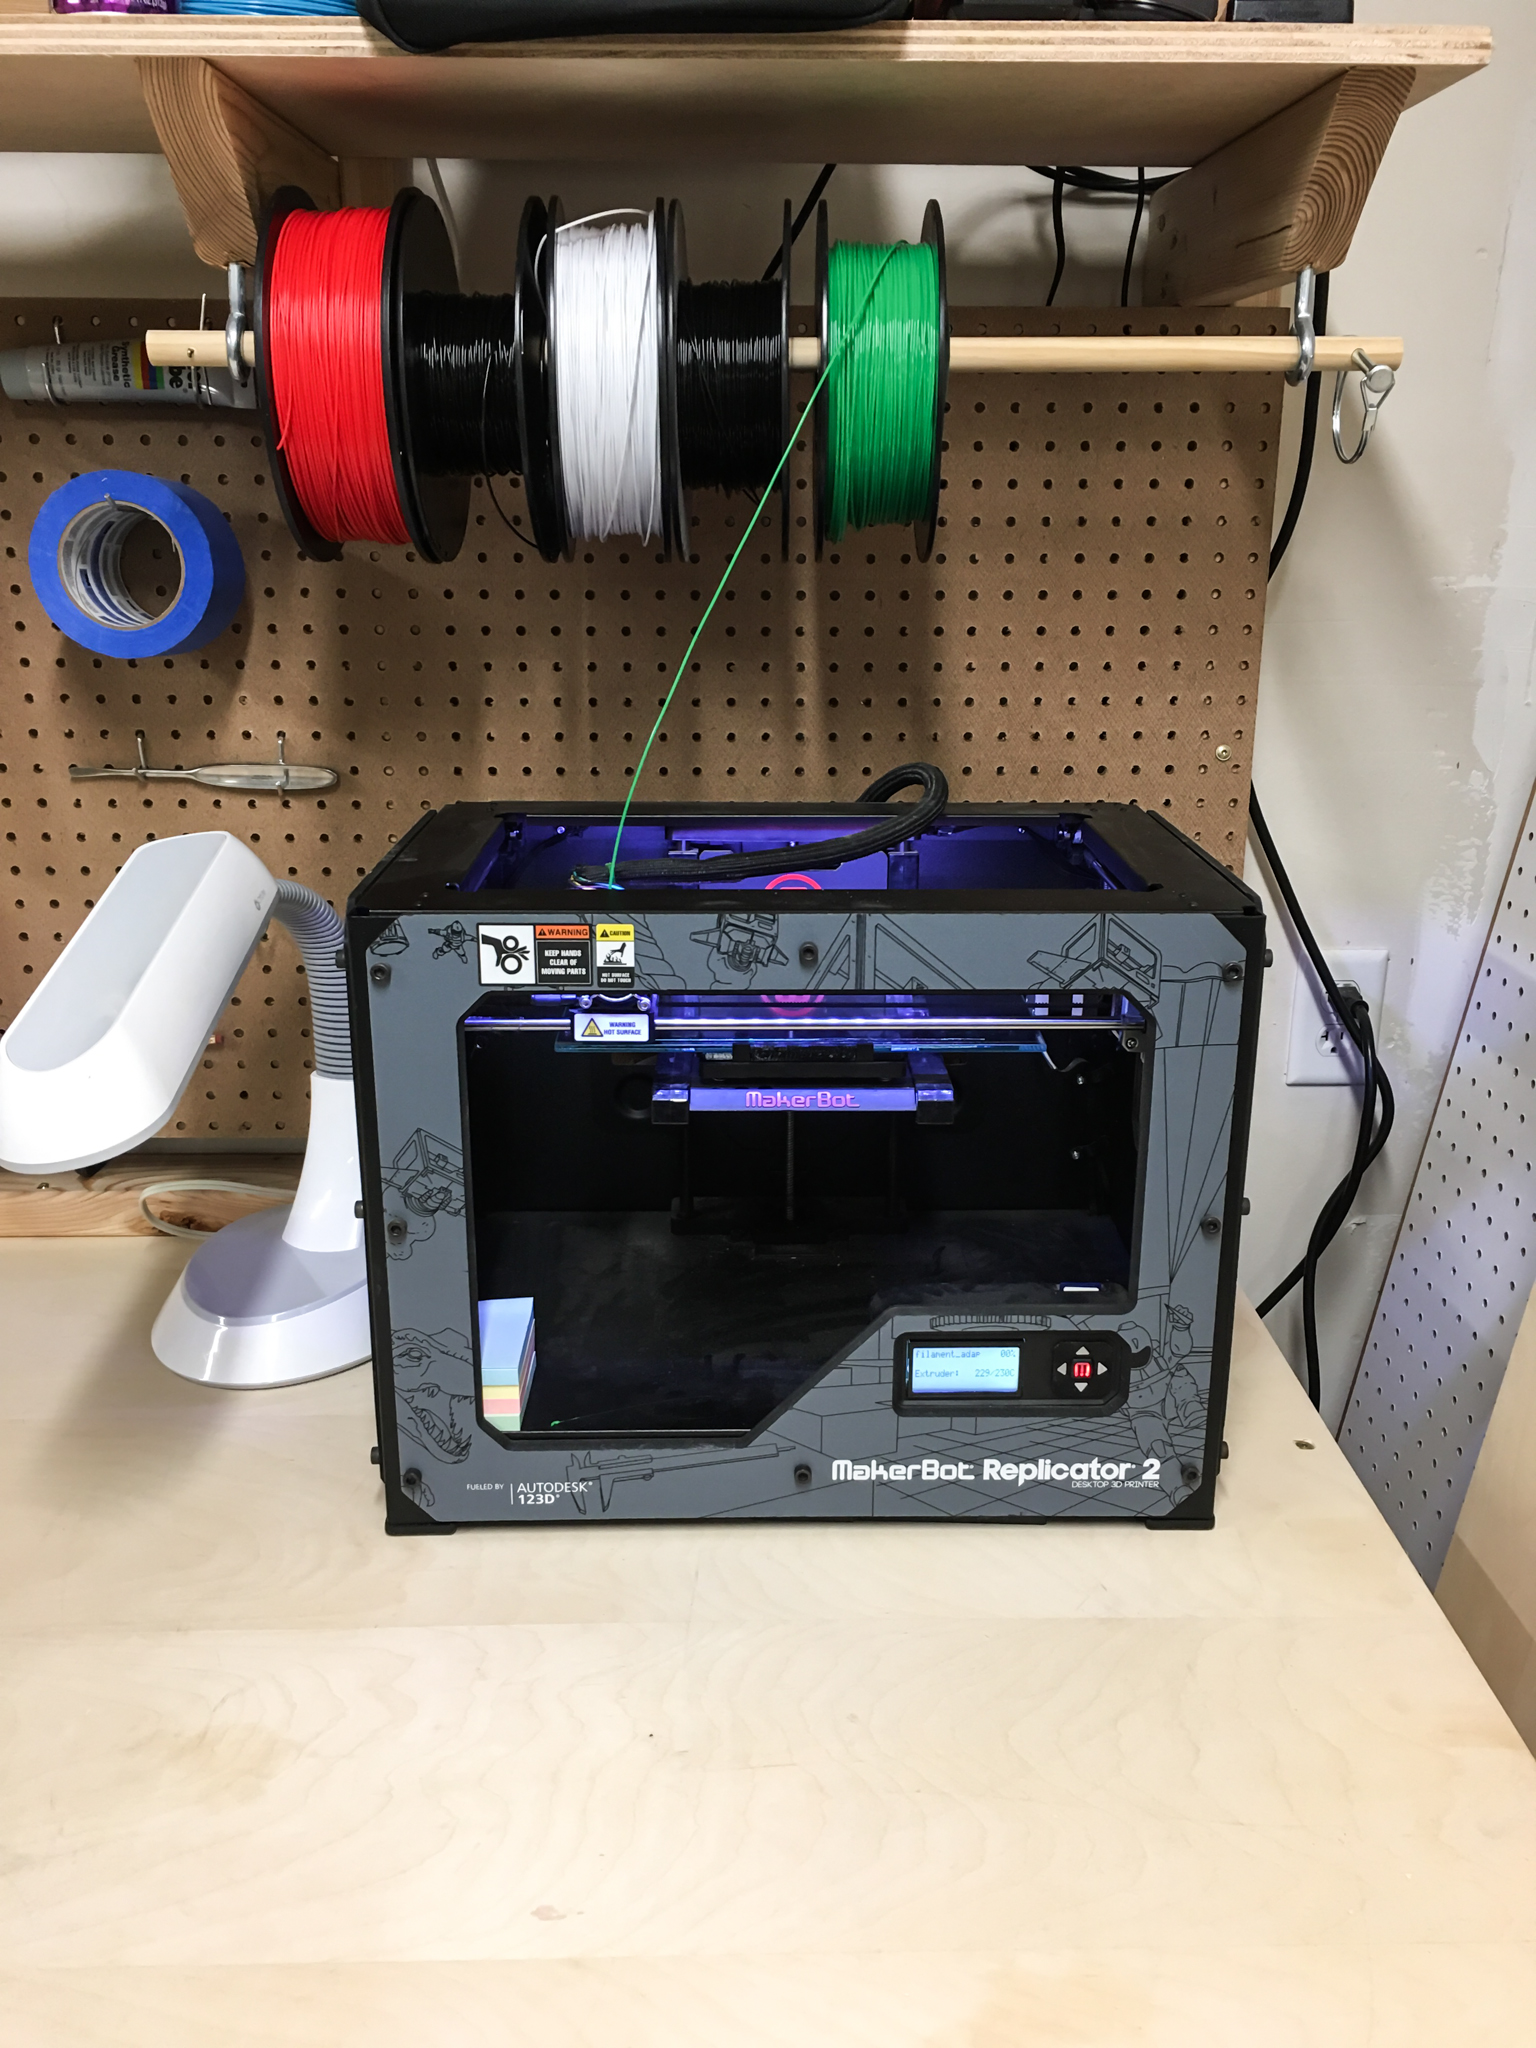
A couple months ago I built a workbench for my garage. Since building it, I've had a section of it dedicated to my 3D printer with relevant tools hanging on the pegboard next to it. It's been great having a spot for the printer, but it's been a pain to change the filament because of how tall the workbench is and the filament is mounted on the back of the printer. After breaking my filament holder by accidentally dropping a 2x4 on it when the printer was turned sideways on the workbench, I decided to follow through with an idea for holding all of my filament above my printer. Having all my filament on a rod above the printer would make it so I could easily swap out different filaments without having to move the printer or shuffle rolls of filament around. Instead, I could just unload one filament, and load the end from a different roll.
What you'll need
I ran to Home Depot and grabbed the following. You can buy these online and pick up your entire order from the customer service desk at your local store or ship directly to your house:
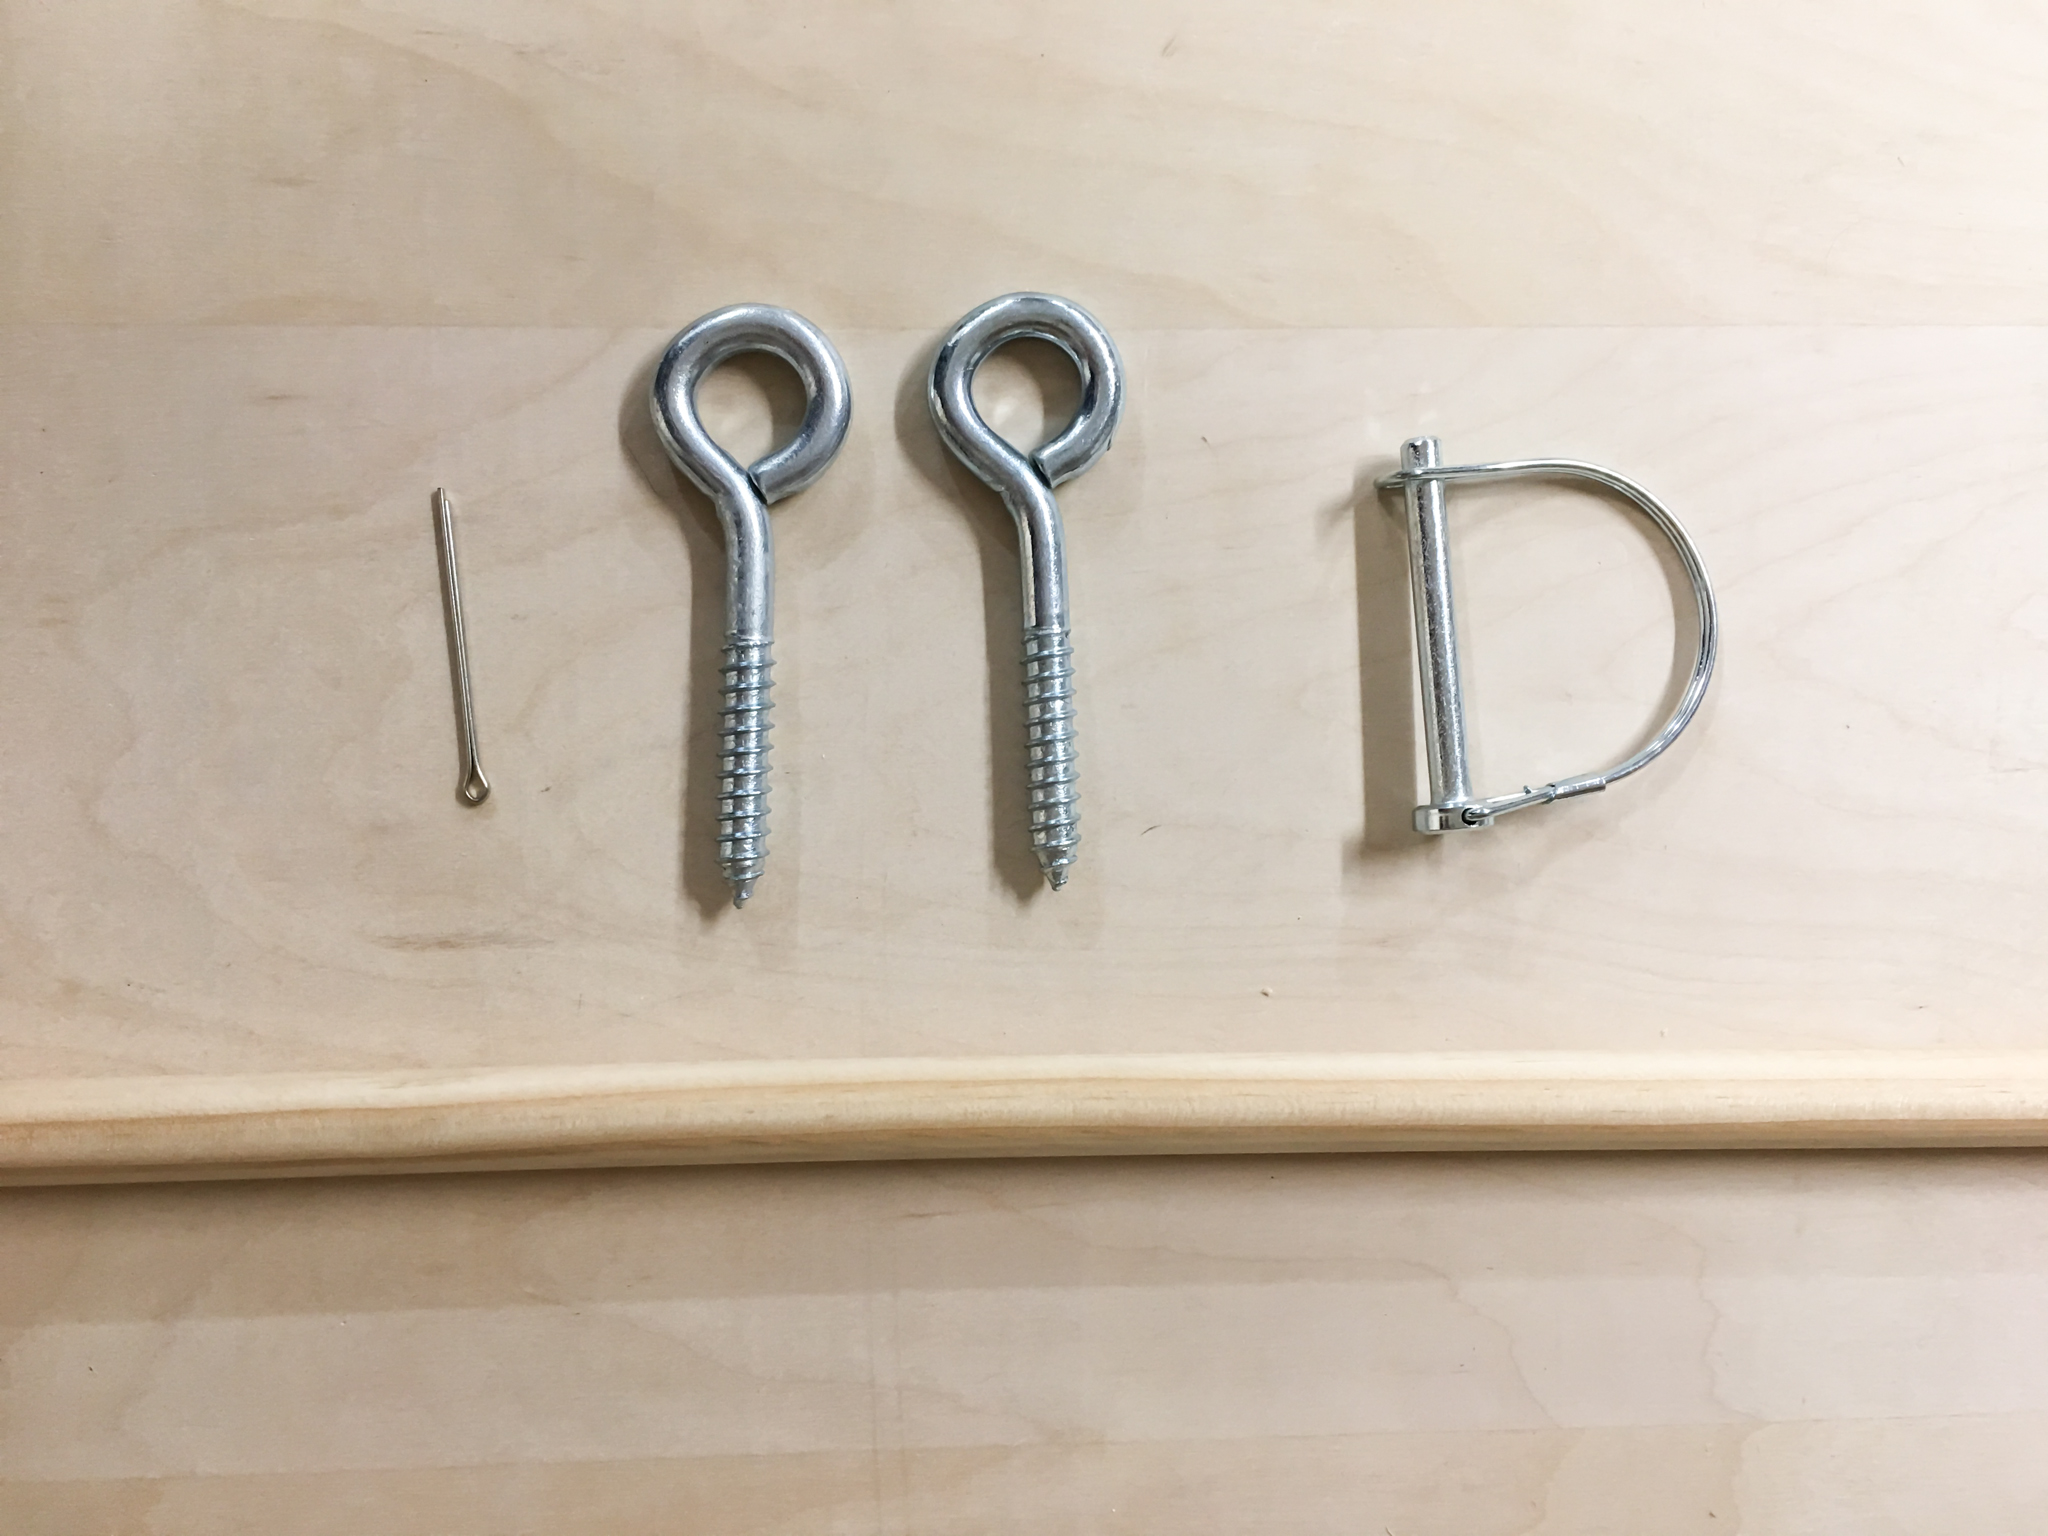
You'll also need a drill with a 5/16" bit and 3/32" bit and a saw to cut the dowel to length. I used my miter saw, but just about any saw can get through a 3/4" wood dowel.
Walkthrough
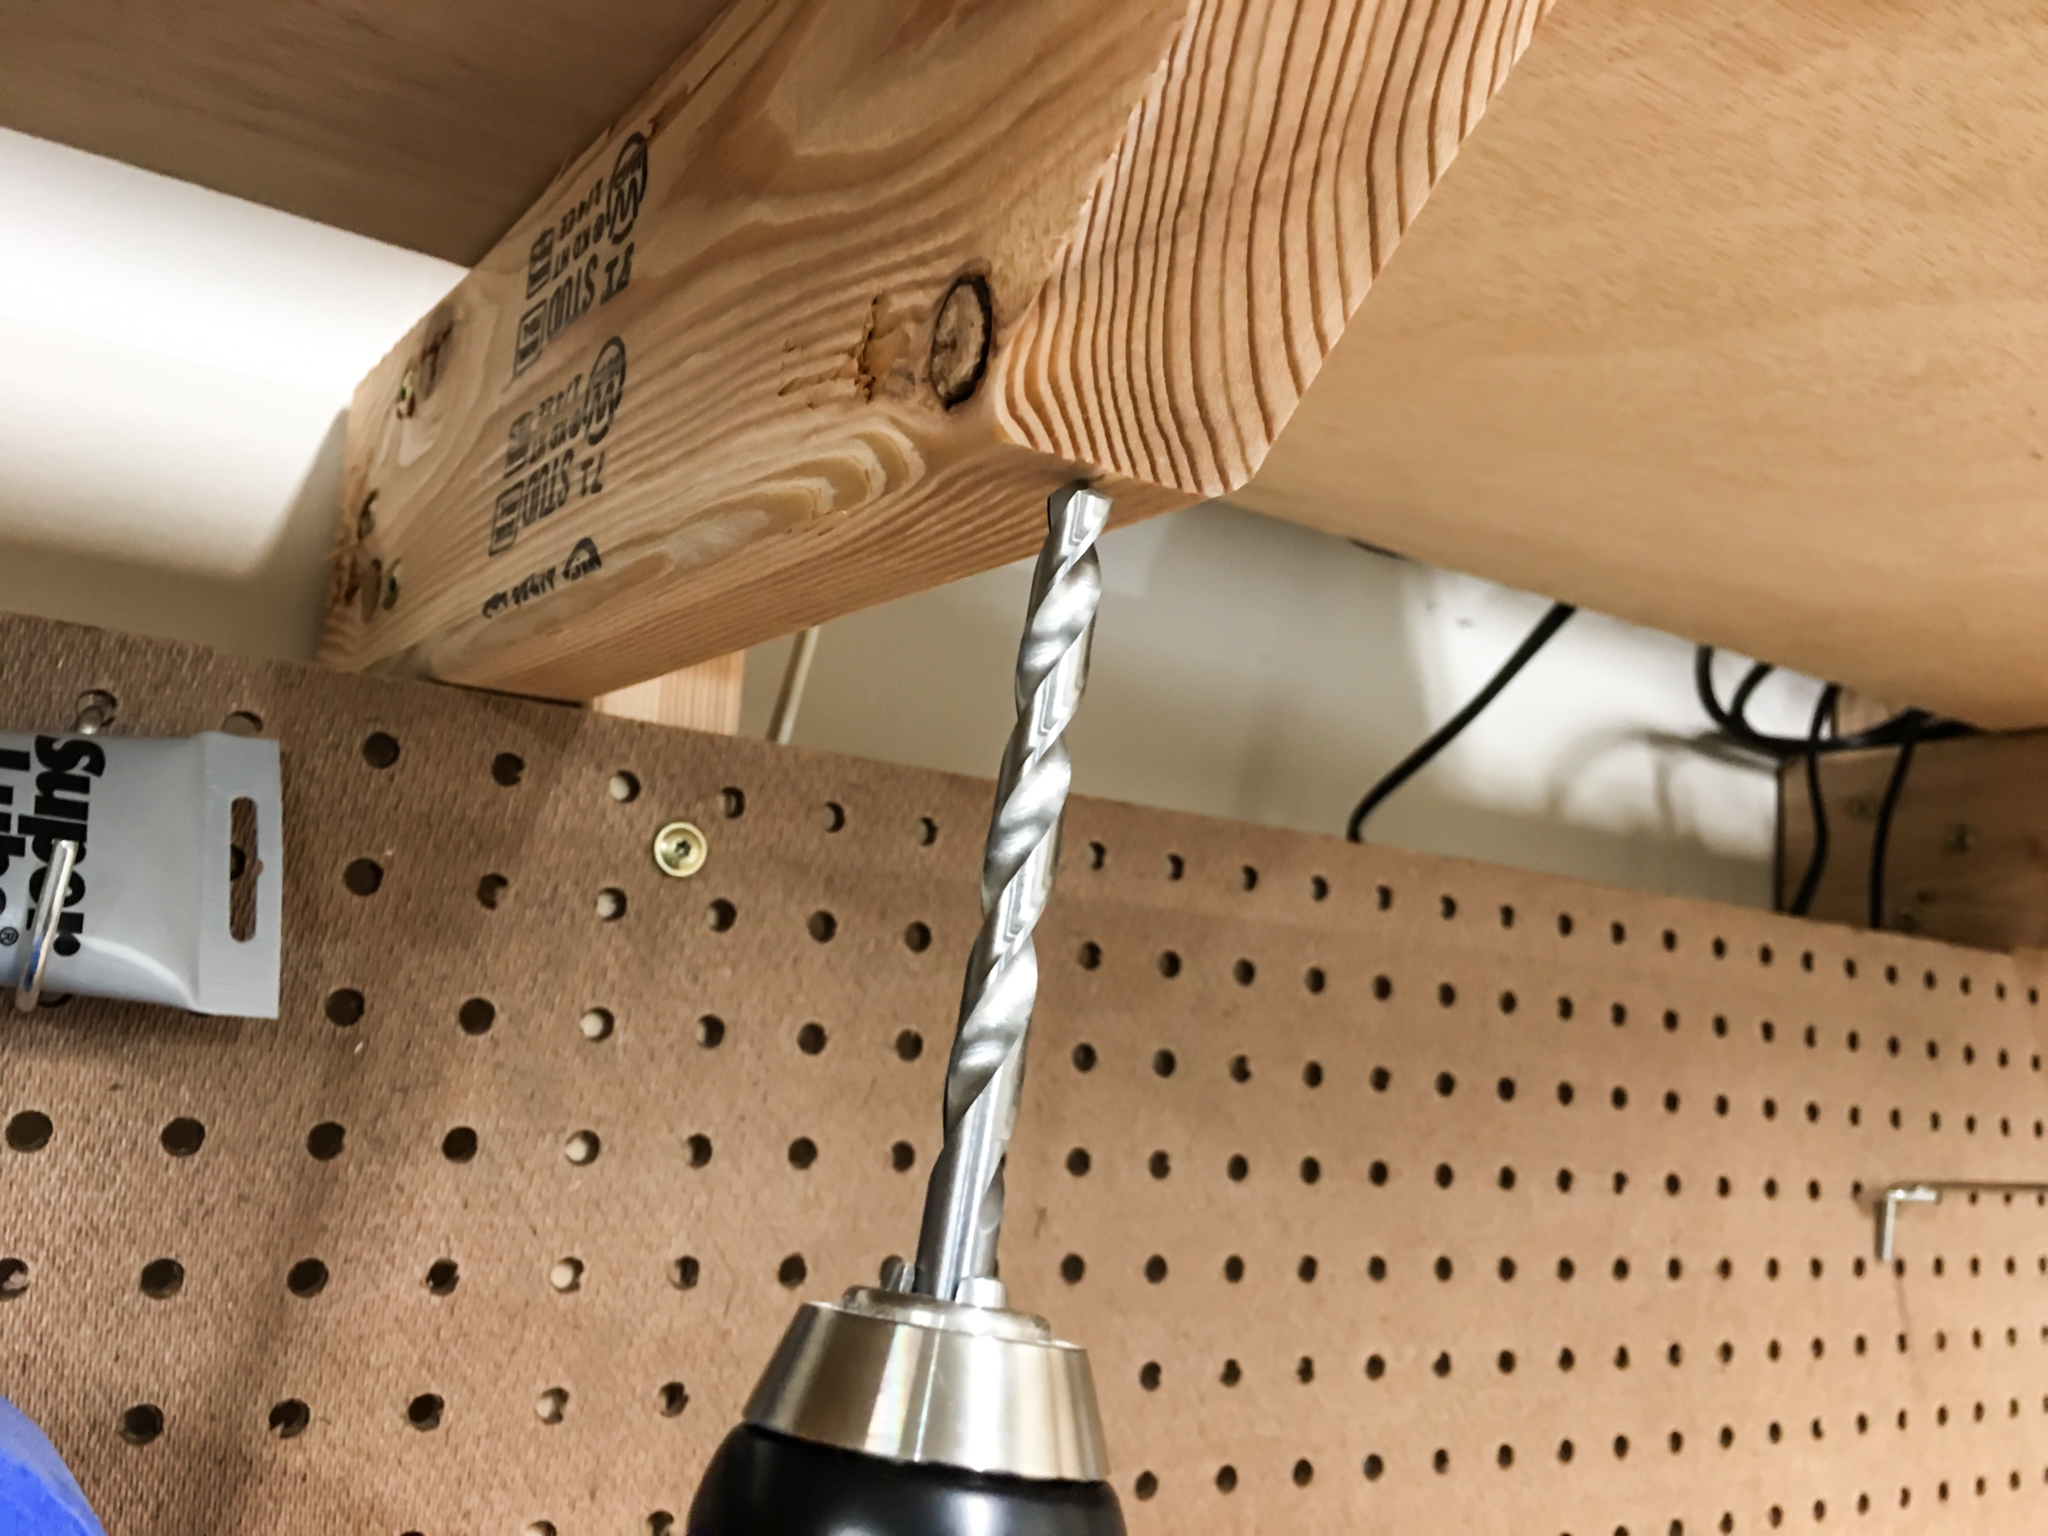
Load your 5/16" drill bit into your drill and make holes into the 2x4s holding up your workbench's shelf. I put my holes right before the 45 degree cut, but I could have gotten away with putting them a few inches in.
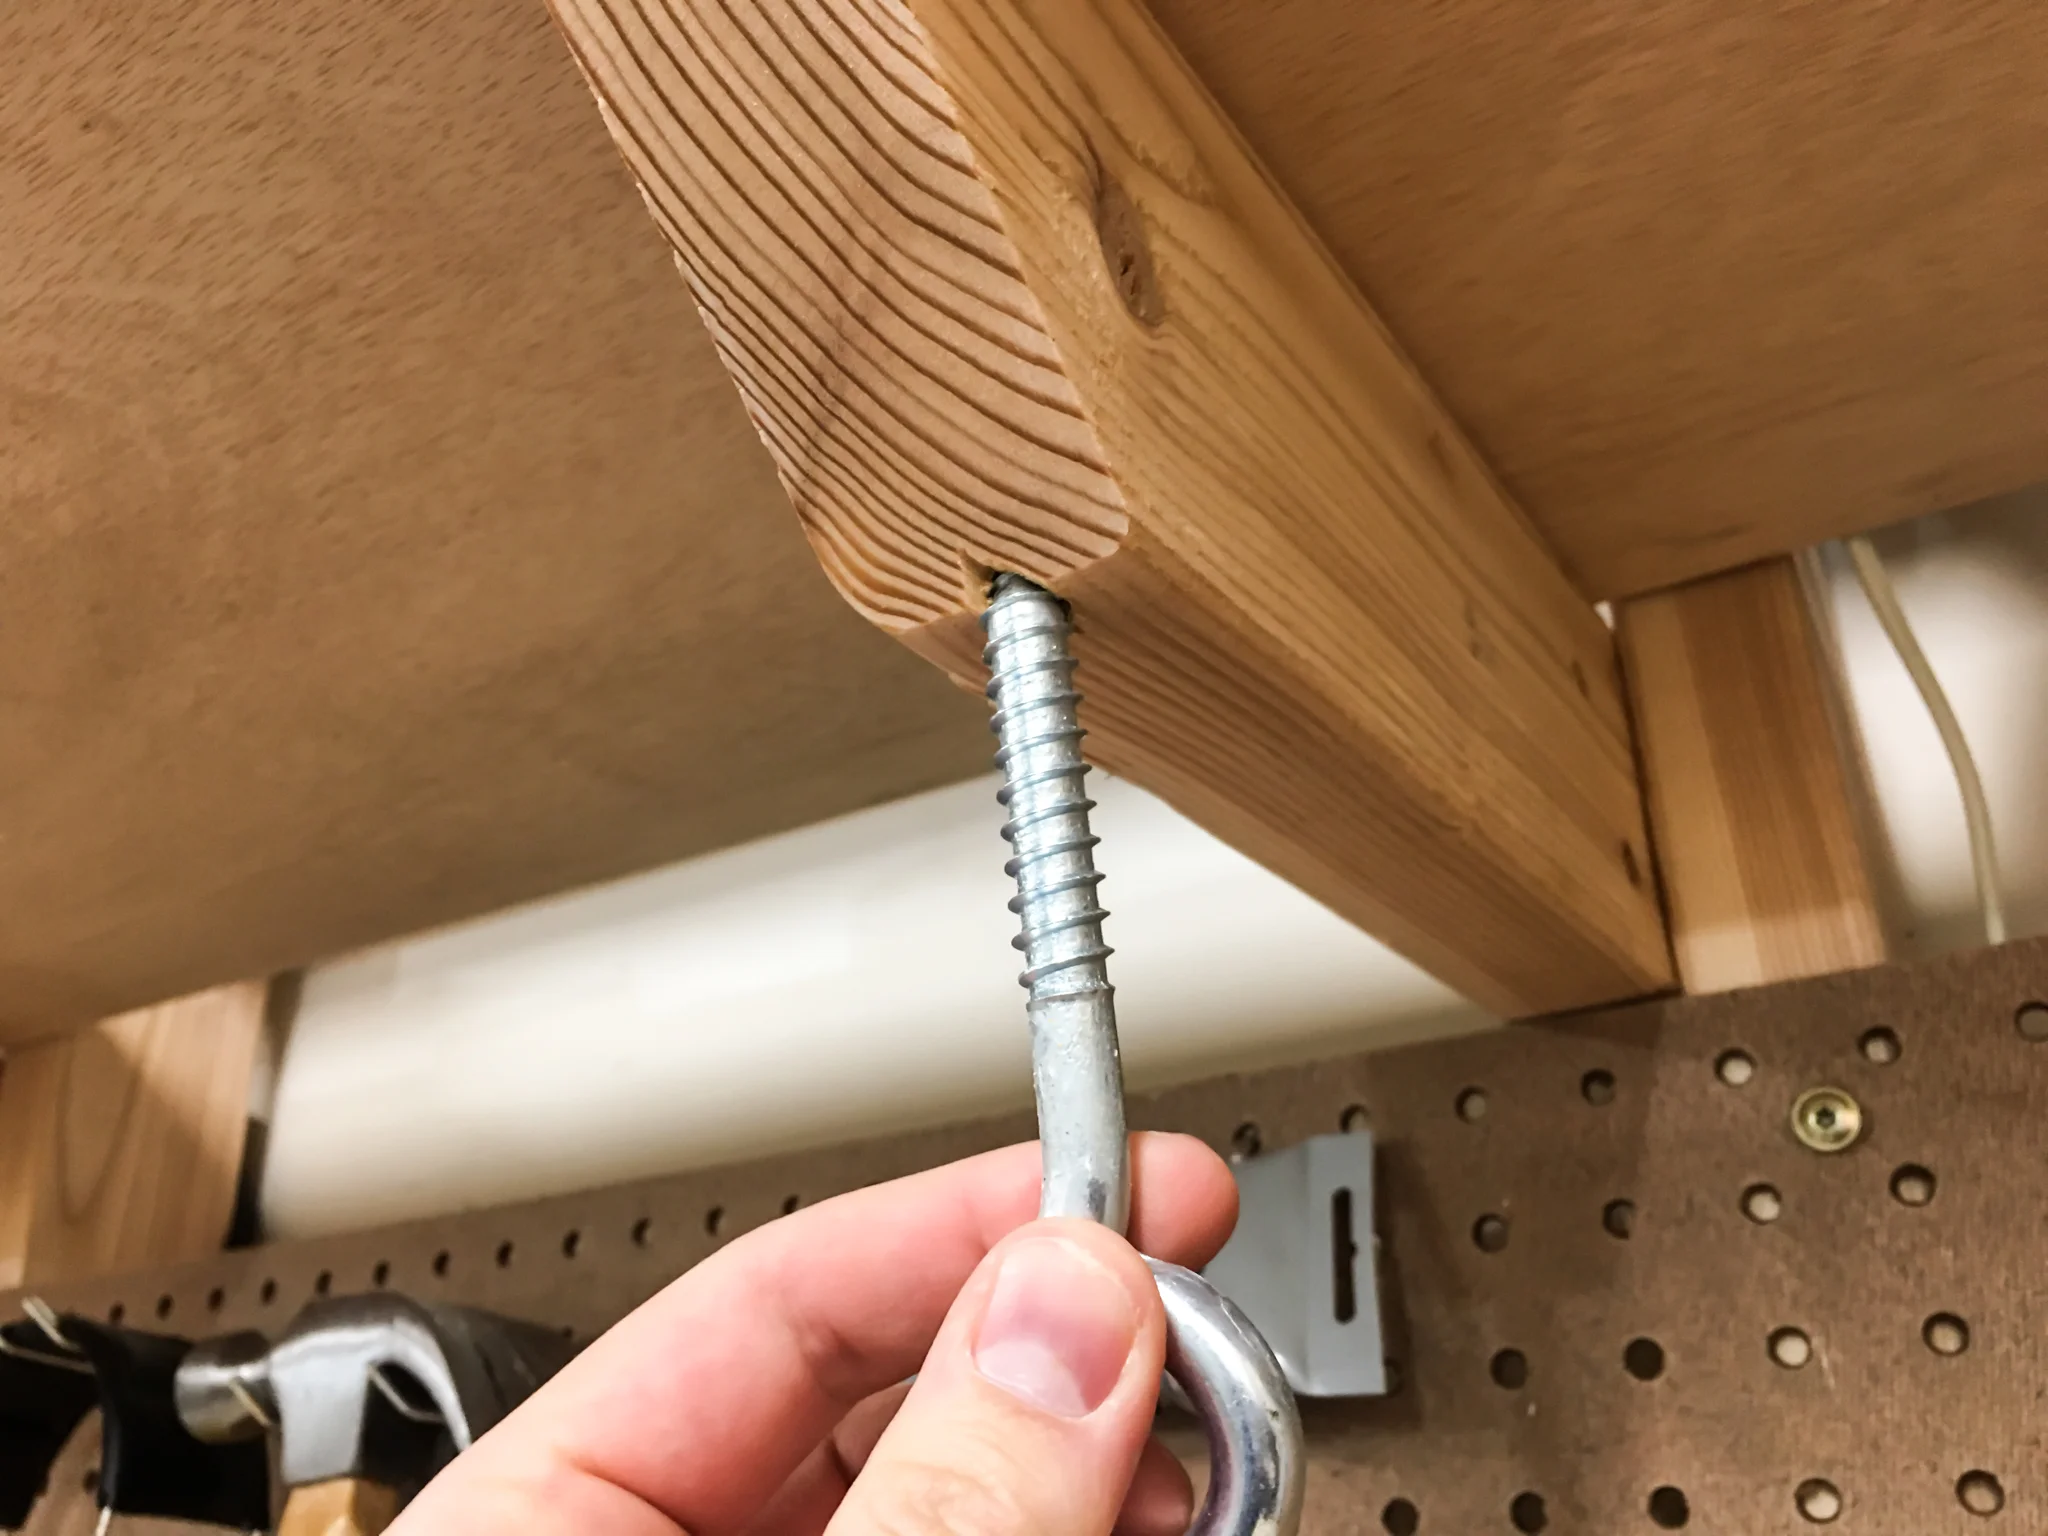
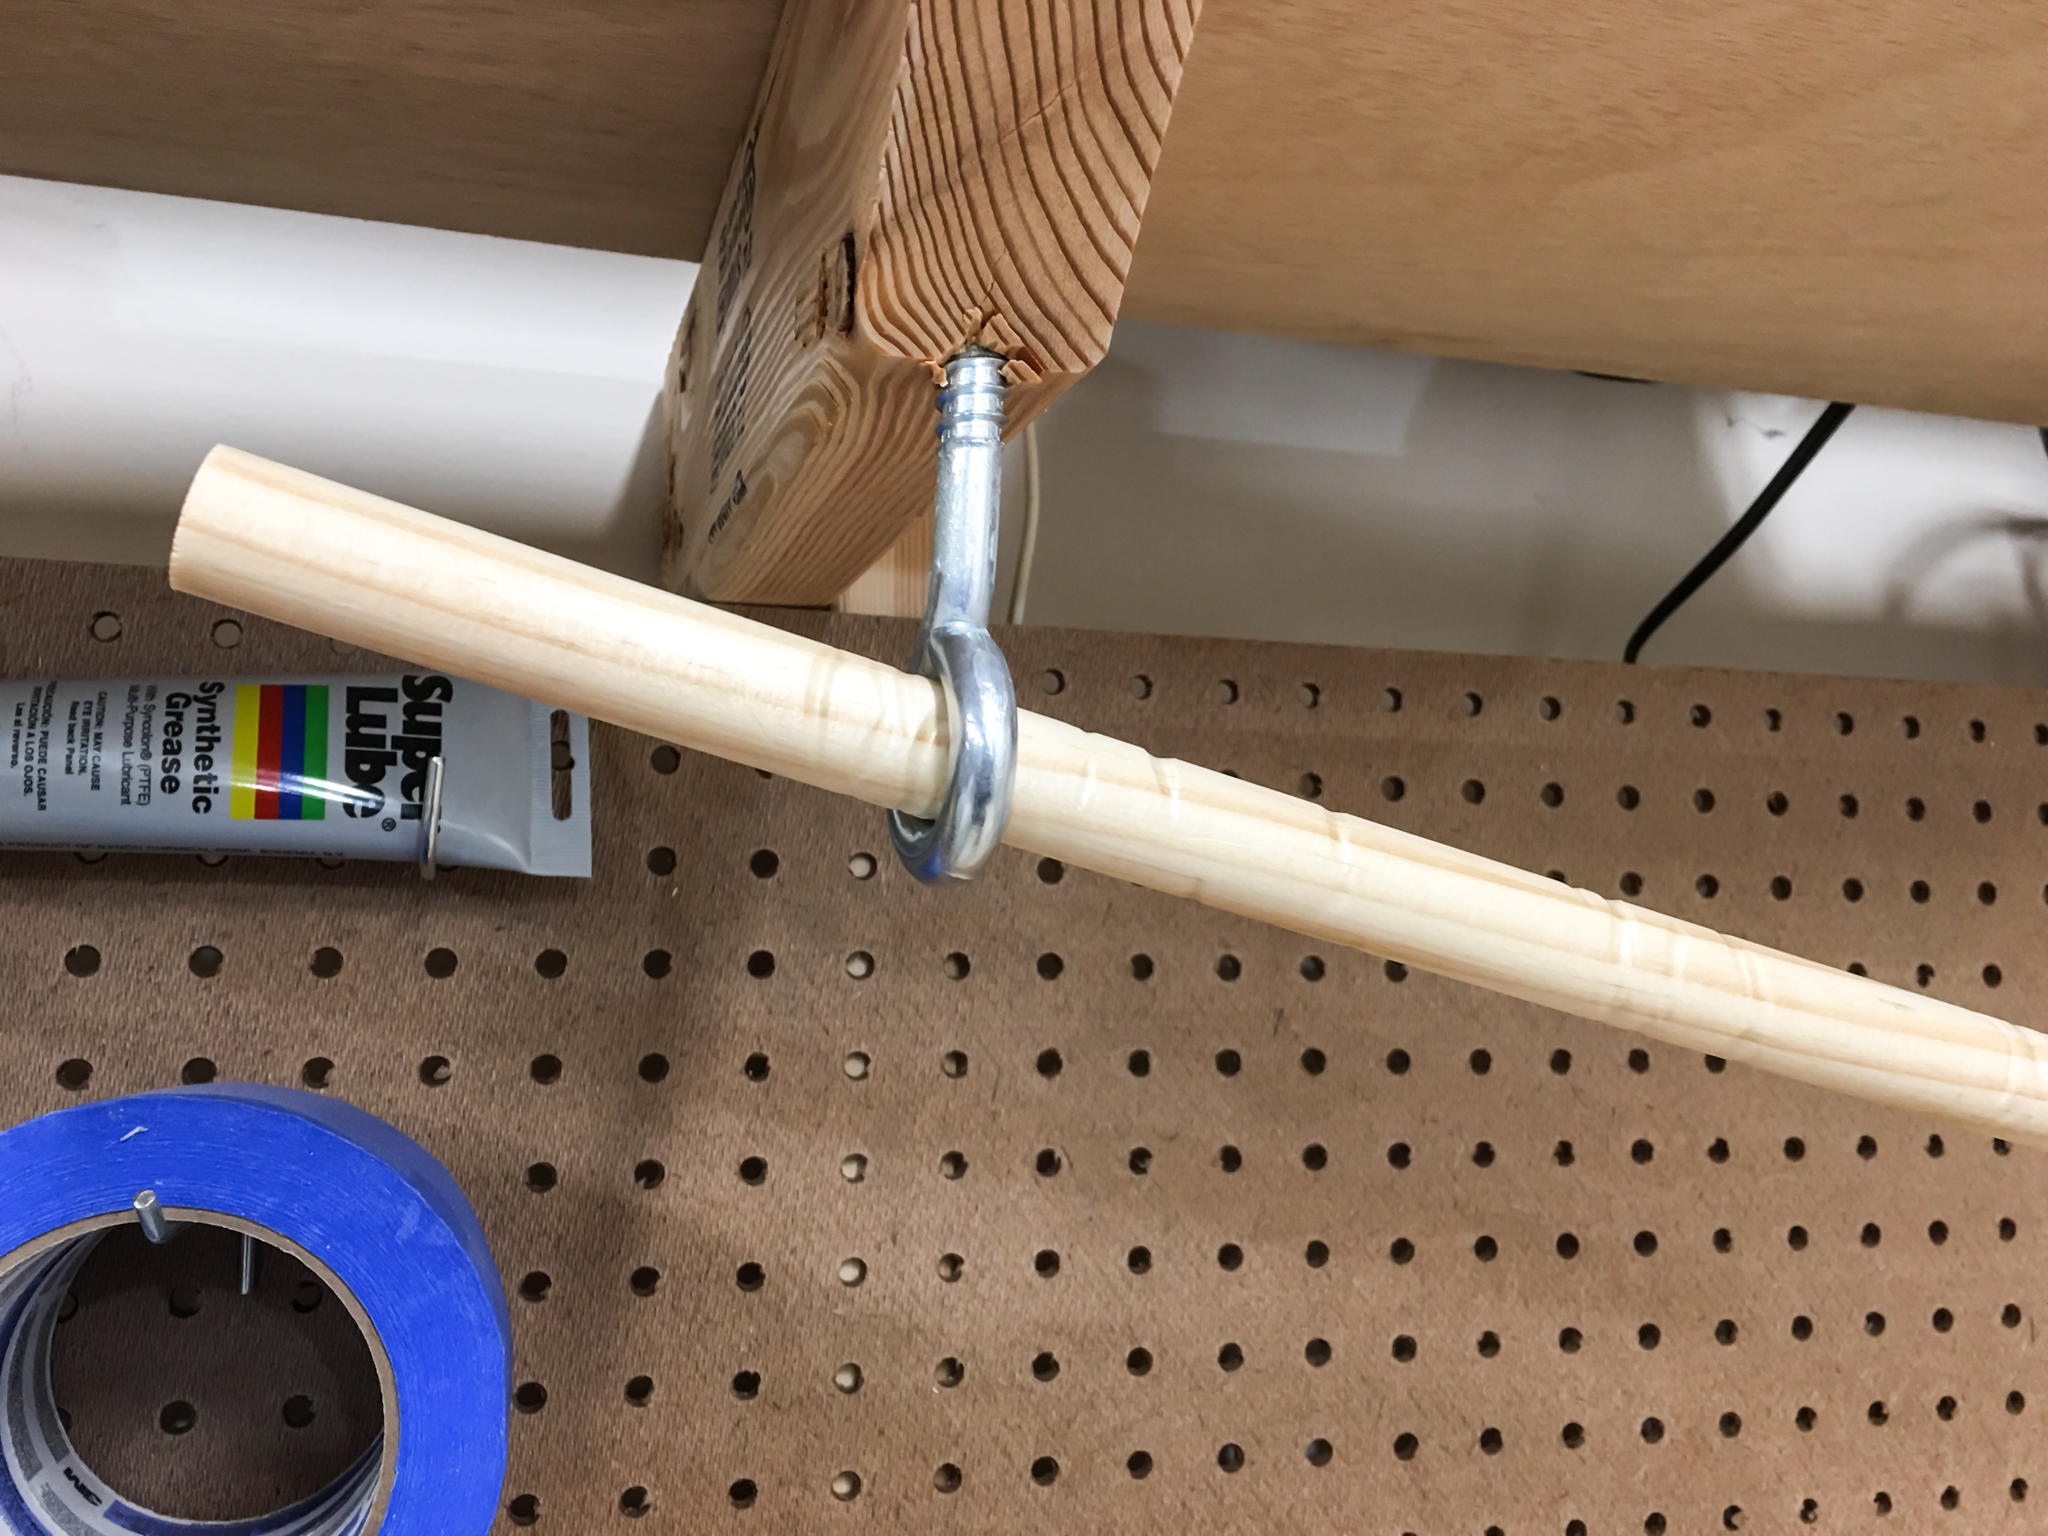
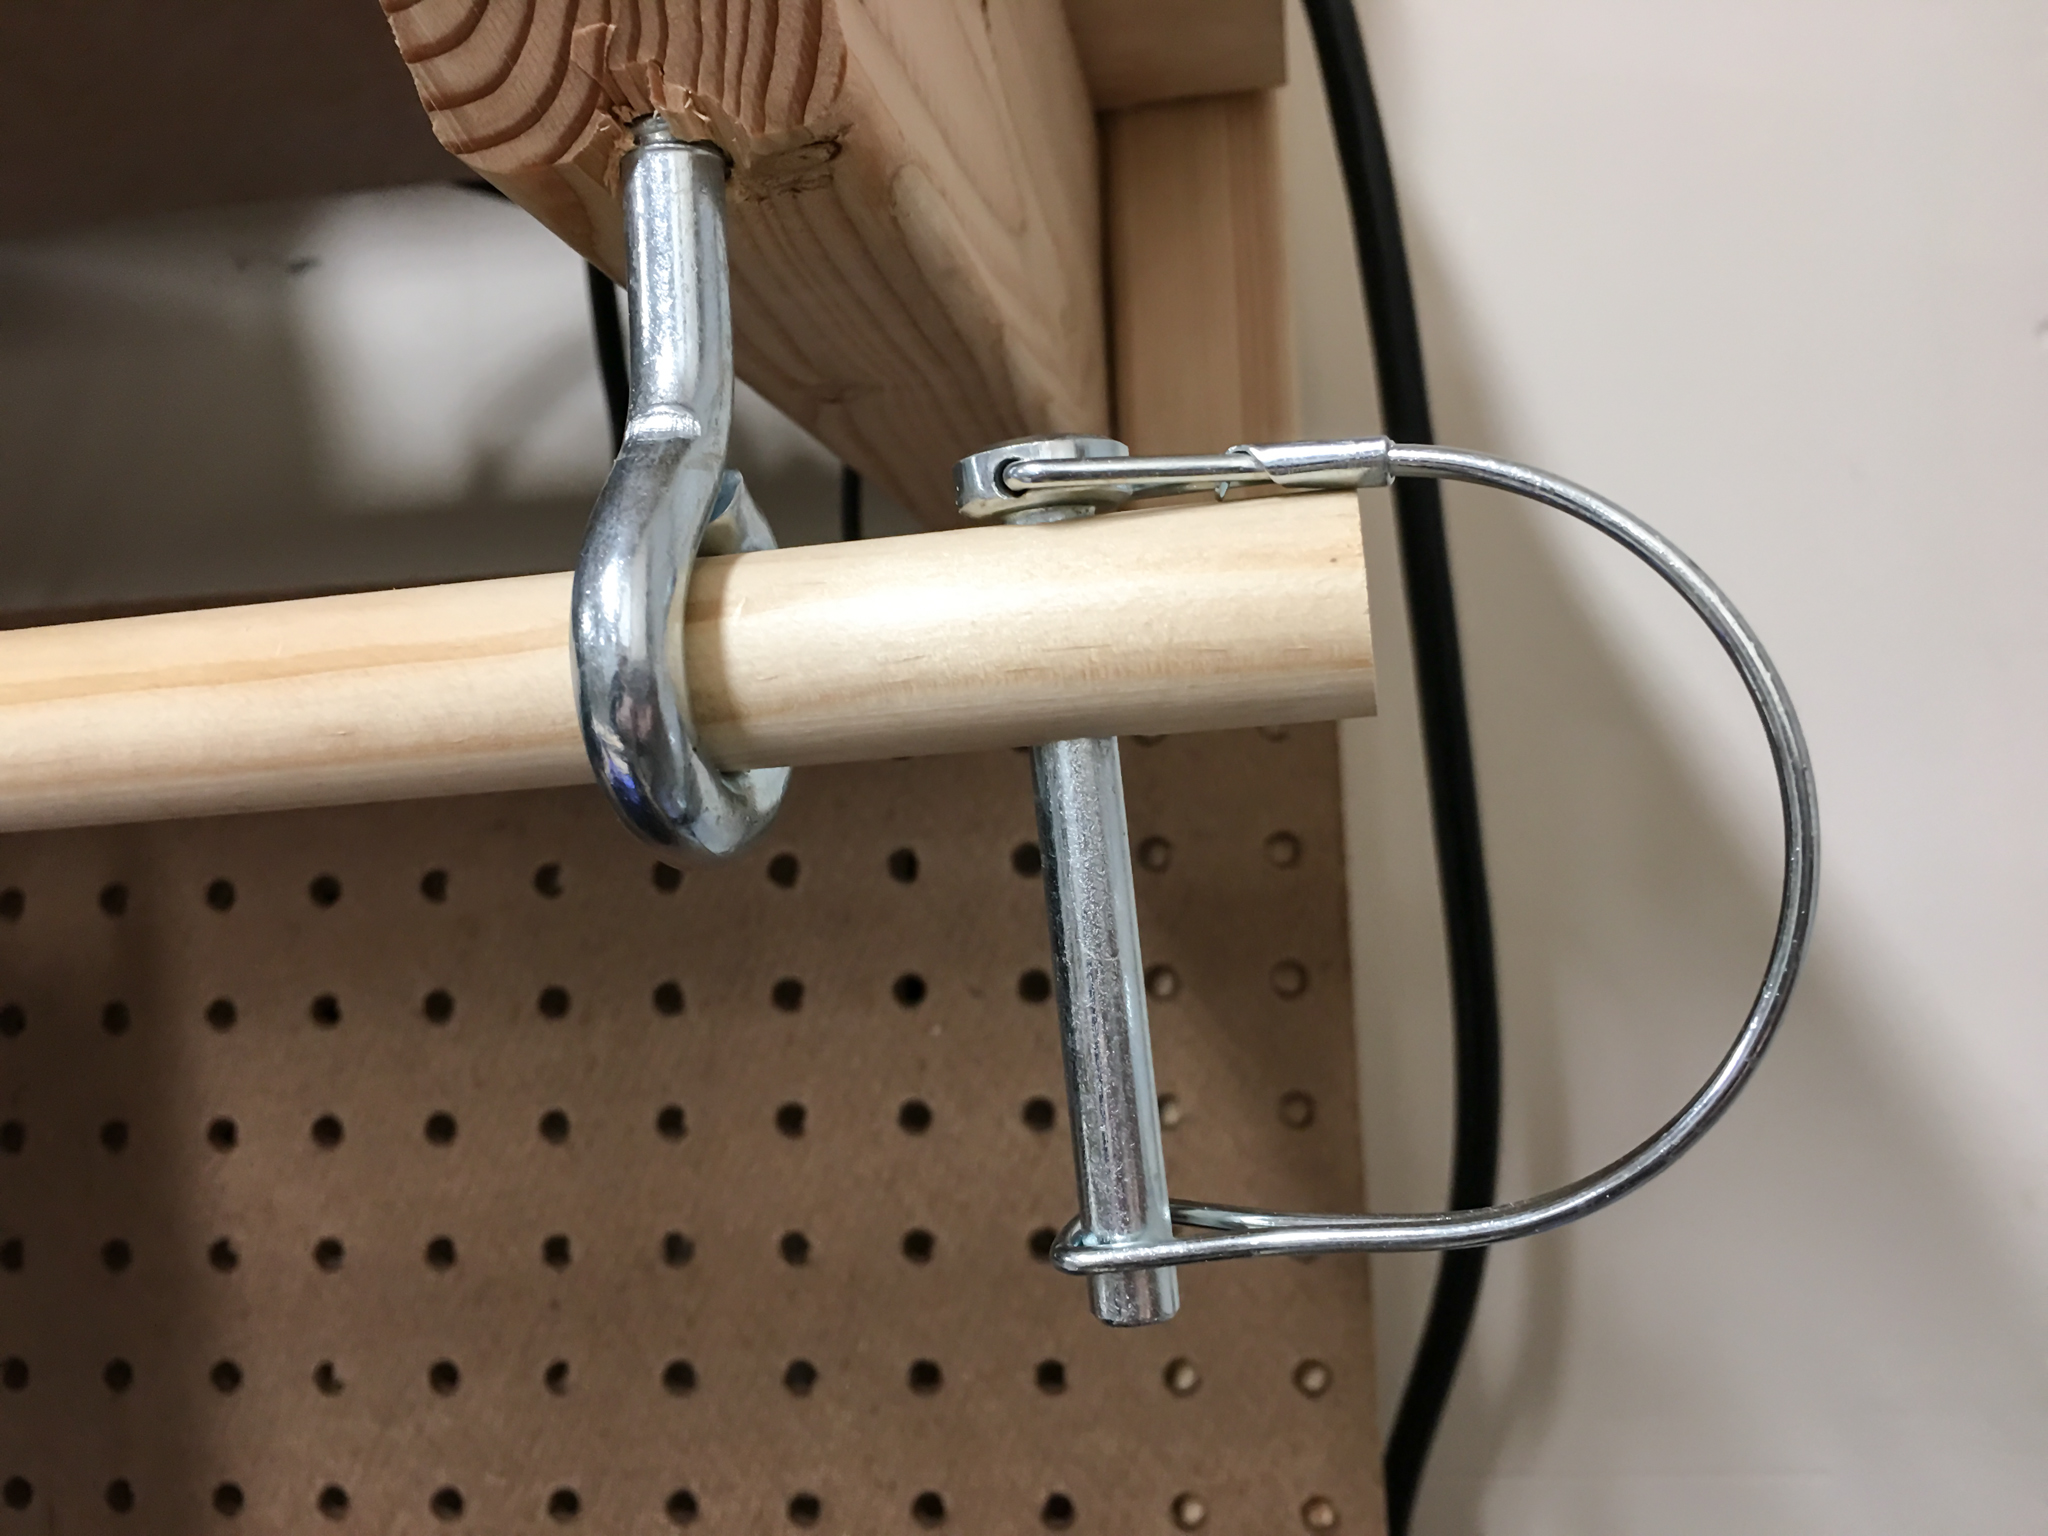
Once you have your holes, take your lag eye screws and start screwing them in. I used a short piece of my 3/4" dowel to help me twist it in. A thick screw driver or similar could also be used.
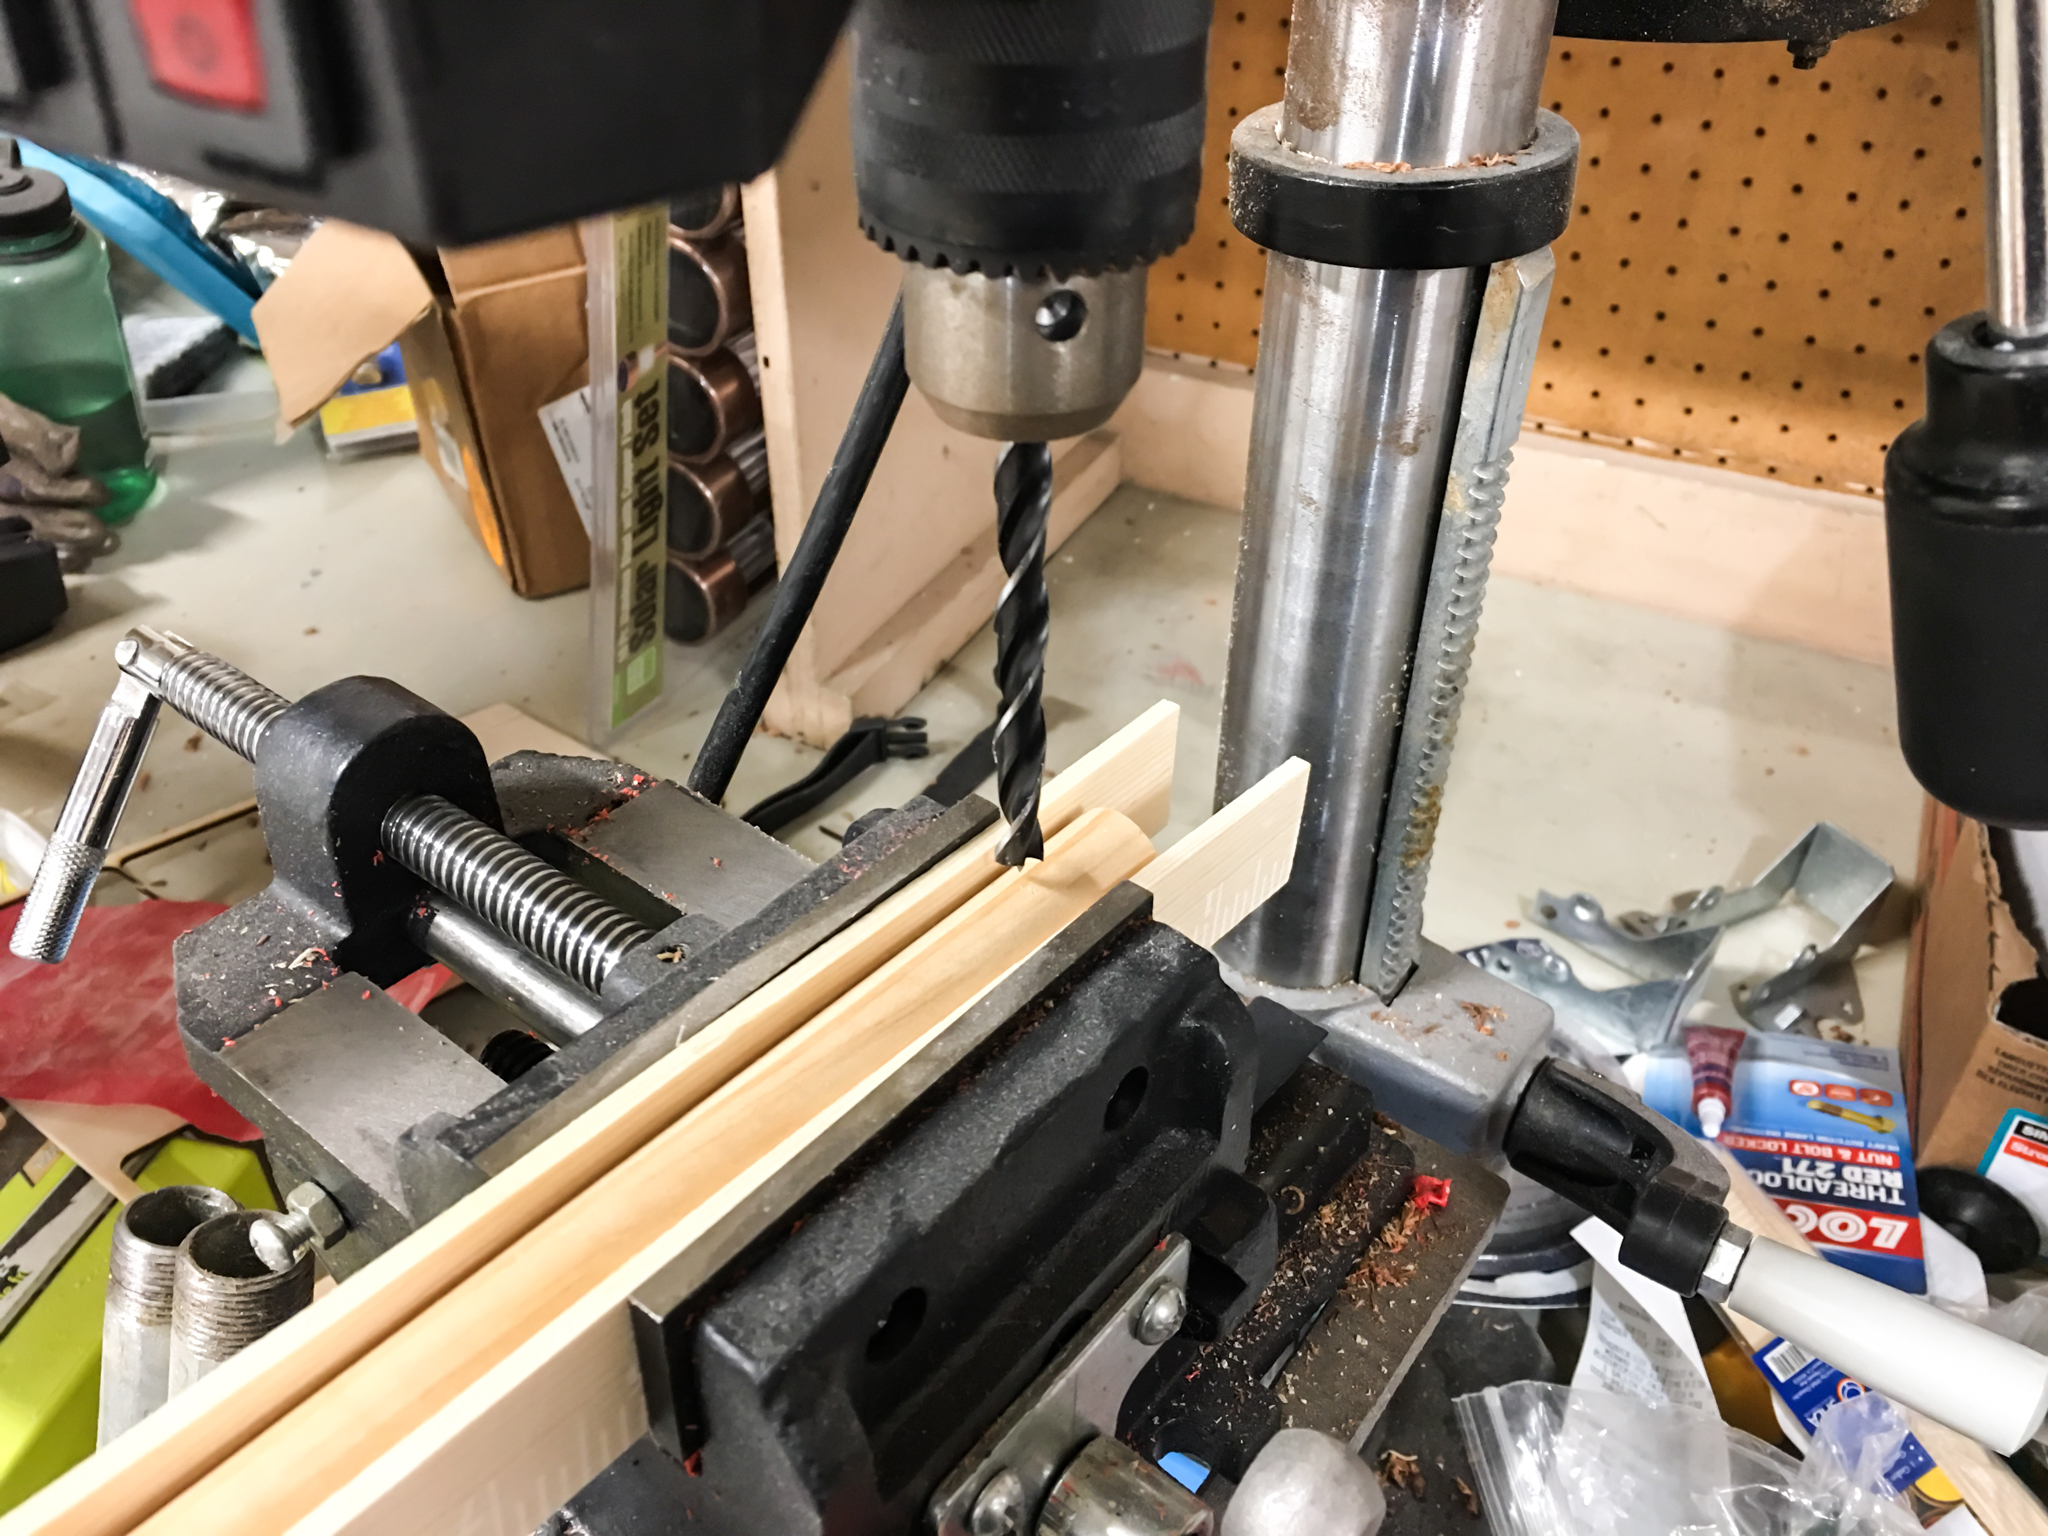
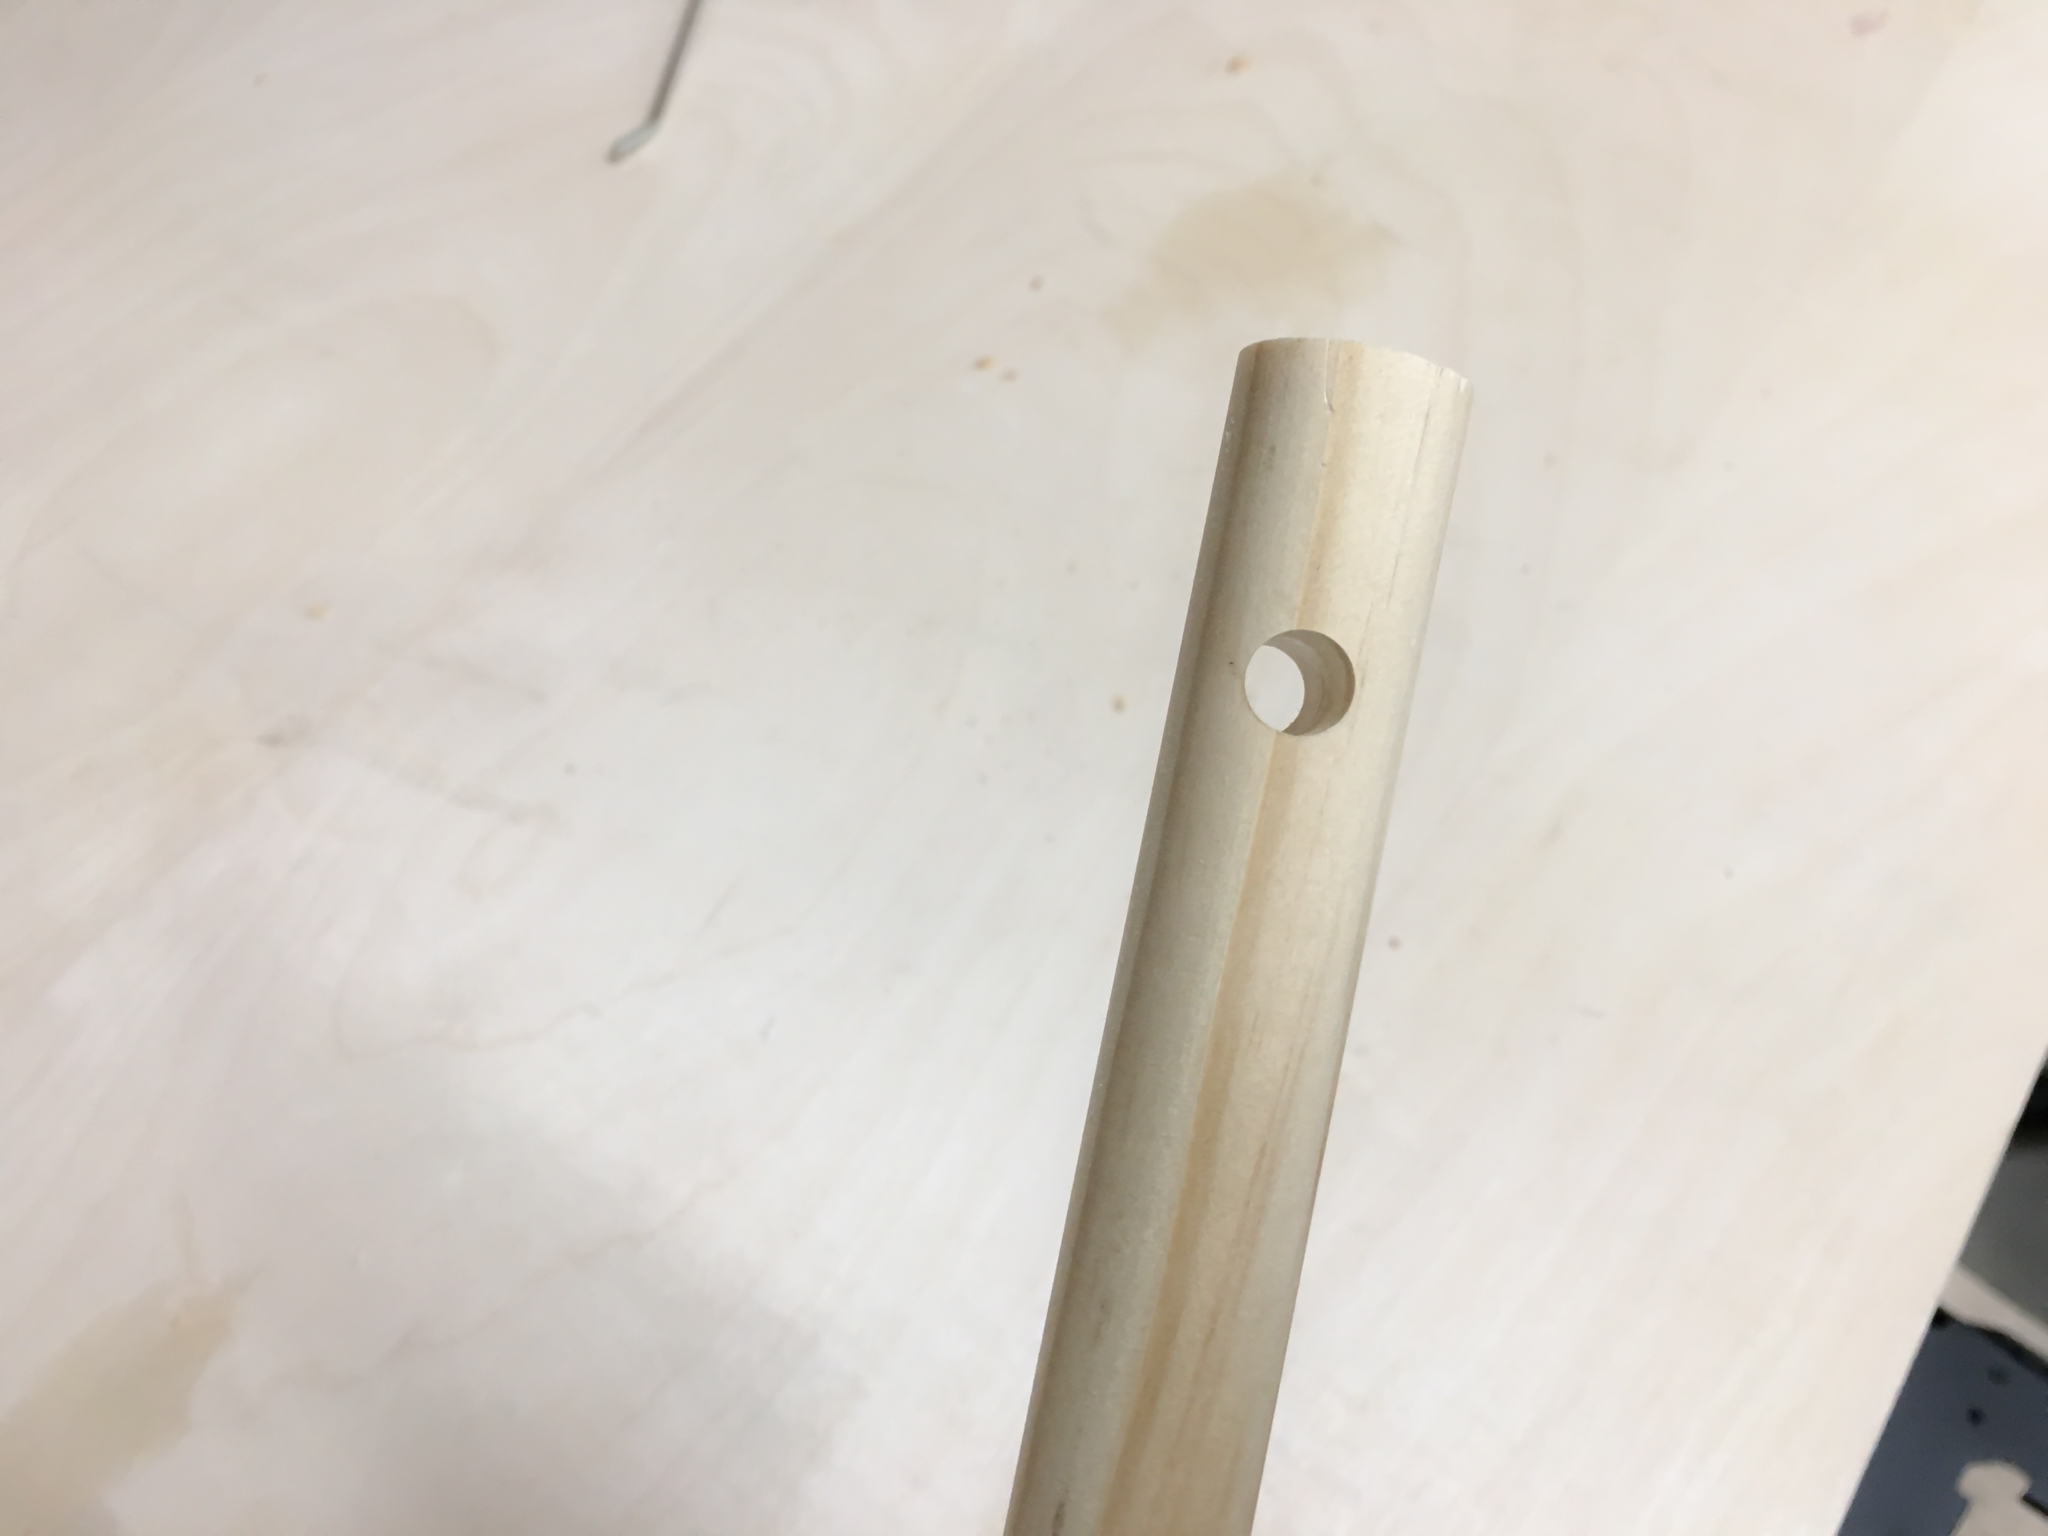
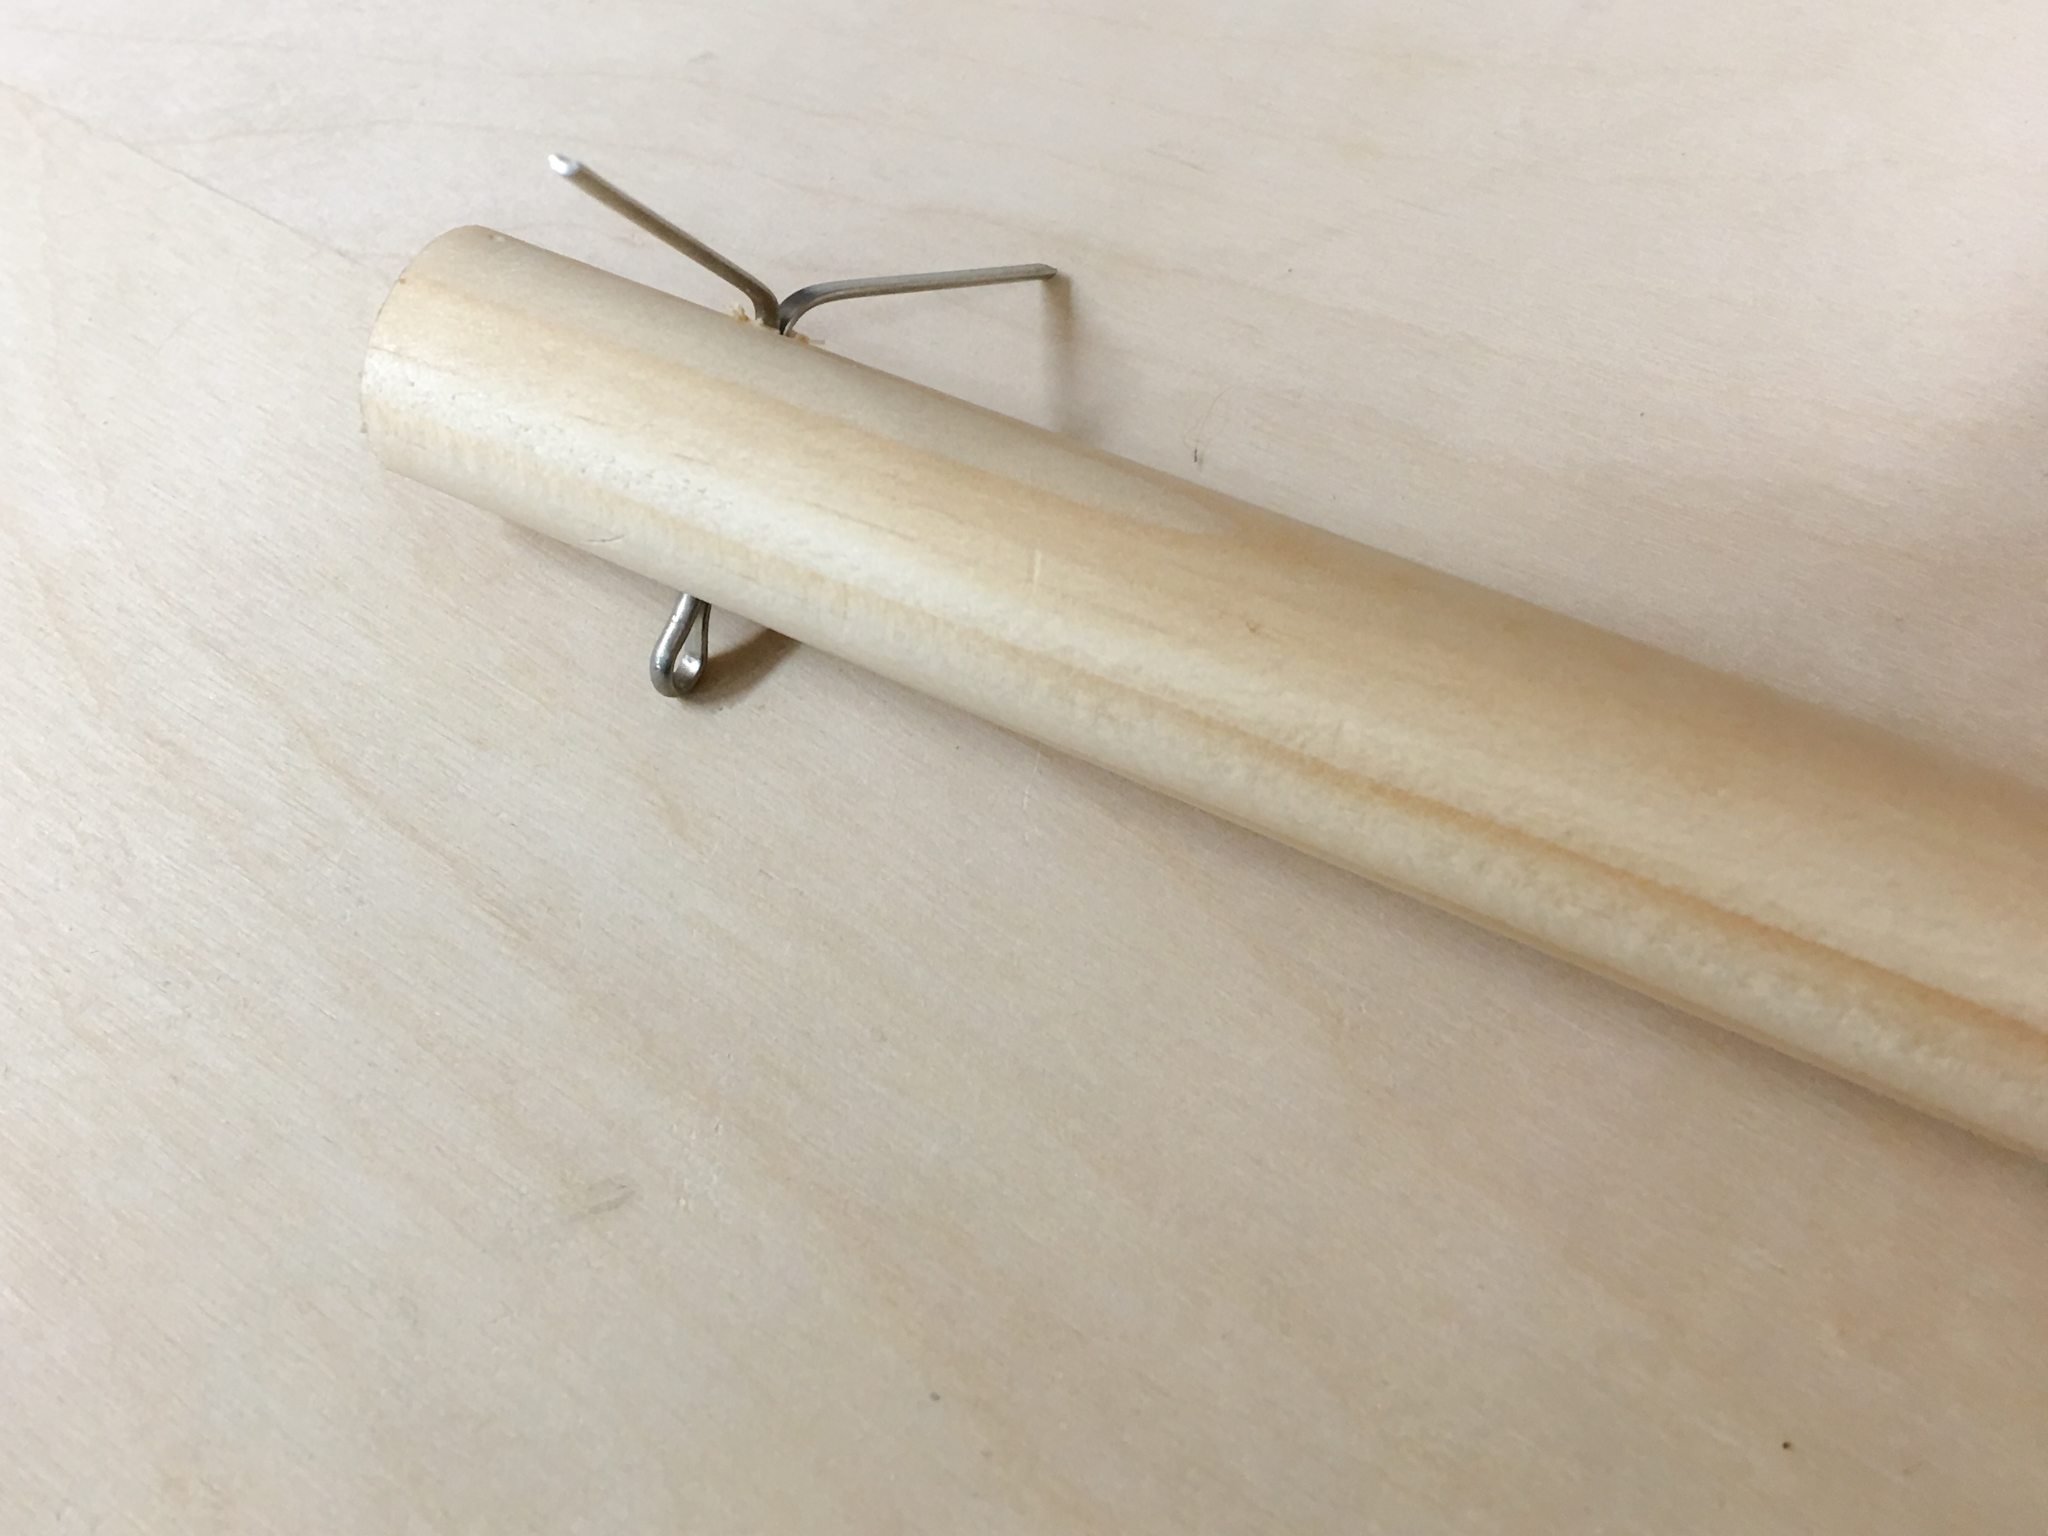
Next, cut your 3/4" dowel to length. I cut mine to about 28". Make sure you leave an inch or so on either side of the eye bolts for securing the wire lock pin and cotter pin. Use the 5/16" drill bit to drill a hole in the dowel about 1/2" in from one side. I used my drill press, but you can just use your drill.
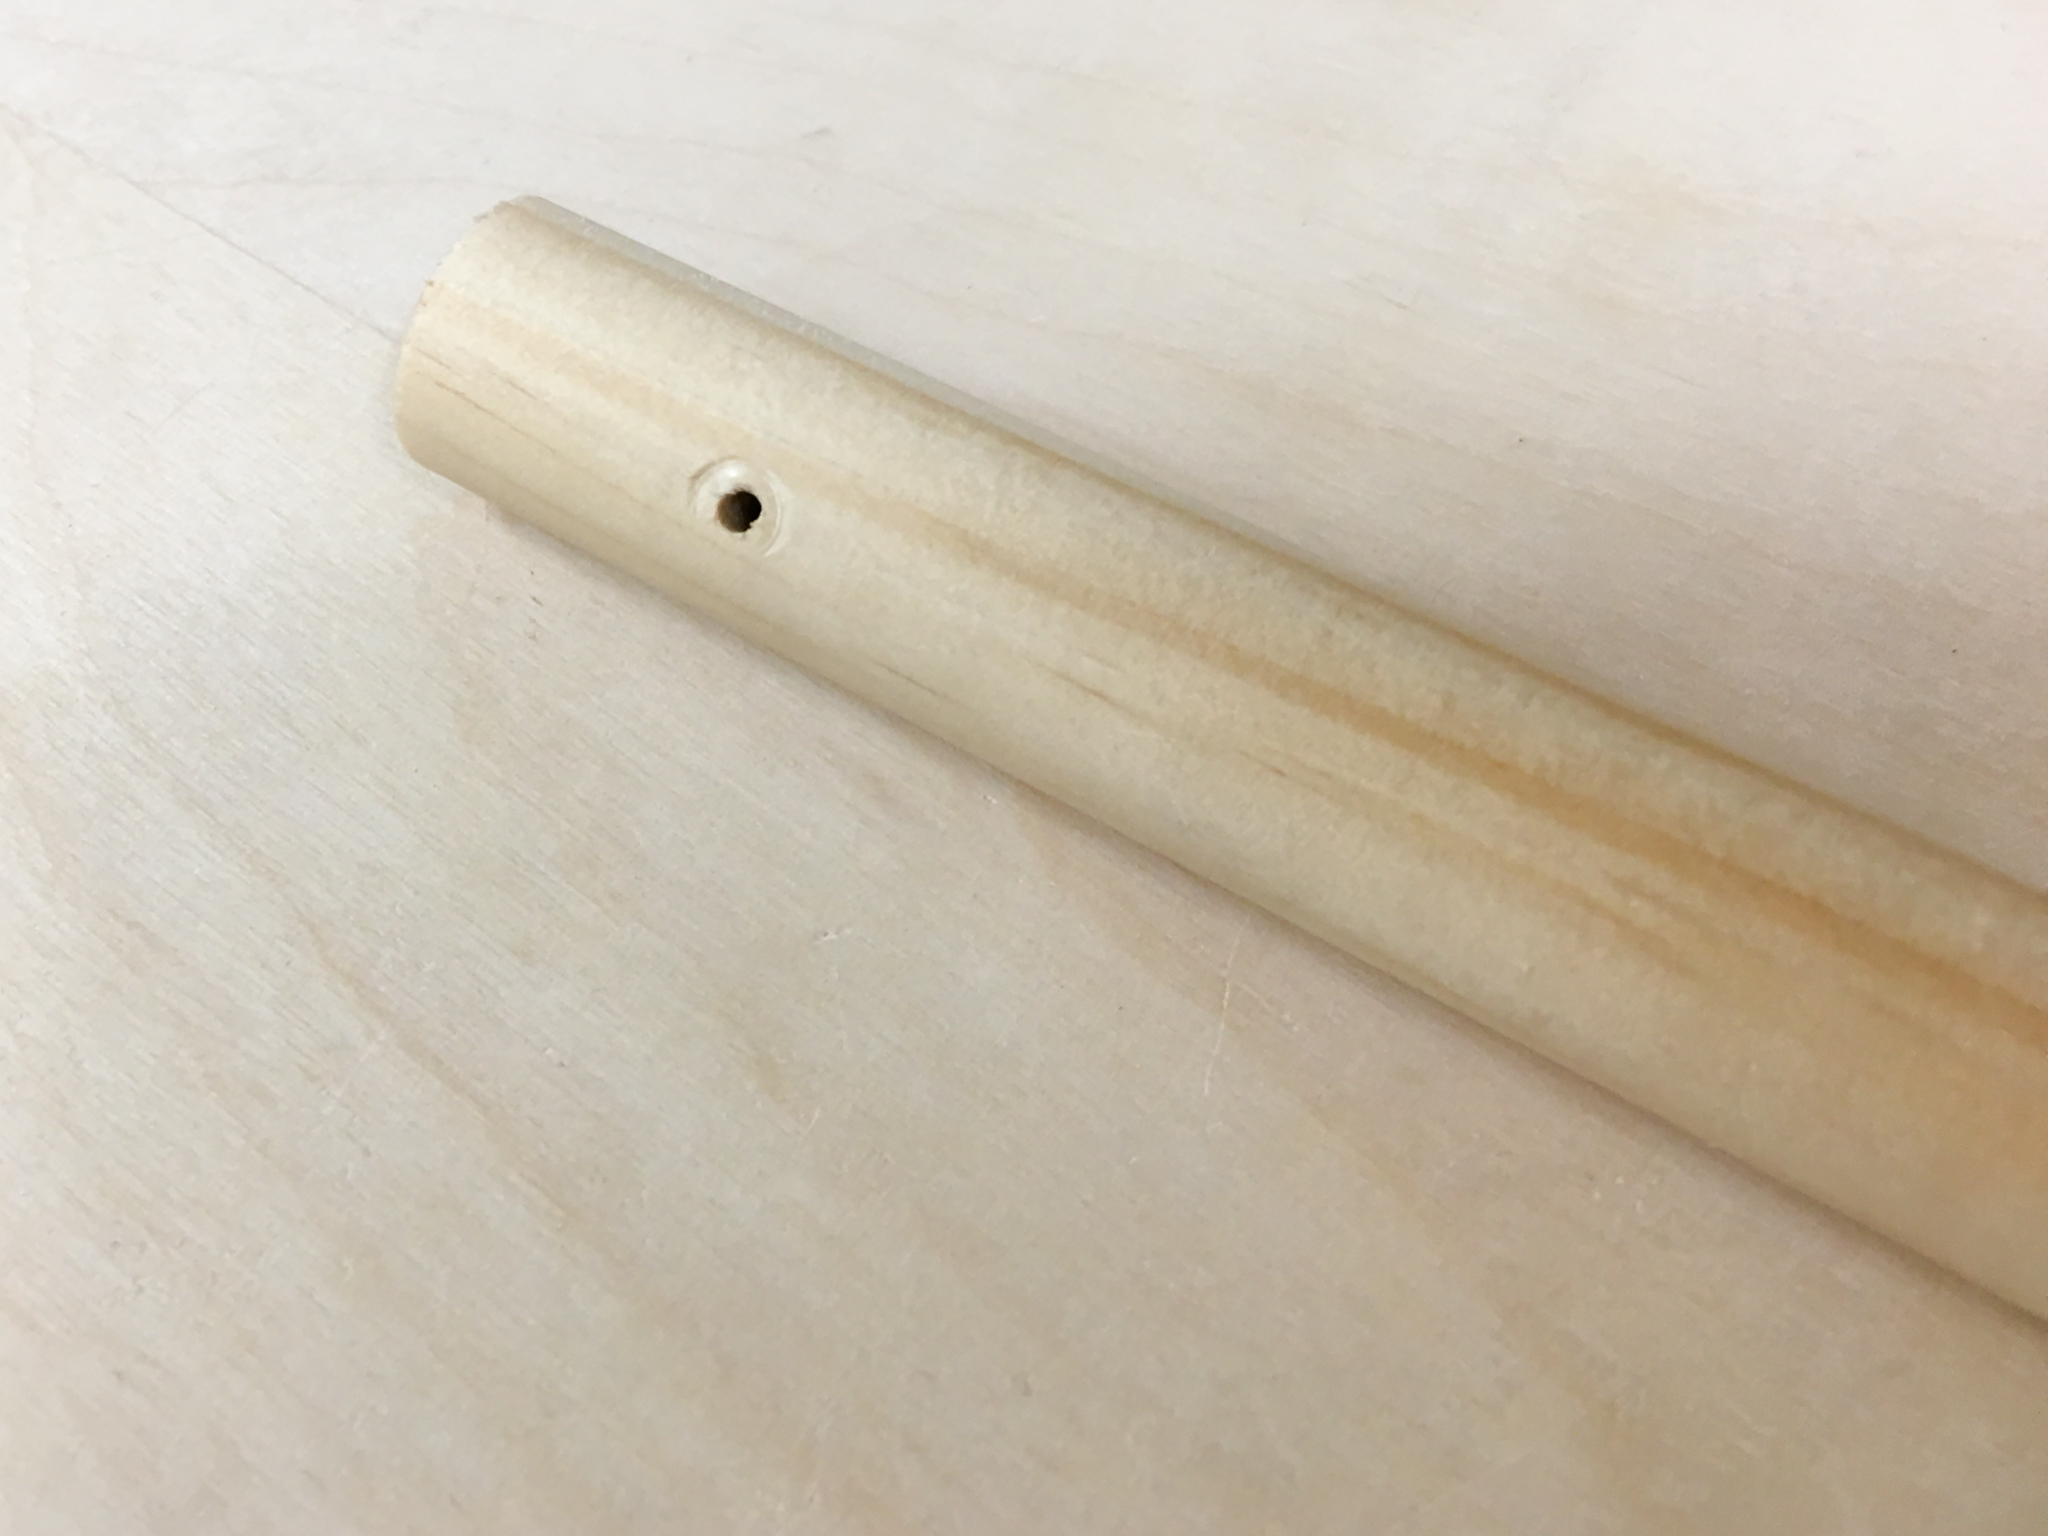
Then use your 3/32" drill bit to drill a hole on the other end for your cotter pin.
Finally, thread the dowel through the eye holes and load up your filament! Secure the end with the wire lock pin so there's no risk of the dowel coming loose, but you can still easily get access to the filament.
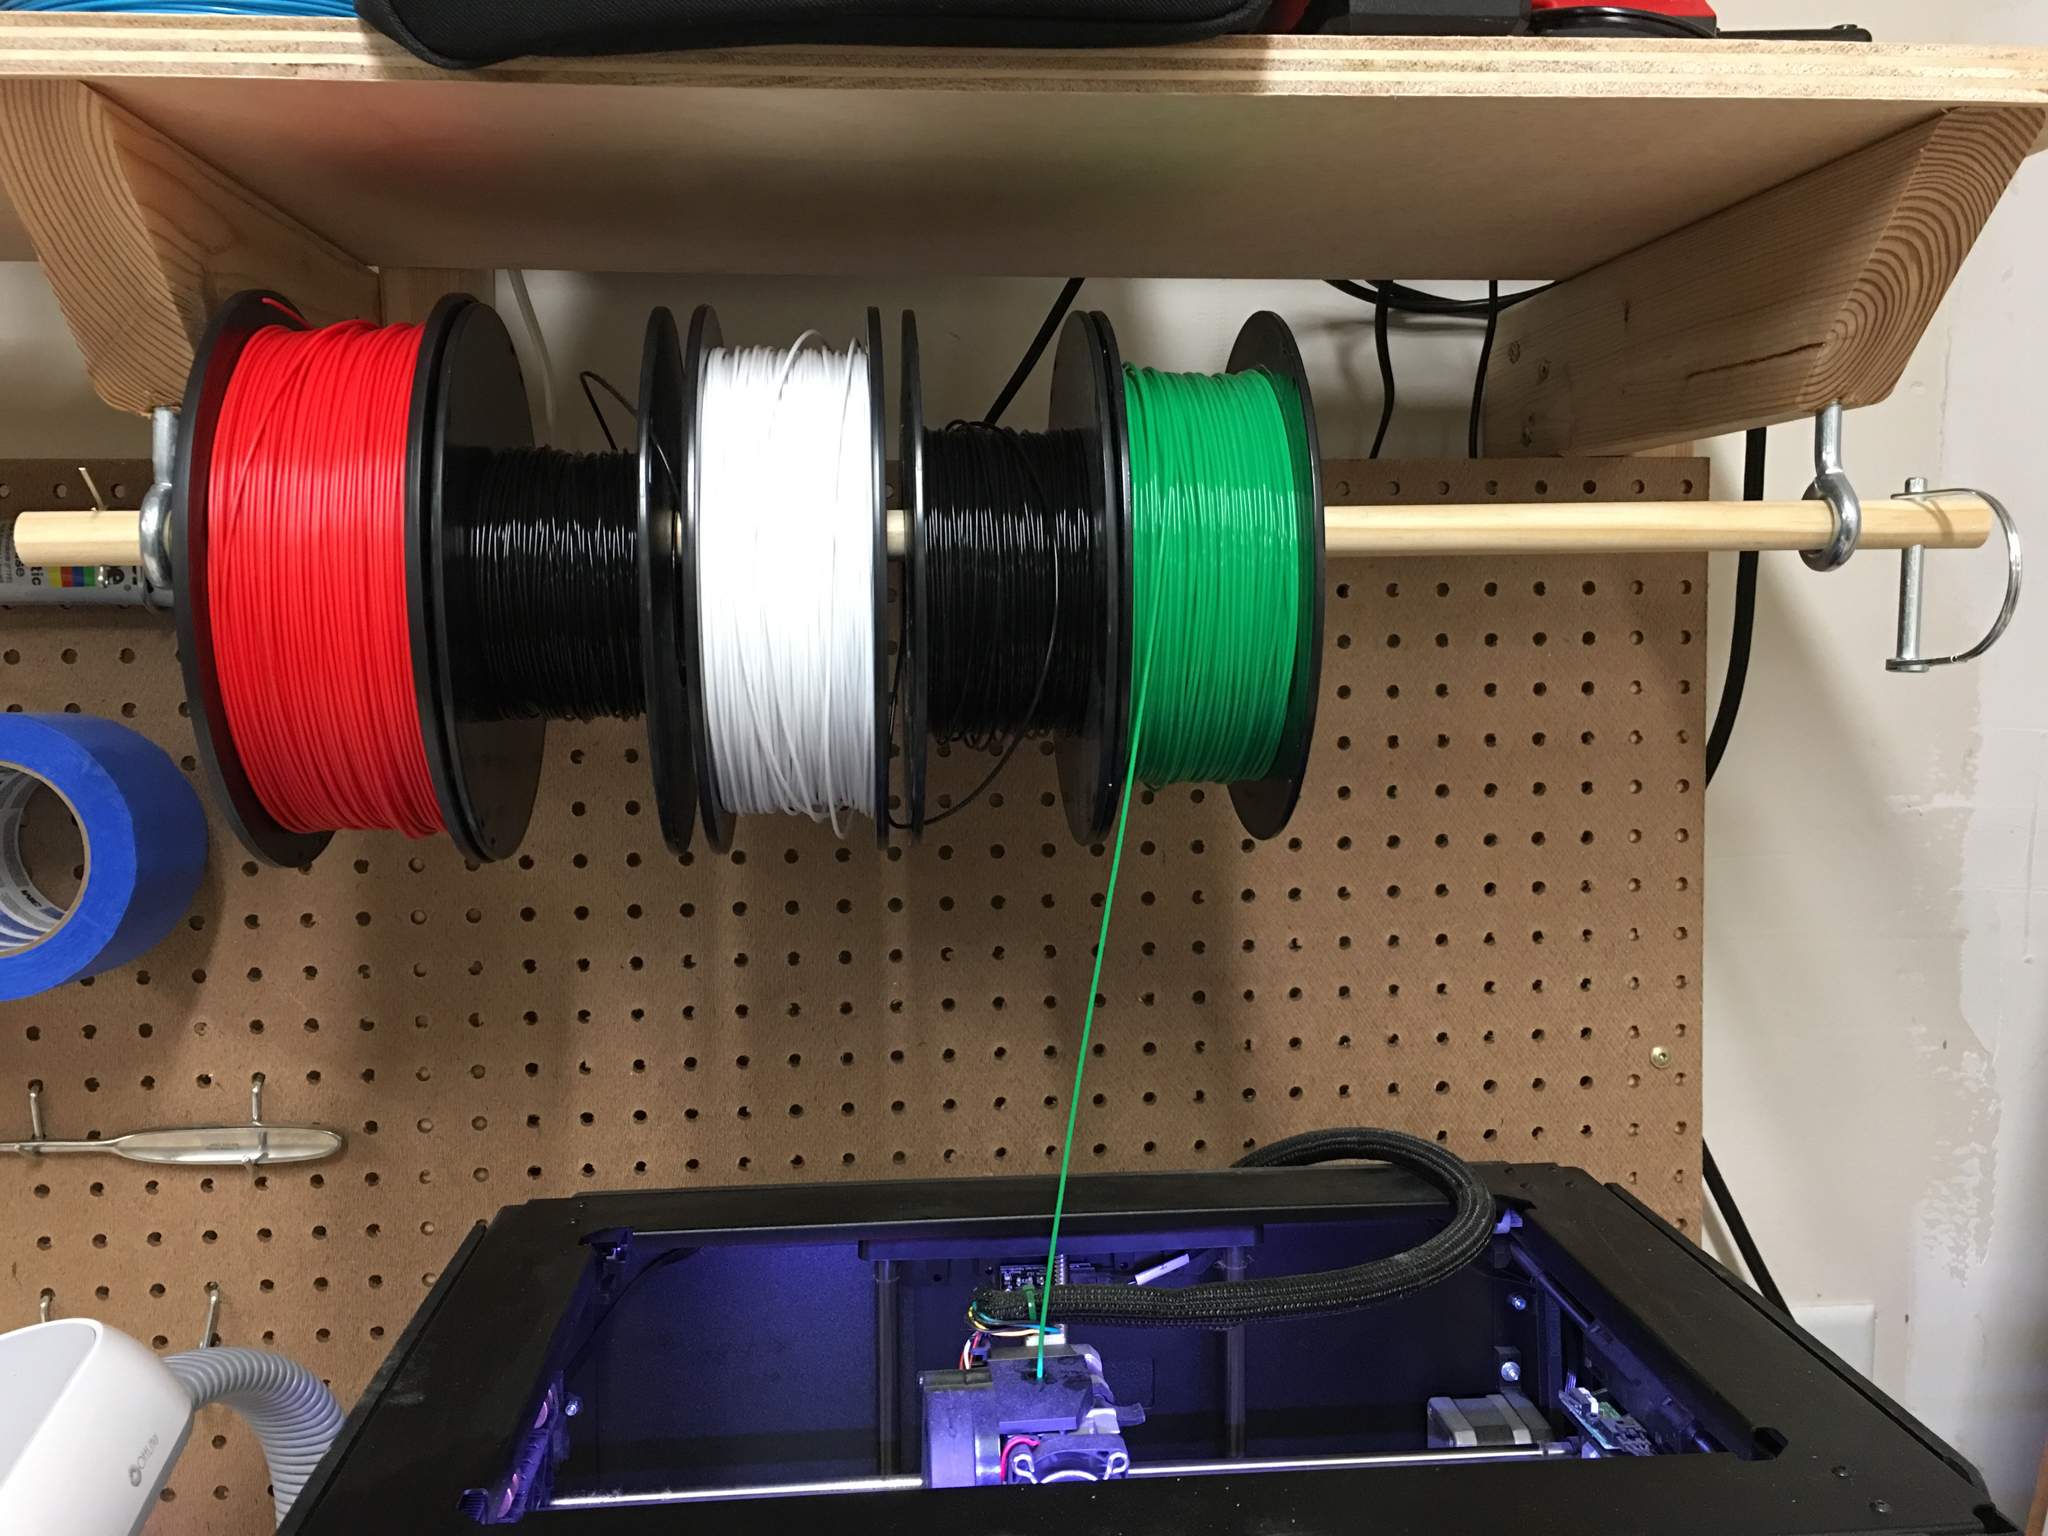
All done! Now you don't need to worry about swapping out entire rolls of filament. Let me know what you think in the comments below!