

UPDATE 11/8/2020 - I reached out to Glowforge about my long engraving issues and it turns out they have fixed the limitations of long running engravings. While testing my tiling app, though, I found issues with a seam being introduced into the engravings. After some testing I discovered a way to improve the engraving a bit (by checking the new Wrap Tiles In SVG checkbox), but am hoping for a better fix from Glowforge.
I’ve had a Glowforge for a couple years now and it’s been a great way to create miscellaneous enclosures or fixtures for electronics as well as a fun way for my kids to bring their own drawings to life. It’s certainly a useful tool and easy to use for inexperienced users. I’m often frustrated, though, by its limitations. The most frustrating limitations are the ones that seem easily addressable, but for some reason haven’t been. A big one for me is the inability to process a single large engraving job on the Glowforge.
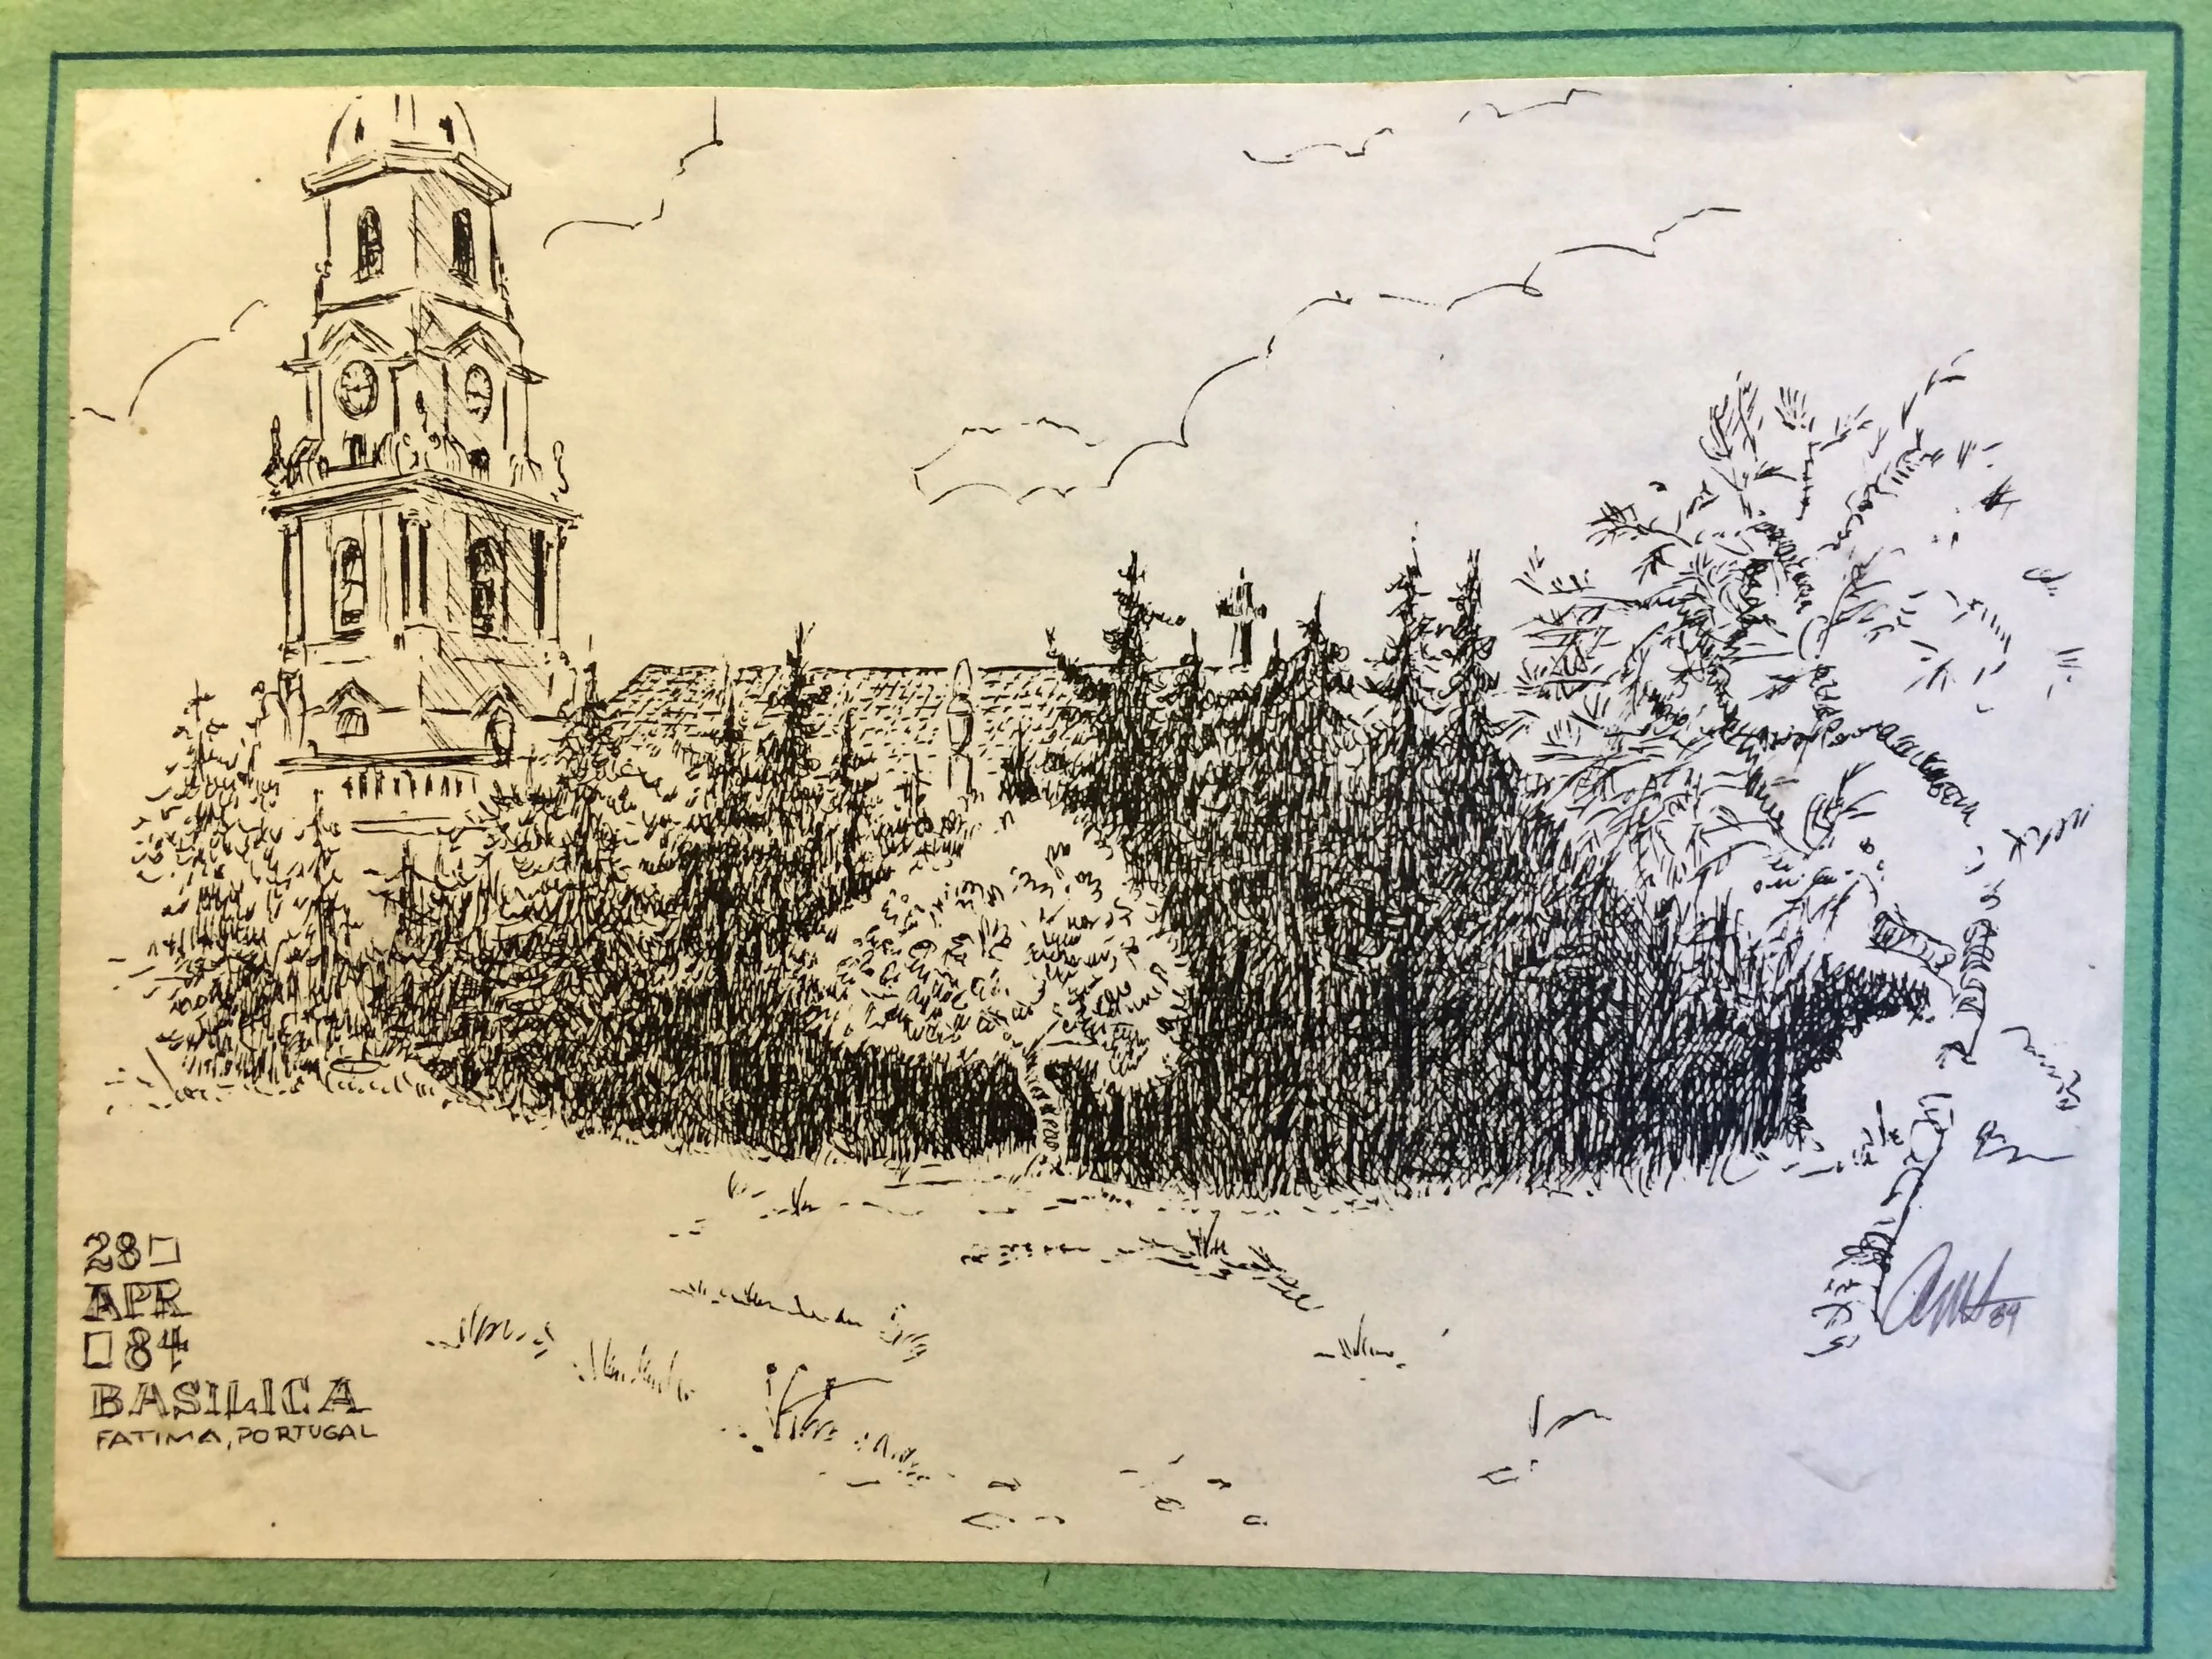
Photo of a pen and ink drawing by my Aunt that my Dad wanted to laser engrave for my Mom.
When I first set up the Glowforge, I ran into this problem. I wanted to engrave a full 18” x 11” piece of plywood and it simply refused to do it. It would start processing and eventually would error without a good reason. I’ve largely abandoned trying to run that kind of job on the Glowforge, until this weekend when my Dad asked to try engraving a pen and ink drawing by my Aunt to surprise my Mom with. Since it had been a couple years, I hoped there had been some software improvements. Unfortunately, that’s not what I found.

The cleaned up image of the pen and ink drawing by my Aunt.
After cleaning up a picture of the drawing and uploading it to Glowforge, choosing engraving settings and hitting print, then waiting VERY long (something like 10-20 minutes) a less then helpful error popped up:

A little bit of searching led to a few forum posts with recommendations to break the large job up into smaller jobs by using third party tools to break the image up into pieces and then manually reassembling those pieces in such a way that each piece could be run as an individual job on the Glowforge. It seemed like this was easily implemented in a browser (which is the interface to the Glowforge), so why hasn’t this been added? Obviously, it’s not an ideal workflow, but a basic feature like this would make the impossible possible without burdening the user (too much) by forcing them to manually break up their images.
So, of course, I spent a couple hours implementing my own tool for the task and it’s available for you to use below. The source code is here and anyone is welcome to use it as they see fit (including Glowforge, who could easily integrate something like this into an advanced upload process).
Image Tiler
Settings descriptions
The following settings can be changed in the widget below to customize the behavior of the tiling process.
DPI - The DPI (dots per inch) of the final image. The physical width of the image will be Width/DPI and the height will be Height/DPI.
Width and Height - The dimensions of the final image. By default, auto in both will use the width and height of the original image. If you’d like to resample the image (this can be helpful when your input image is an SVG and it’s not rasterizing it into a high enough resolution image), you can specify the number of pixels for the width and height. You can only choose to specify a single value for width or height and leave the other as auto to calculate the appropriate value for the other based on the aspect ratio of the original image.
Rows and Cols - The number of rows and columns in the output SVG. When read into the Glowforge app, the number of jobs shown will be Rows x Cols (so by default 4).
The default parameters will be fine for most uses. Simply click the Convert File button and select the image you want to convert. All processing is done on your own computer (the file isn’t uploaded to any servers). A new image will be generated and downloaded immediately with the same name with .svg added to the end. The SVG file that it generates can be loaded into the Glowforge app and each tile will be an individual job. It should work with any file type that works on a web page, so both standard raster types (.jpg, .png, etc.) or SVG. Ultimately, the tool rasterizes the image you provide, so when you provide it an SVG you can specify an input width and height to rasterize it into before breaking it down into the number of tiles you specify in rows and cols. The input width and height can also be used to resample your raster image into a smaller or larger sized raster image, but that is probably a rarely needed use case. Anyway, once you select an image and download the tiled version, you are good to go to upload it to your Glowforge.

Set all but one job to be ignored and hit print on the Glowforge to run a single job. Do that for each one and you will have your whole image by the end.

Final engraving.
Let me know if you’ve found this useful, have any questions about it or discover any problems with this workflow!