
I'm always looking for interesting ways to apply my knowledge of coding and computer graphics to making things in the real world. A few months ago, I was talking with my cousin, Angie, who is part owner of a popsicle truck in LA called Mom and Pop Shop. We discussed ways we could work together on something. We didn't know what it would be, but we knew that there had to be a fun project we could work together on. After a little brainstorming, we decided to experiment with the idea of puzzle popsicle sticks.
Mom and Pop Shop caters weddings, birthdays, corporate events and more. They do a great job making these events unique and memorable (and of course, their popsicles are delicious!). Puzzle popsicle sticks add some extra customization and branding to the event by allowing the client to provide an image (or potentially have one designed) that will be laser engraved into a jigsaw puzzle. The pieces of the puzzle become popsicle sticks that Mom and Pop Shop use in their popsicles. To get the pieces, attendees of the event must eat their popsicles, break off the piece and collaborate with others (or eat a lot of popsicles) to assemble the entire puzzle. Or, at least, that's the idea as this is still very much an experiment.
I've been working on the software that generates the puzzles and attaches the pieces to popsicle sticks. It's still a work in progress, but right now I can set an image and configure the number of pieces. My software generates the complete puzzle as an SVG suitable for laser cutting.
I was able to test some of my first prototypes the other day at a Bozeman JS Meetup here in Bozeman. The group is all about using JavaScript and since I implemented my Puzzle Popsicles app in React (a frontend JavaScript library), I figured it would be a good first test run. The pictures below (and video above) show the process I went through to make my first popsicles.
My software generates a random puzzle, given the provided image and configuration options. It then attaches popsicle sticks to each piece at a randomly chosen corner so there are no clues about how the piece is oriented based on where the connection point is (unlike the animated image, which always has it in the bottom left corner). The popsicle sticks are then cut using a laser cutter.
Choose how big you want your puzzle to be!
For ideal results, the stick must be oriented with the grain, otherwise the stick will be fairly weak and will easily break when holding the weight of a popsicle. My software lays out the popsicle sticks like so:

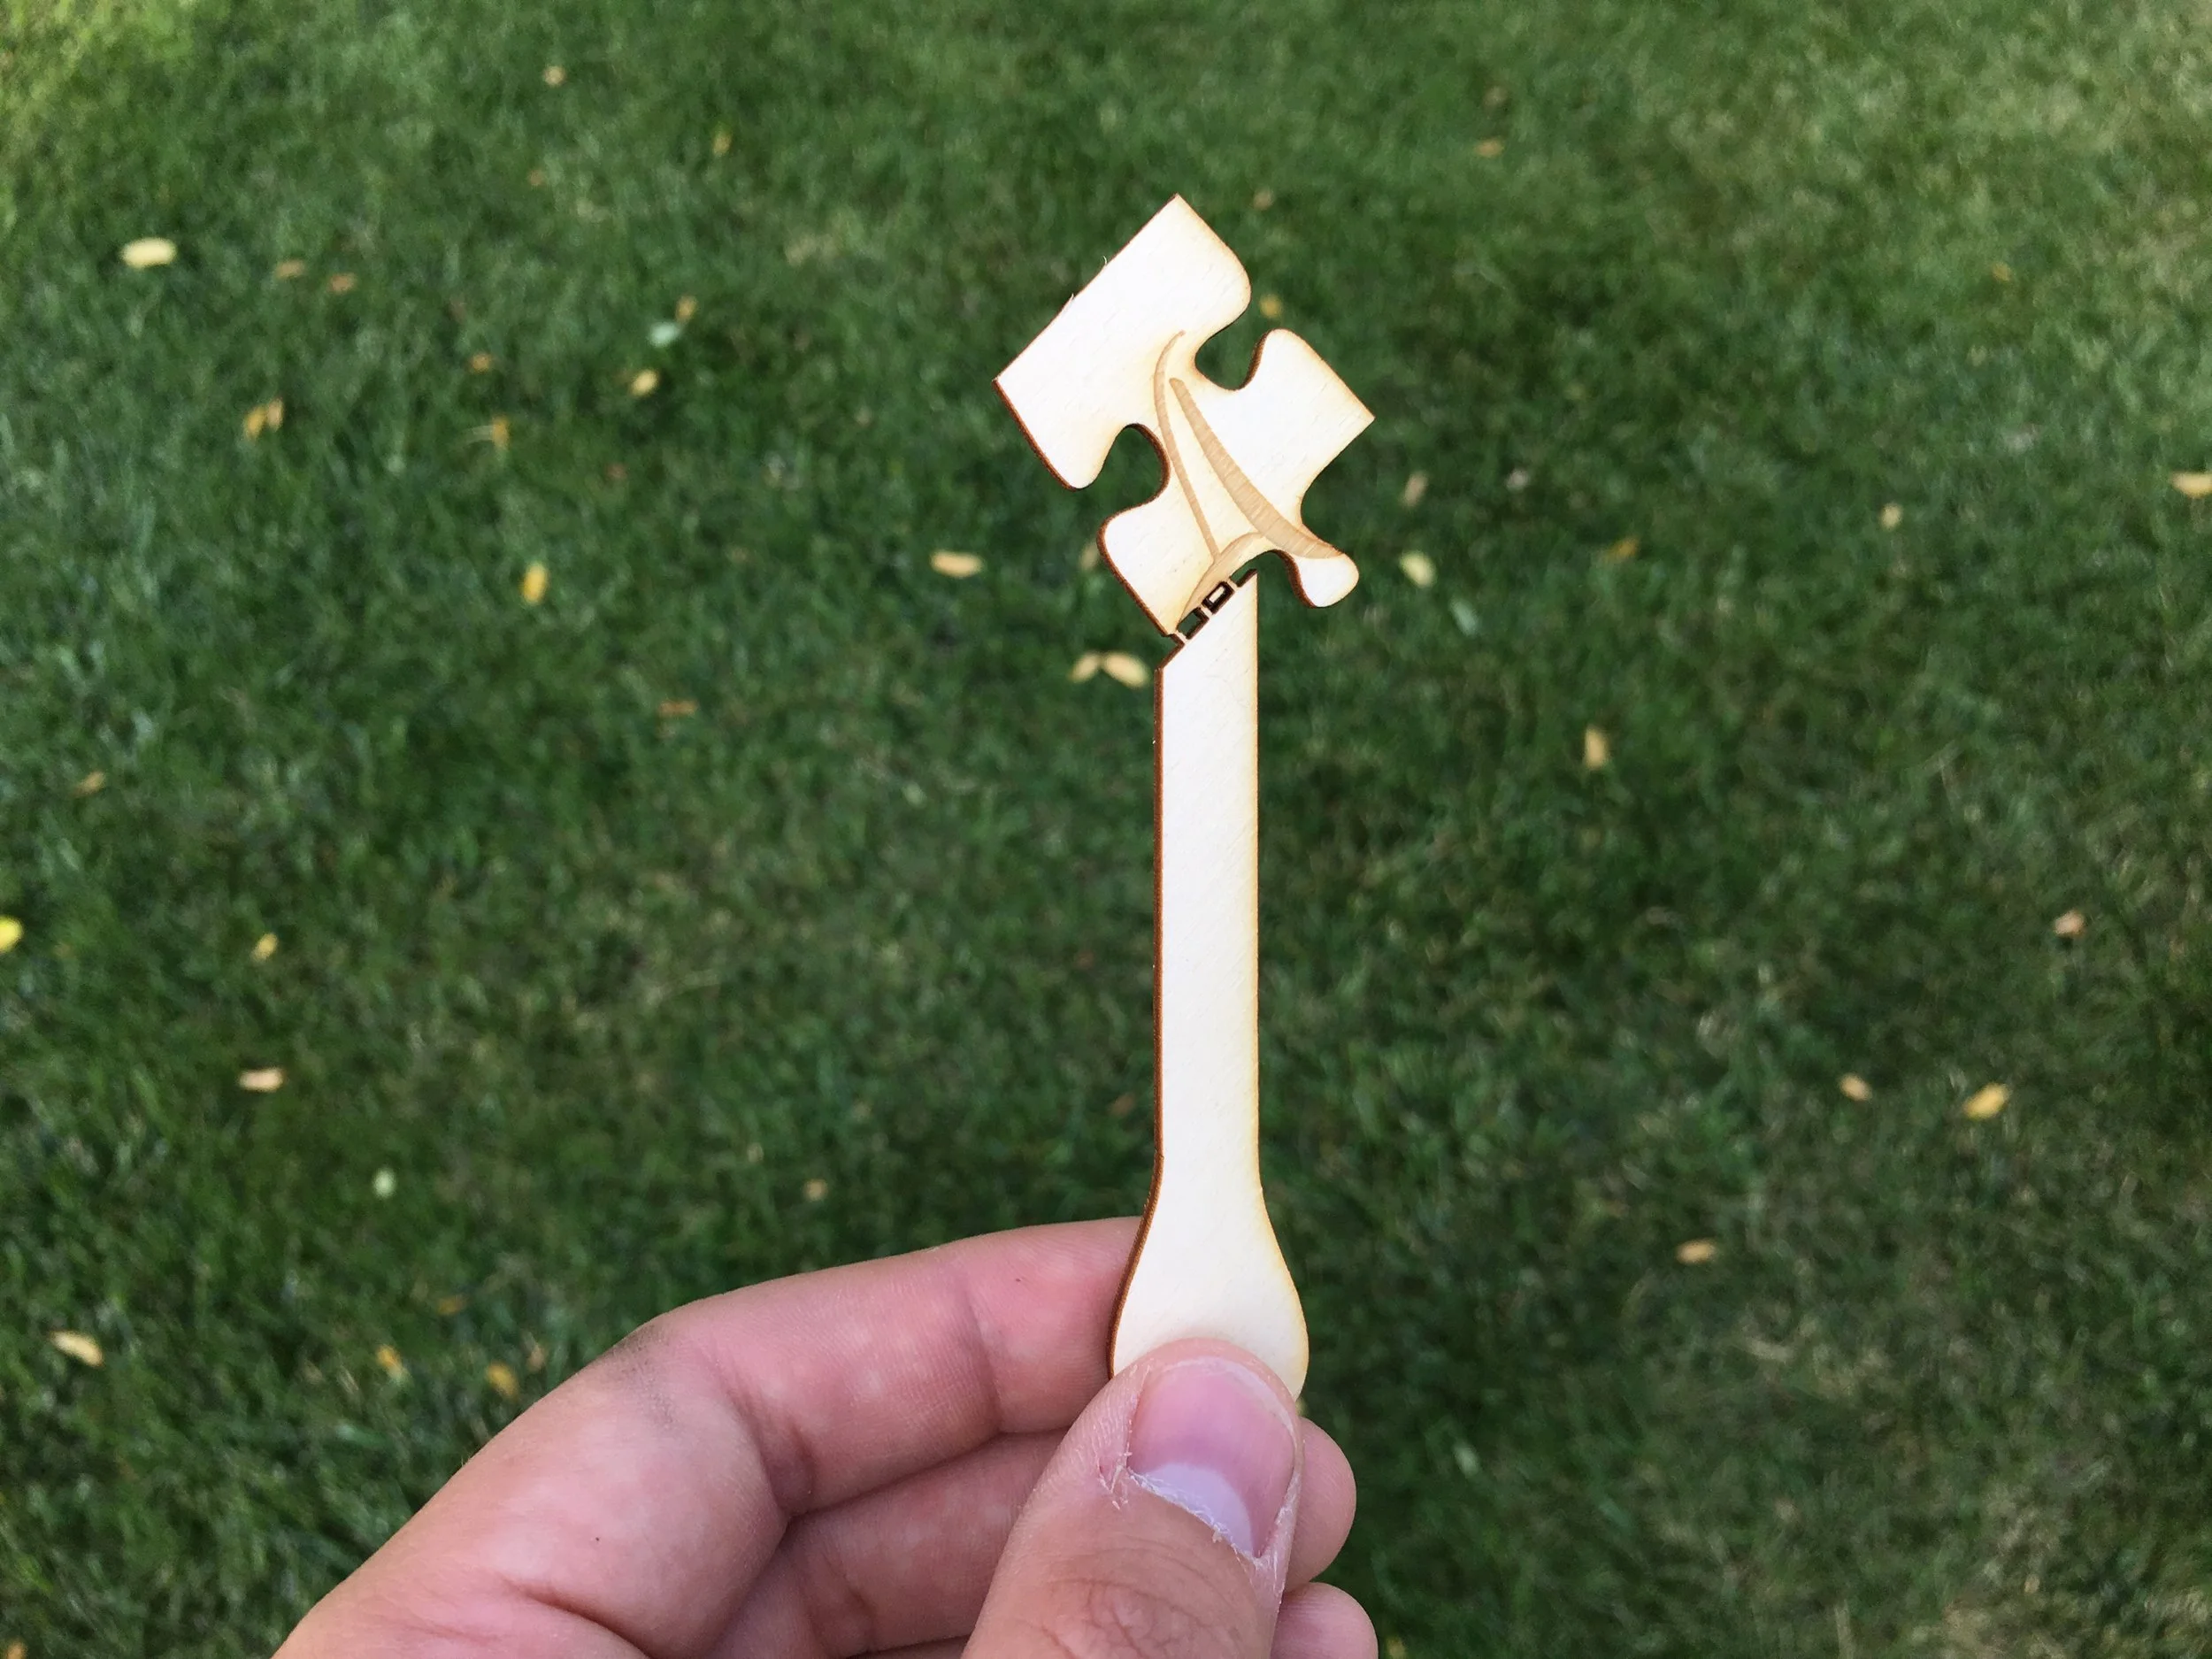
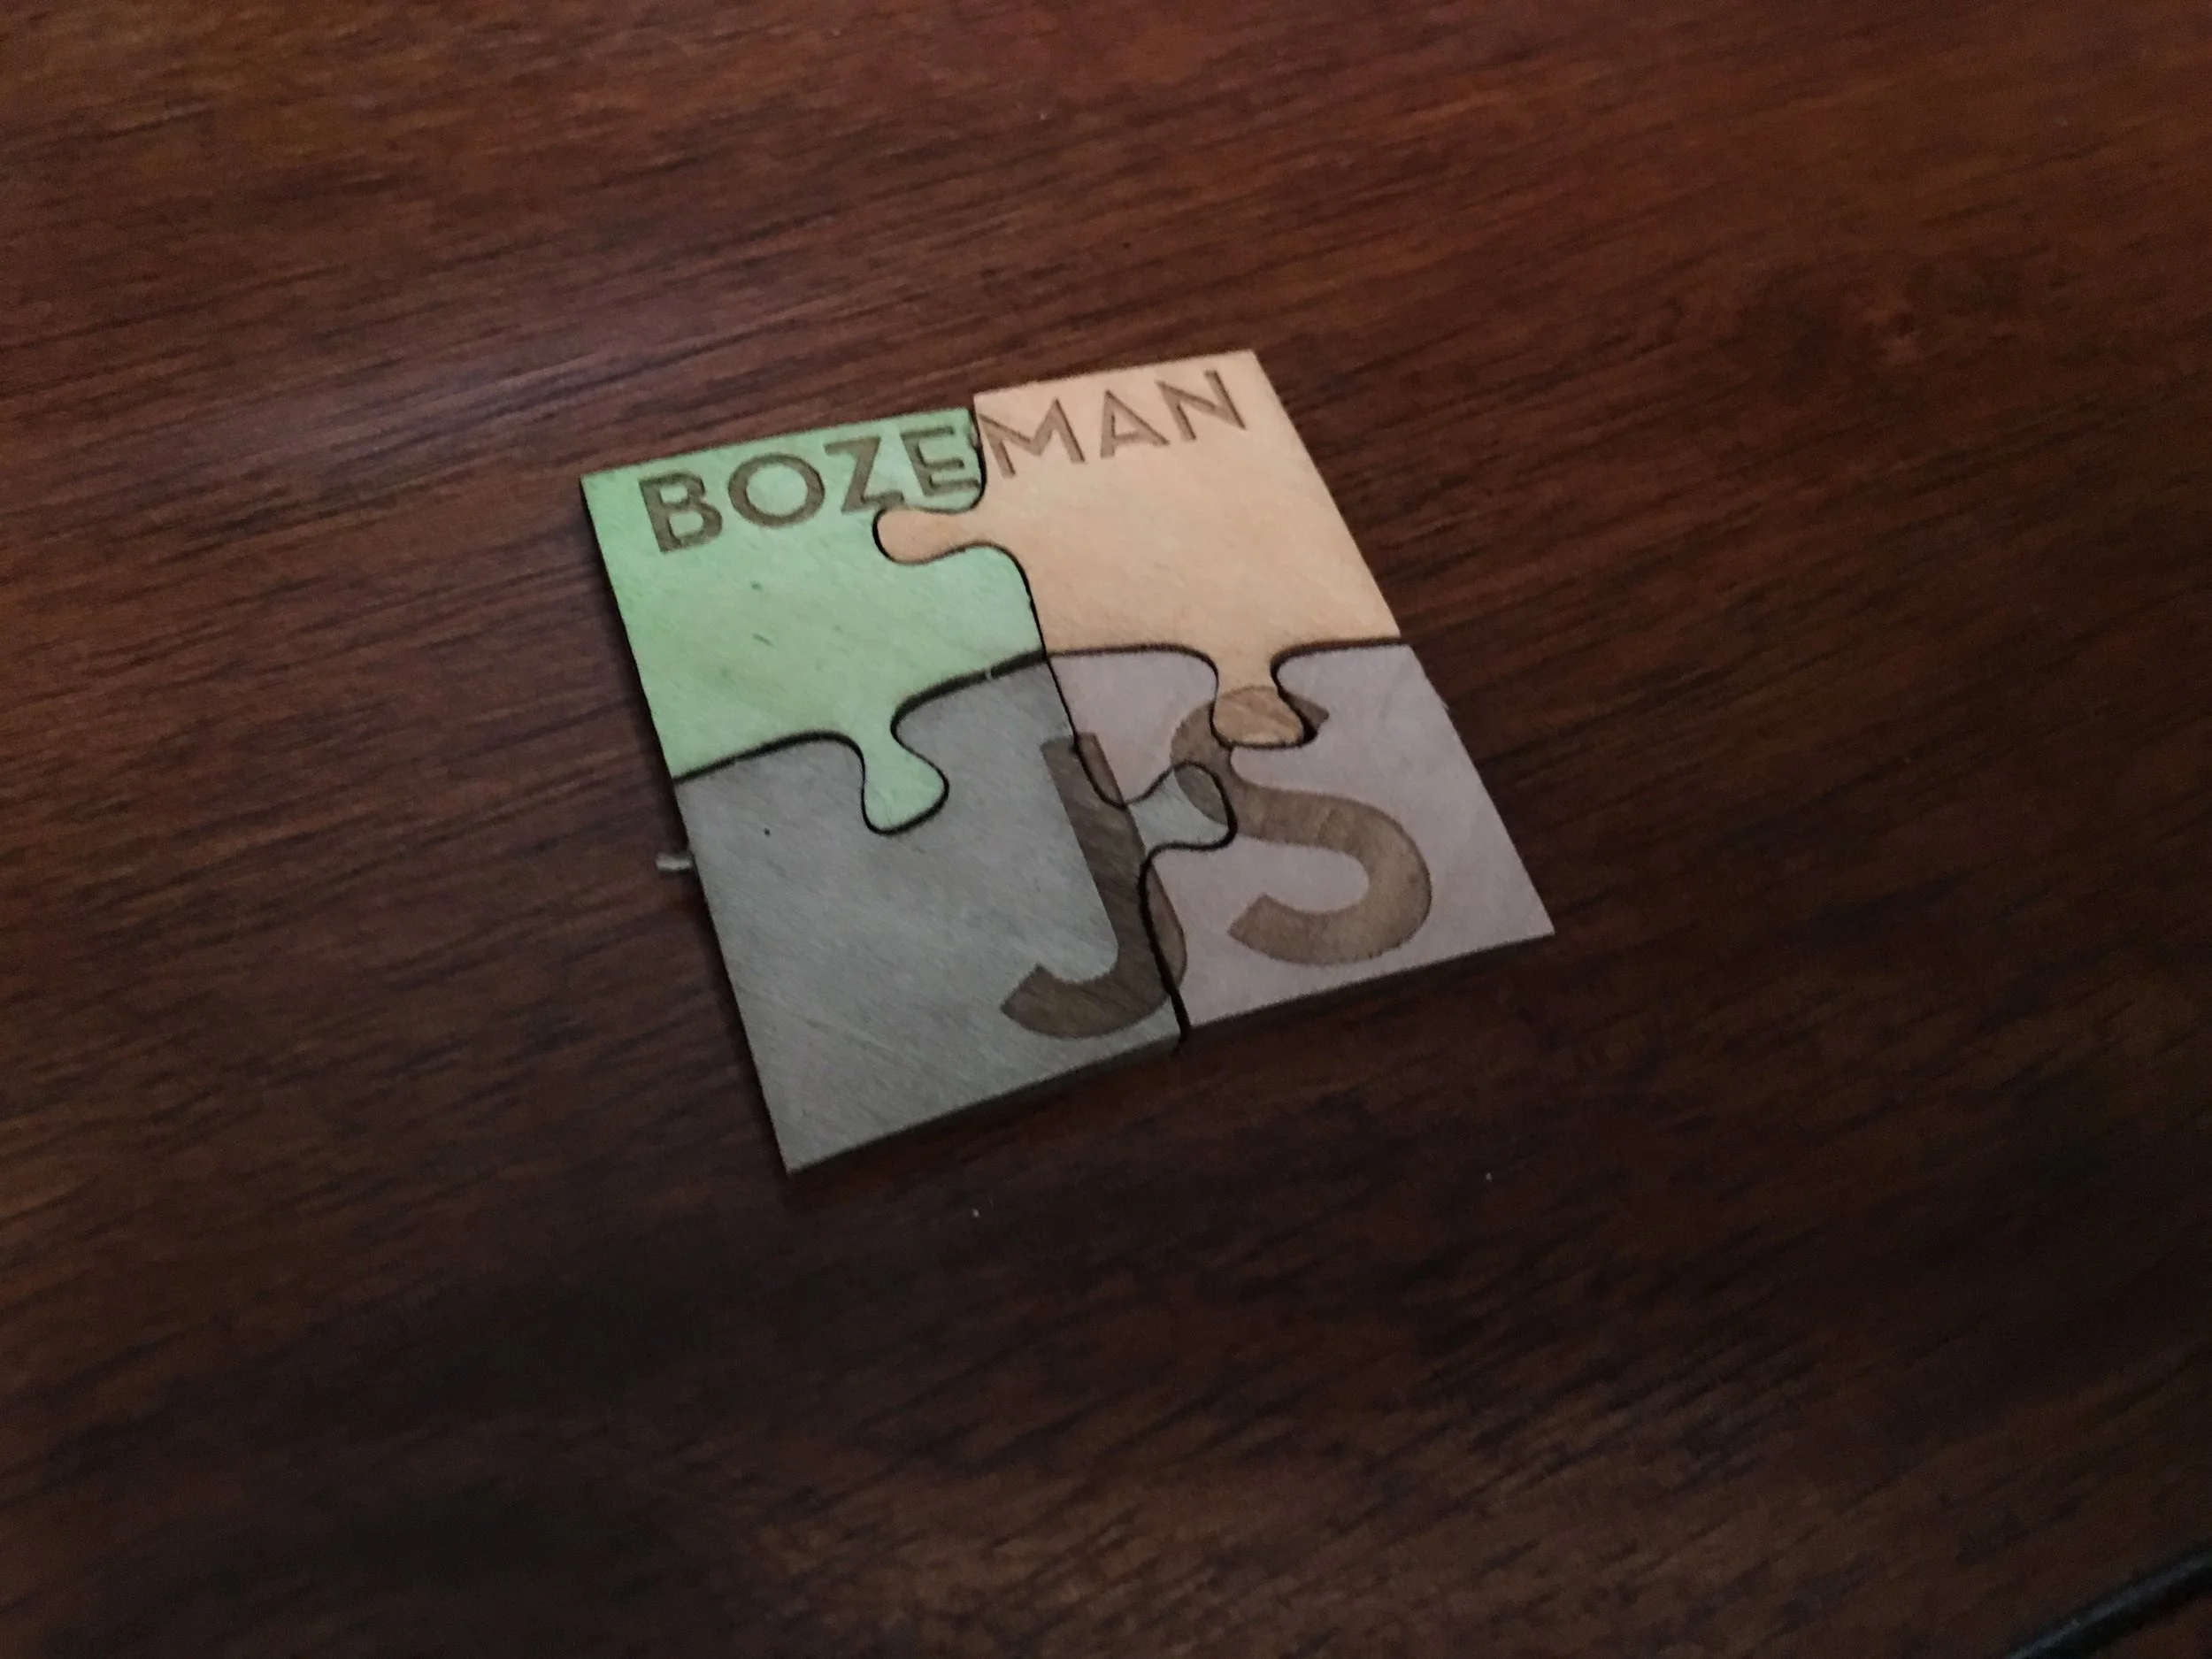
A 4-piece puzzle with the popsicle stick oriented with the grain of the wood.
The wood used should be solid wood rather than plywood. Solid sheets of wood as thin as a popsicle sticks aren't as easy to find as plywood. From what I've read, most popsicle sticks are made of birch. I couldn't find any thin birch that wasn't plywood so instead I ordered some 4" x 24" sheets of basswood from Ocooch Hardwoods. I experimented with both 1/16" and 1/8" thicknesses, but I like the thicker 1/8" both because its stronger and I found the puzzle pieces stayed together better. Also, most popsicles are 1/16" thick and the 1/8" stands out a little more. With the wood and design ready, I was off to the laser cutter!
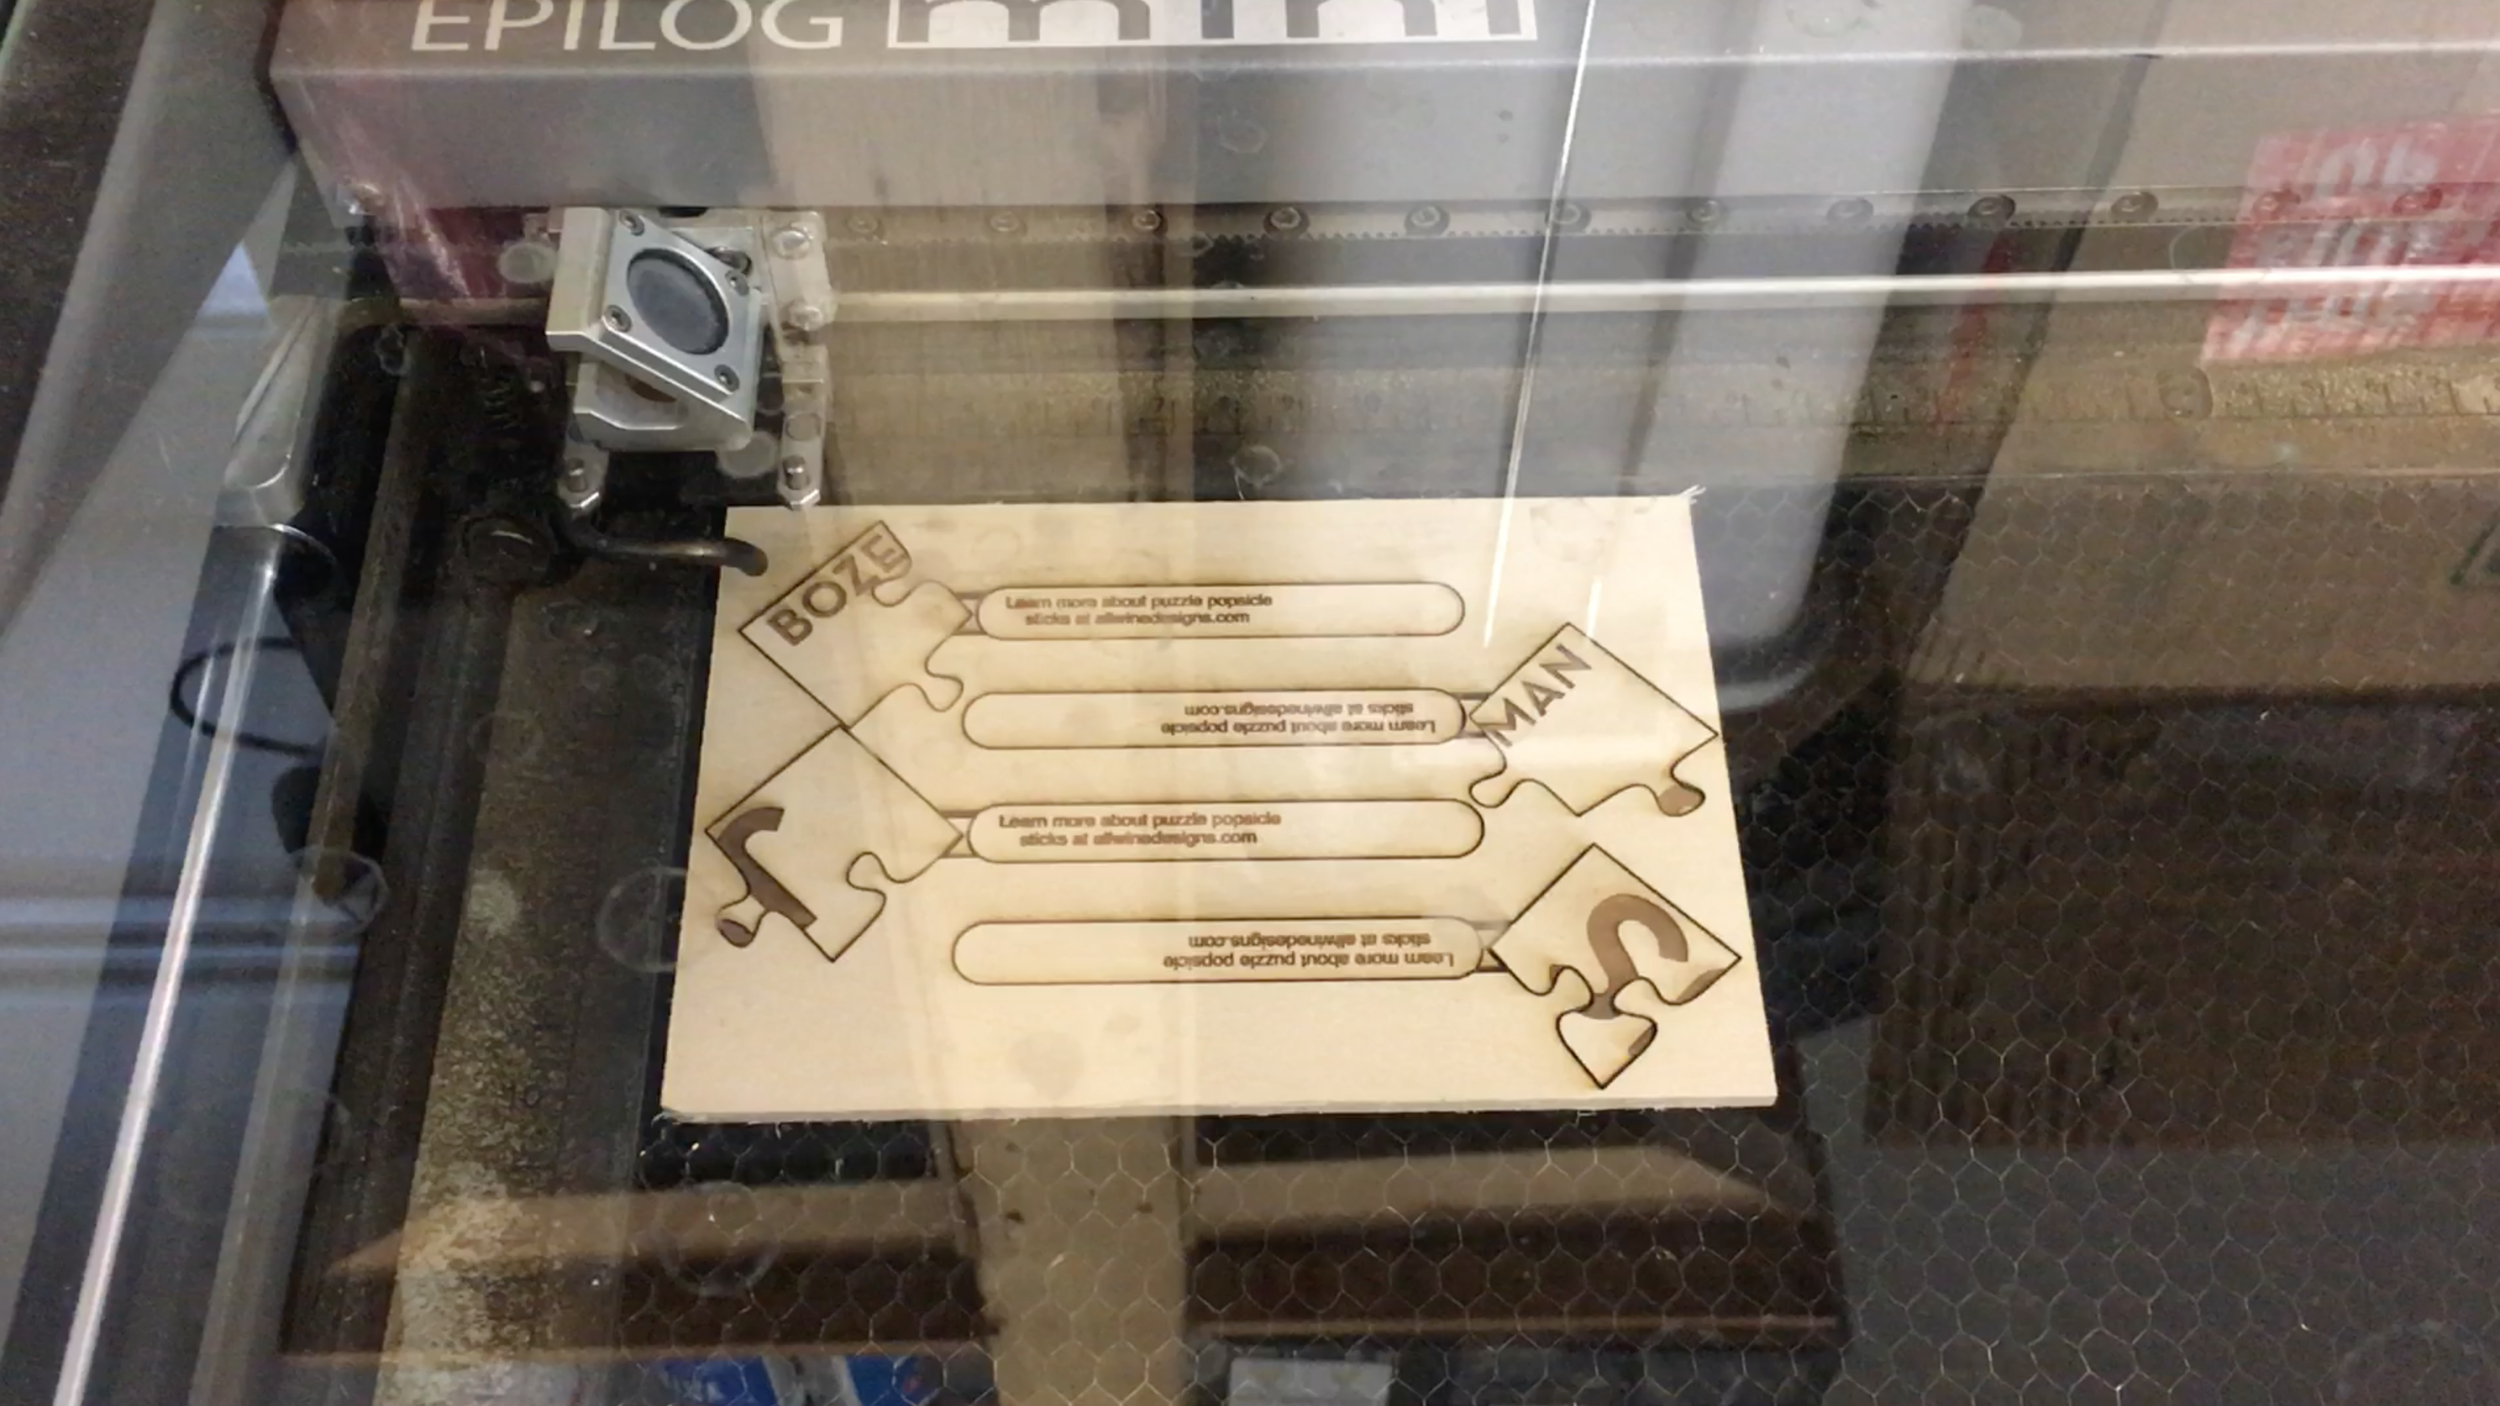
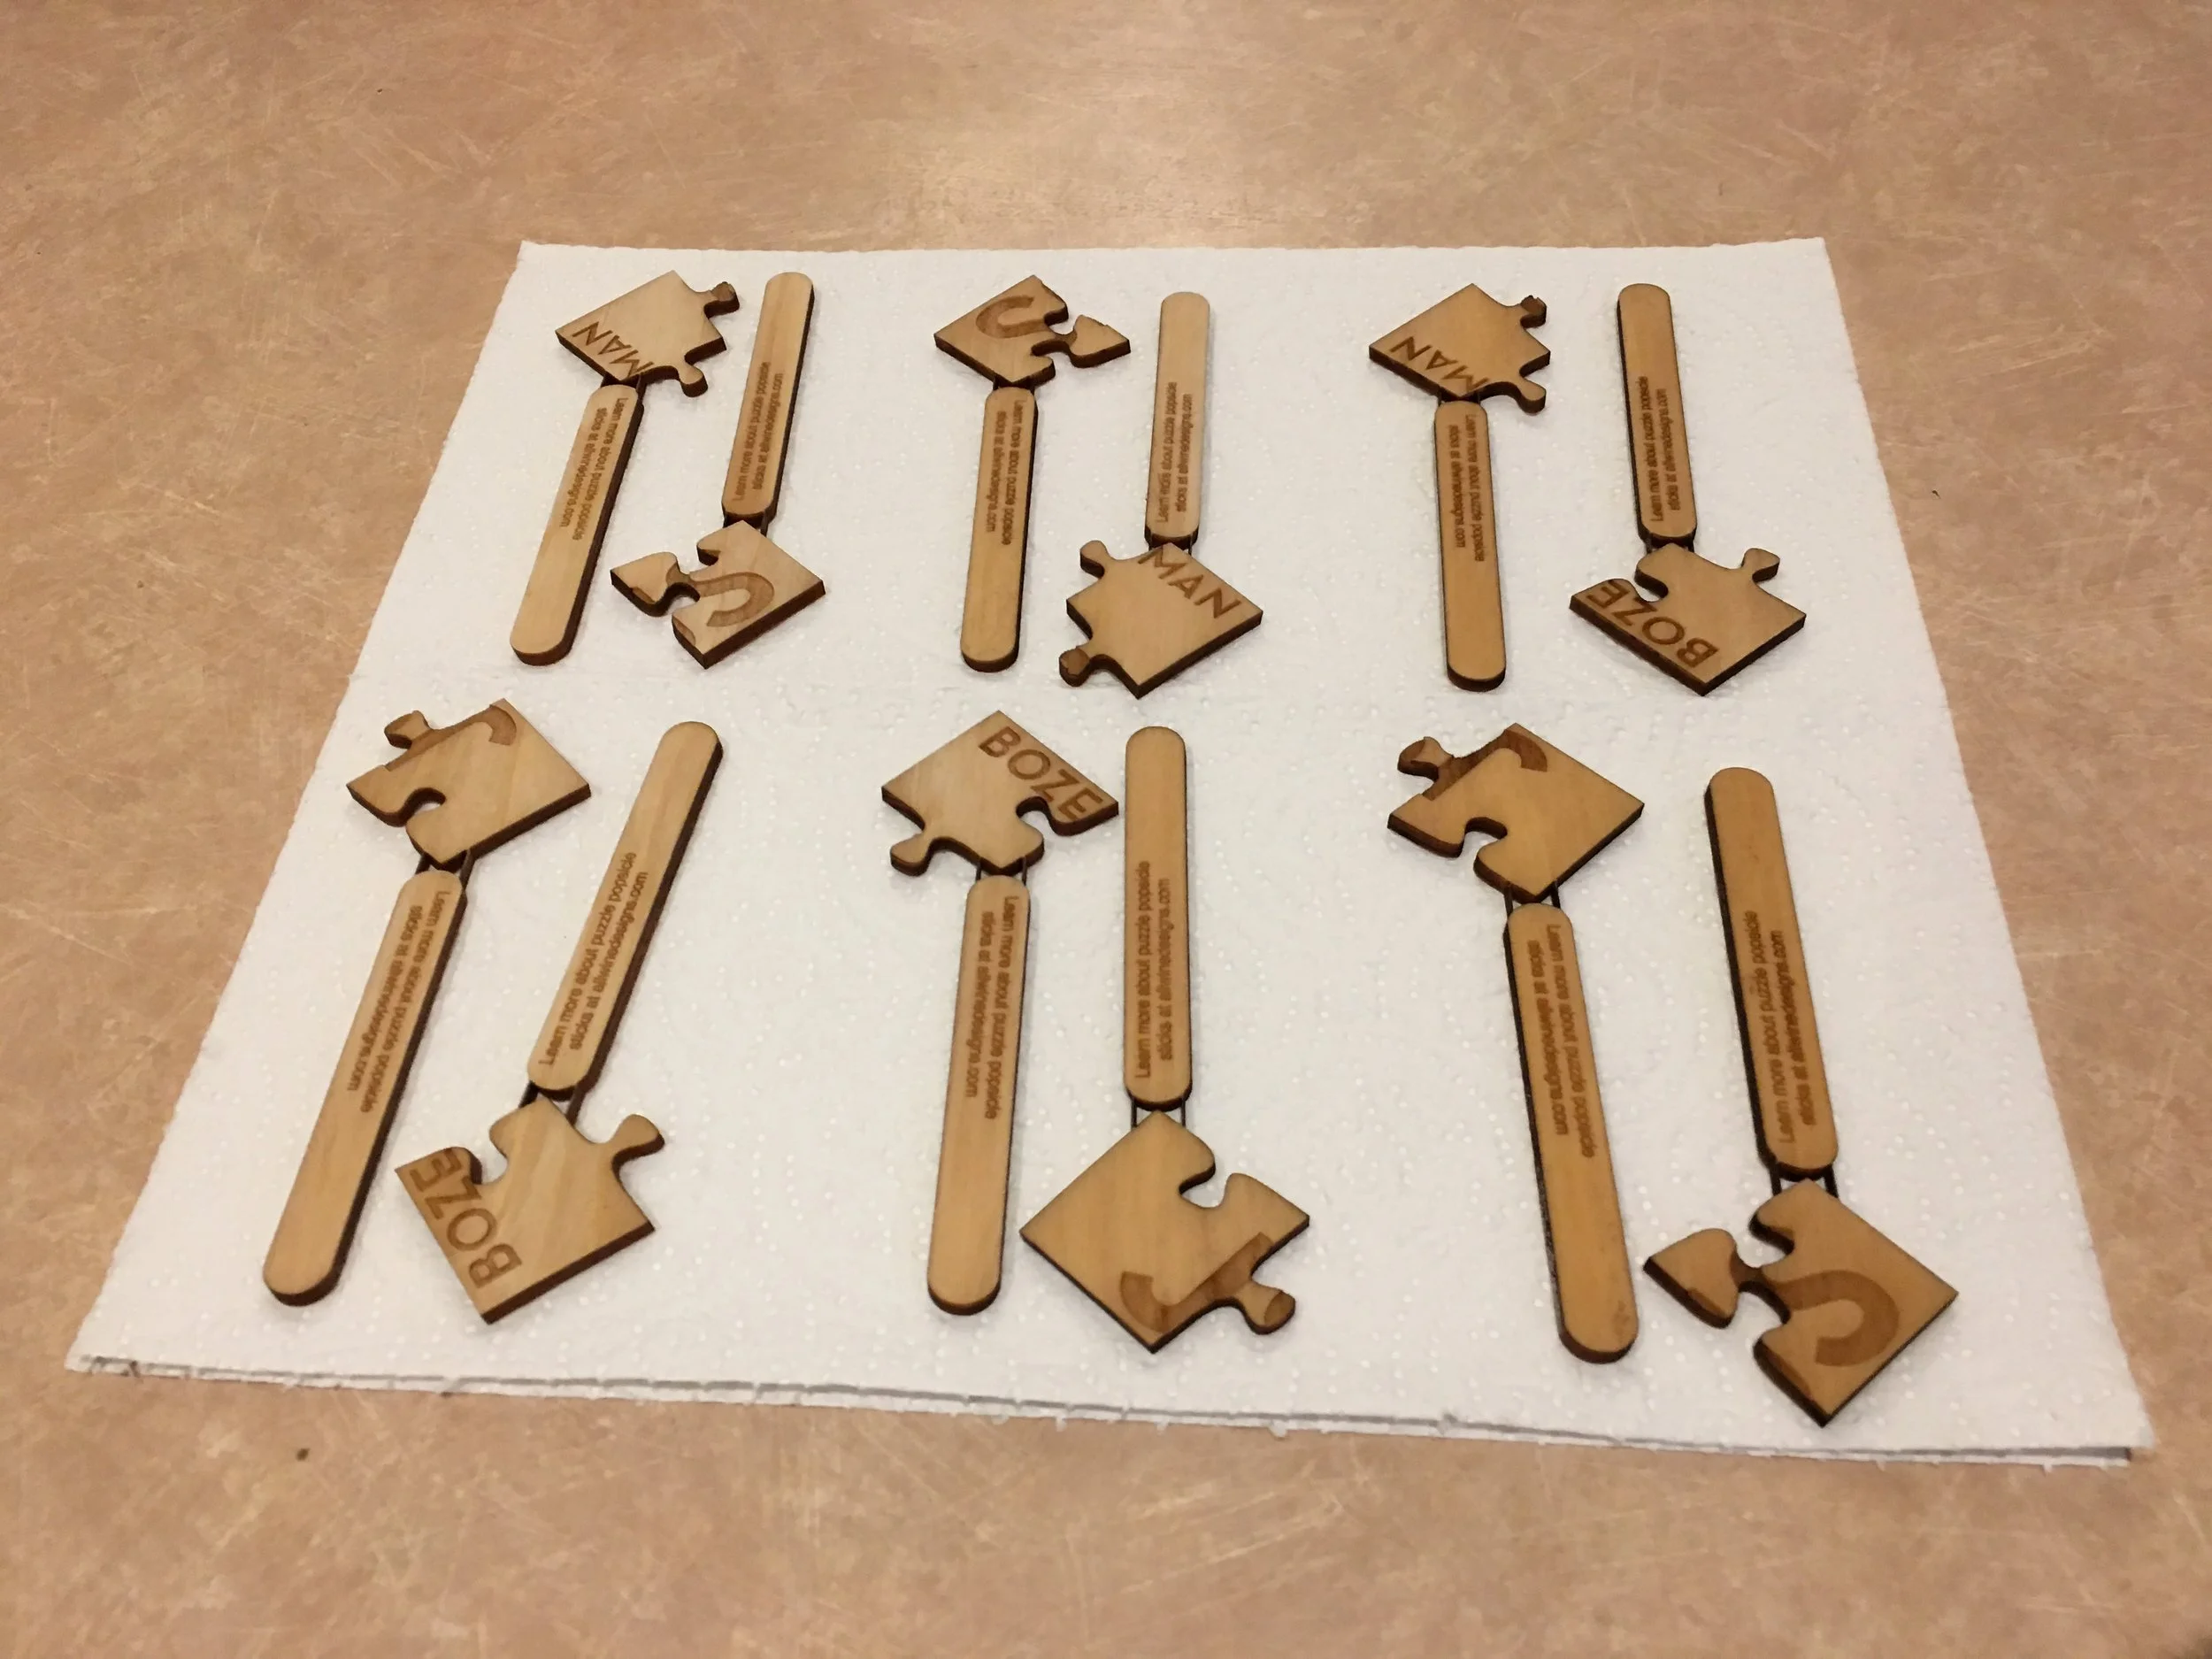
The end result of laser cutting.
What I'm unsure about still is how to source wood that is FDA approved for food contact. I ended up boiling the popsicle sticks after cutting them to make sure they were sterilized, but doing so can easily warp the wood and cause the pieces to not fit as well together. I'm still figuring out the best way to ensure proper food safety while maintaining puzzle integrity.
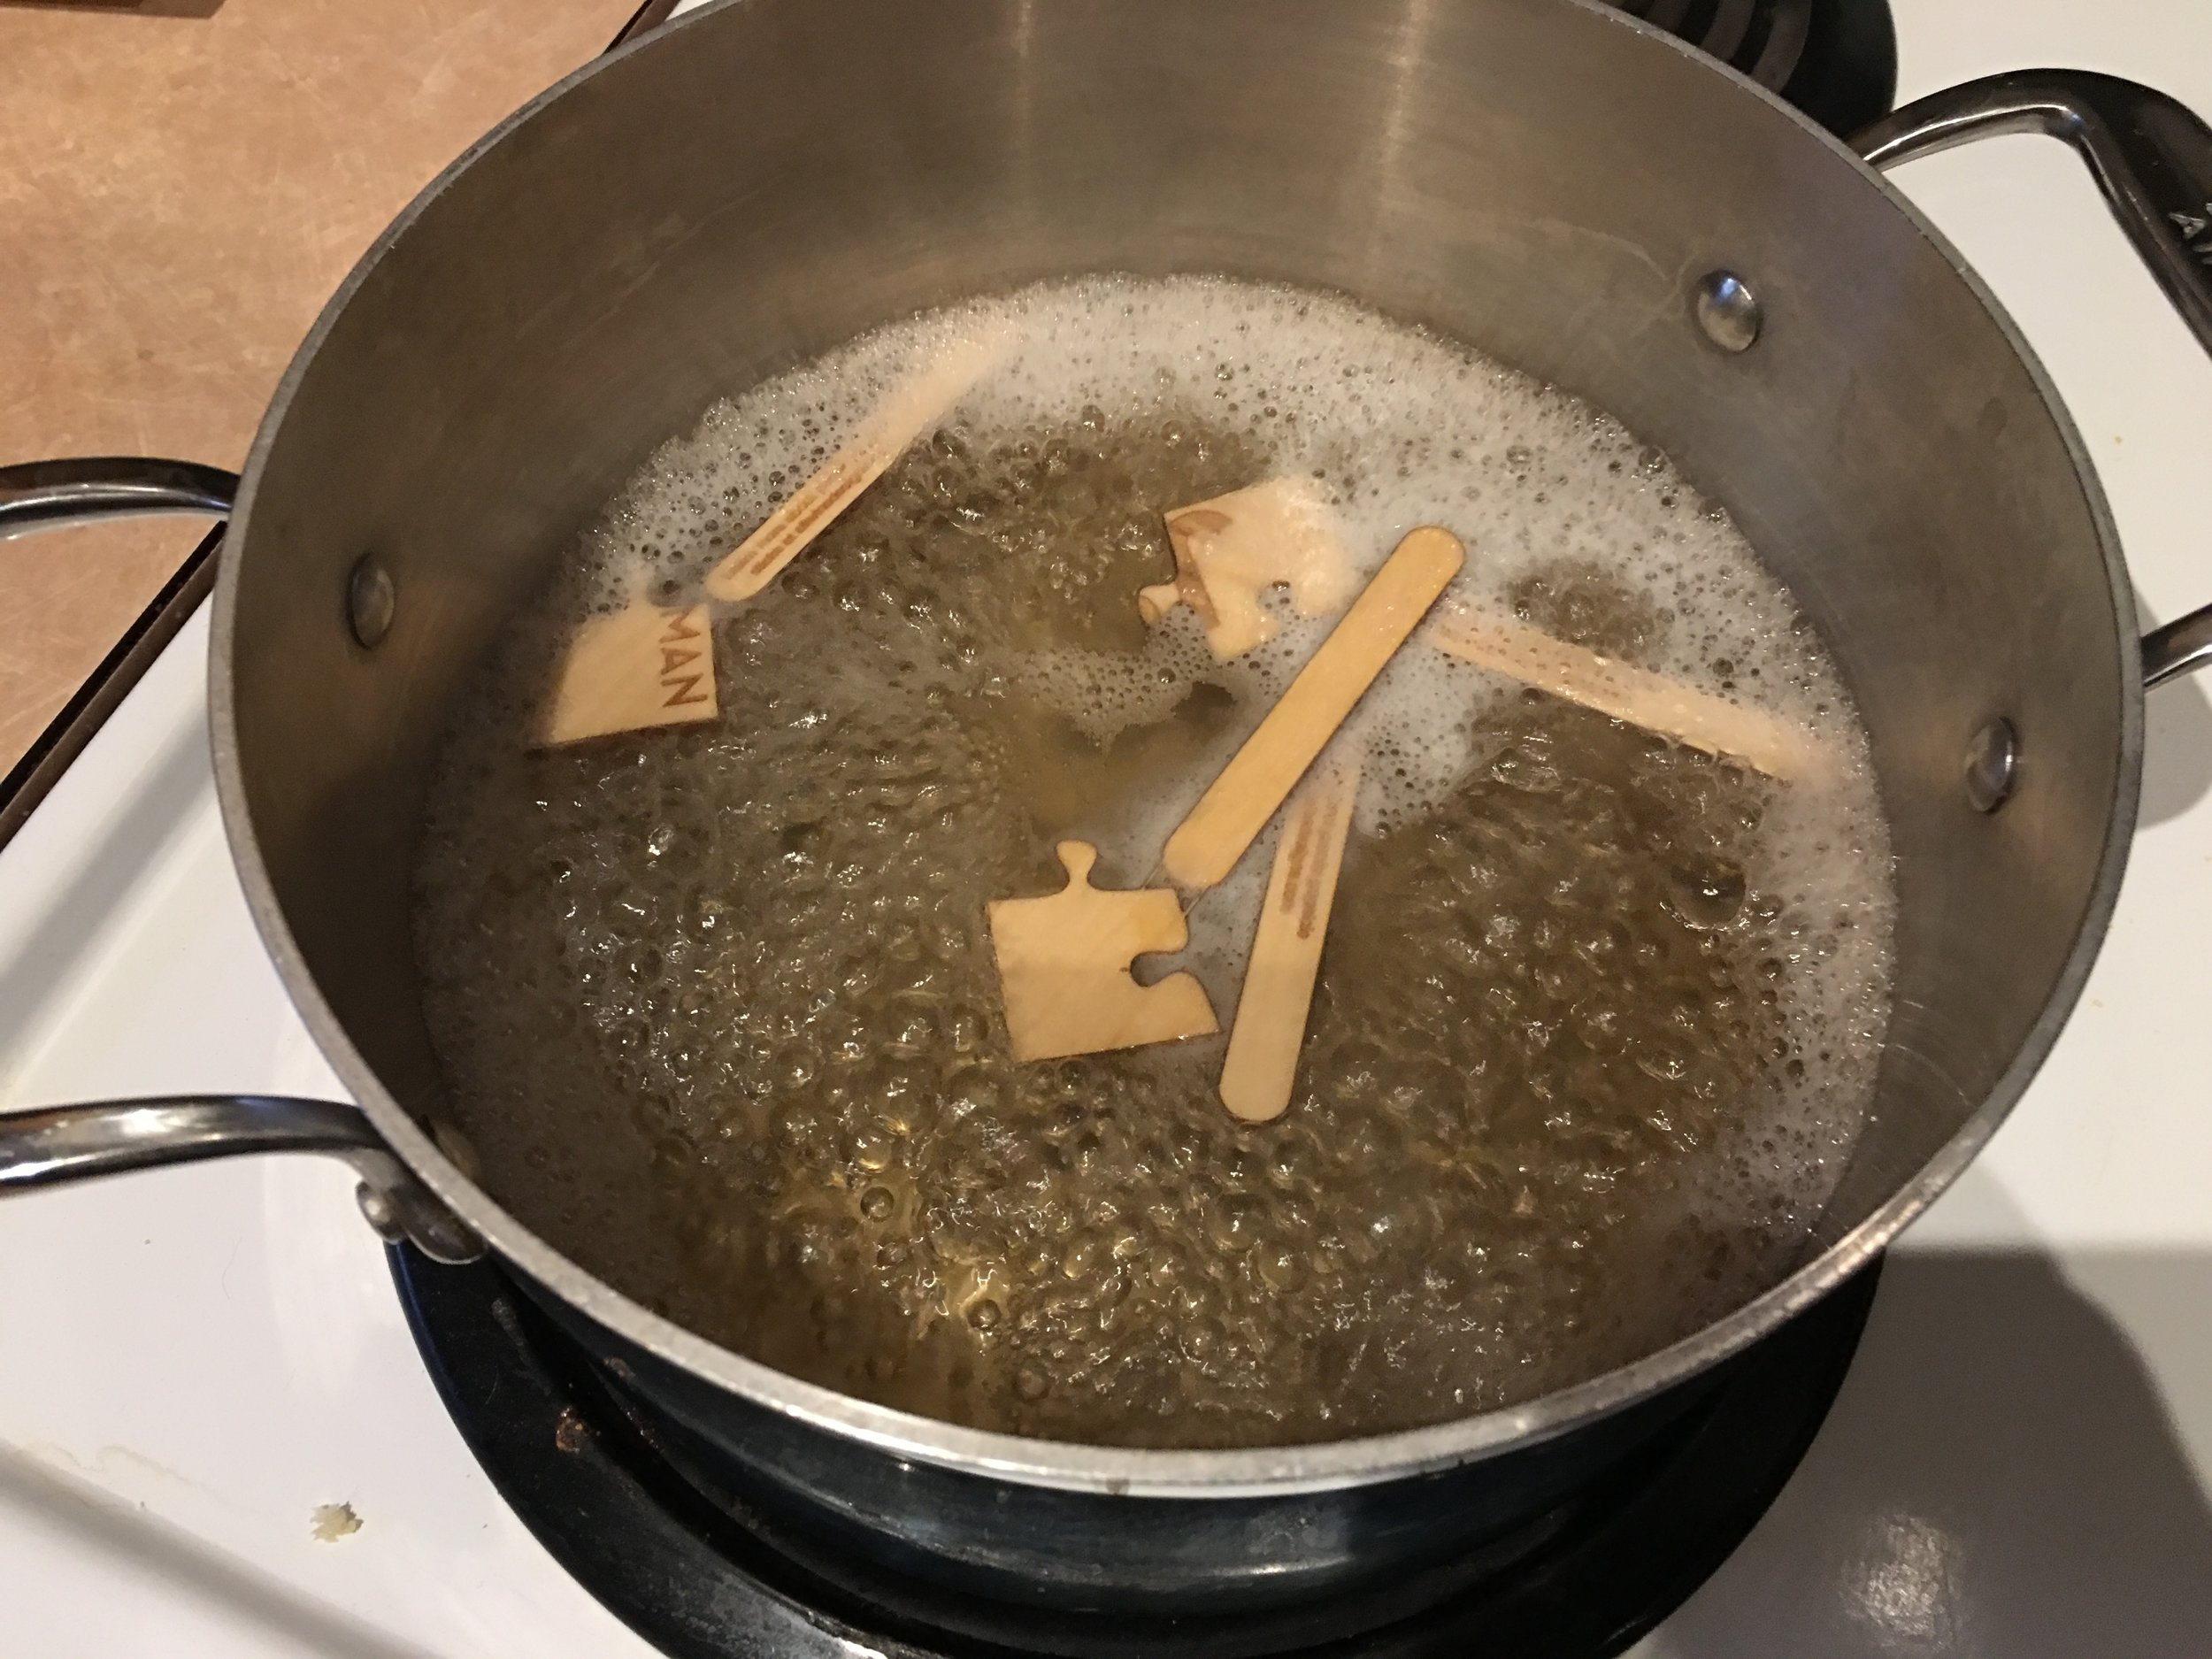
Boiling the popsicle sticks to ensure they were sterilized and ready for food contact.
After boiling, I set them out to dry. I made enough that the few that warped didn't cause any problems, but in the future (if I continue boiling them), I may use something to flatten them while they dry out.
Drying the popsicle sticks after boiling them.
I purchased this popsicle mold from Amazon. Unfortunately, it was designed with standard popsicle sticks in mind, and my thicker sticks didn't fit they way they were supposed to. The rubber inserts are meant to fit inside the metal cover plates with the popsicle stick stuck through it to ensure the stick is centered in the popsicle. With the thicker sticks, though, I couldn't get the inserts into the metal cover plates, so I had to improvise a bit by instead using tape to keep the sticks centered.
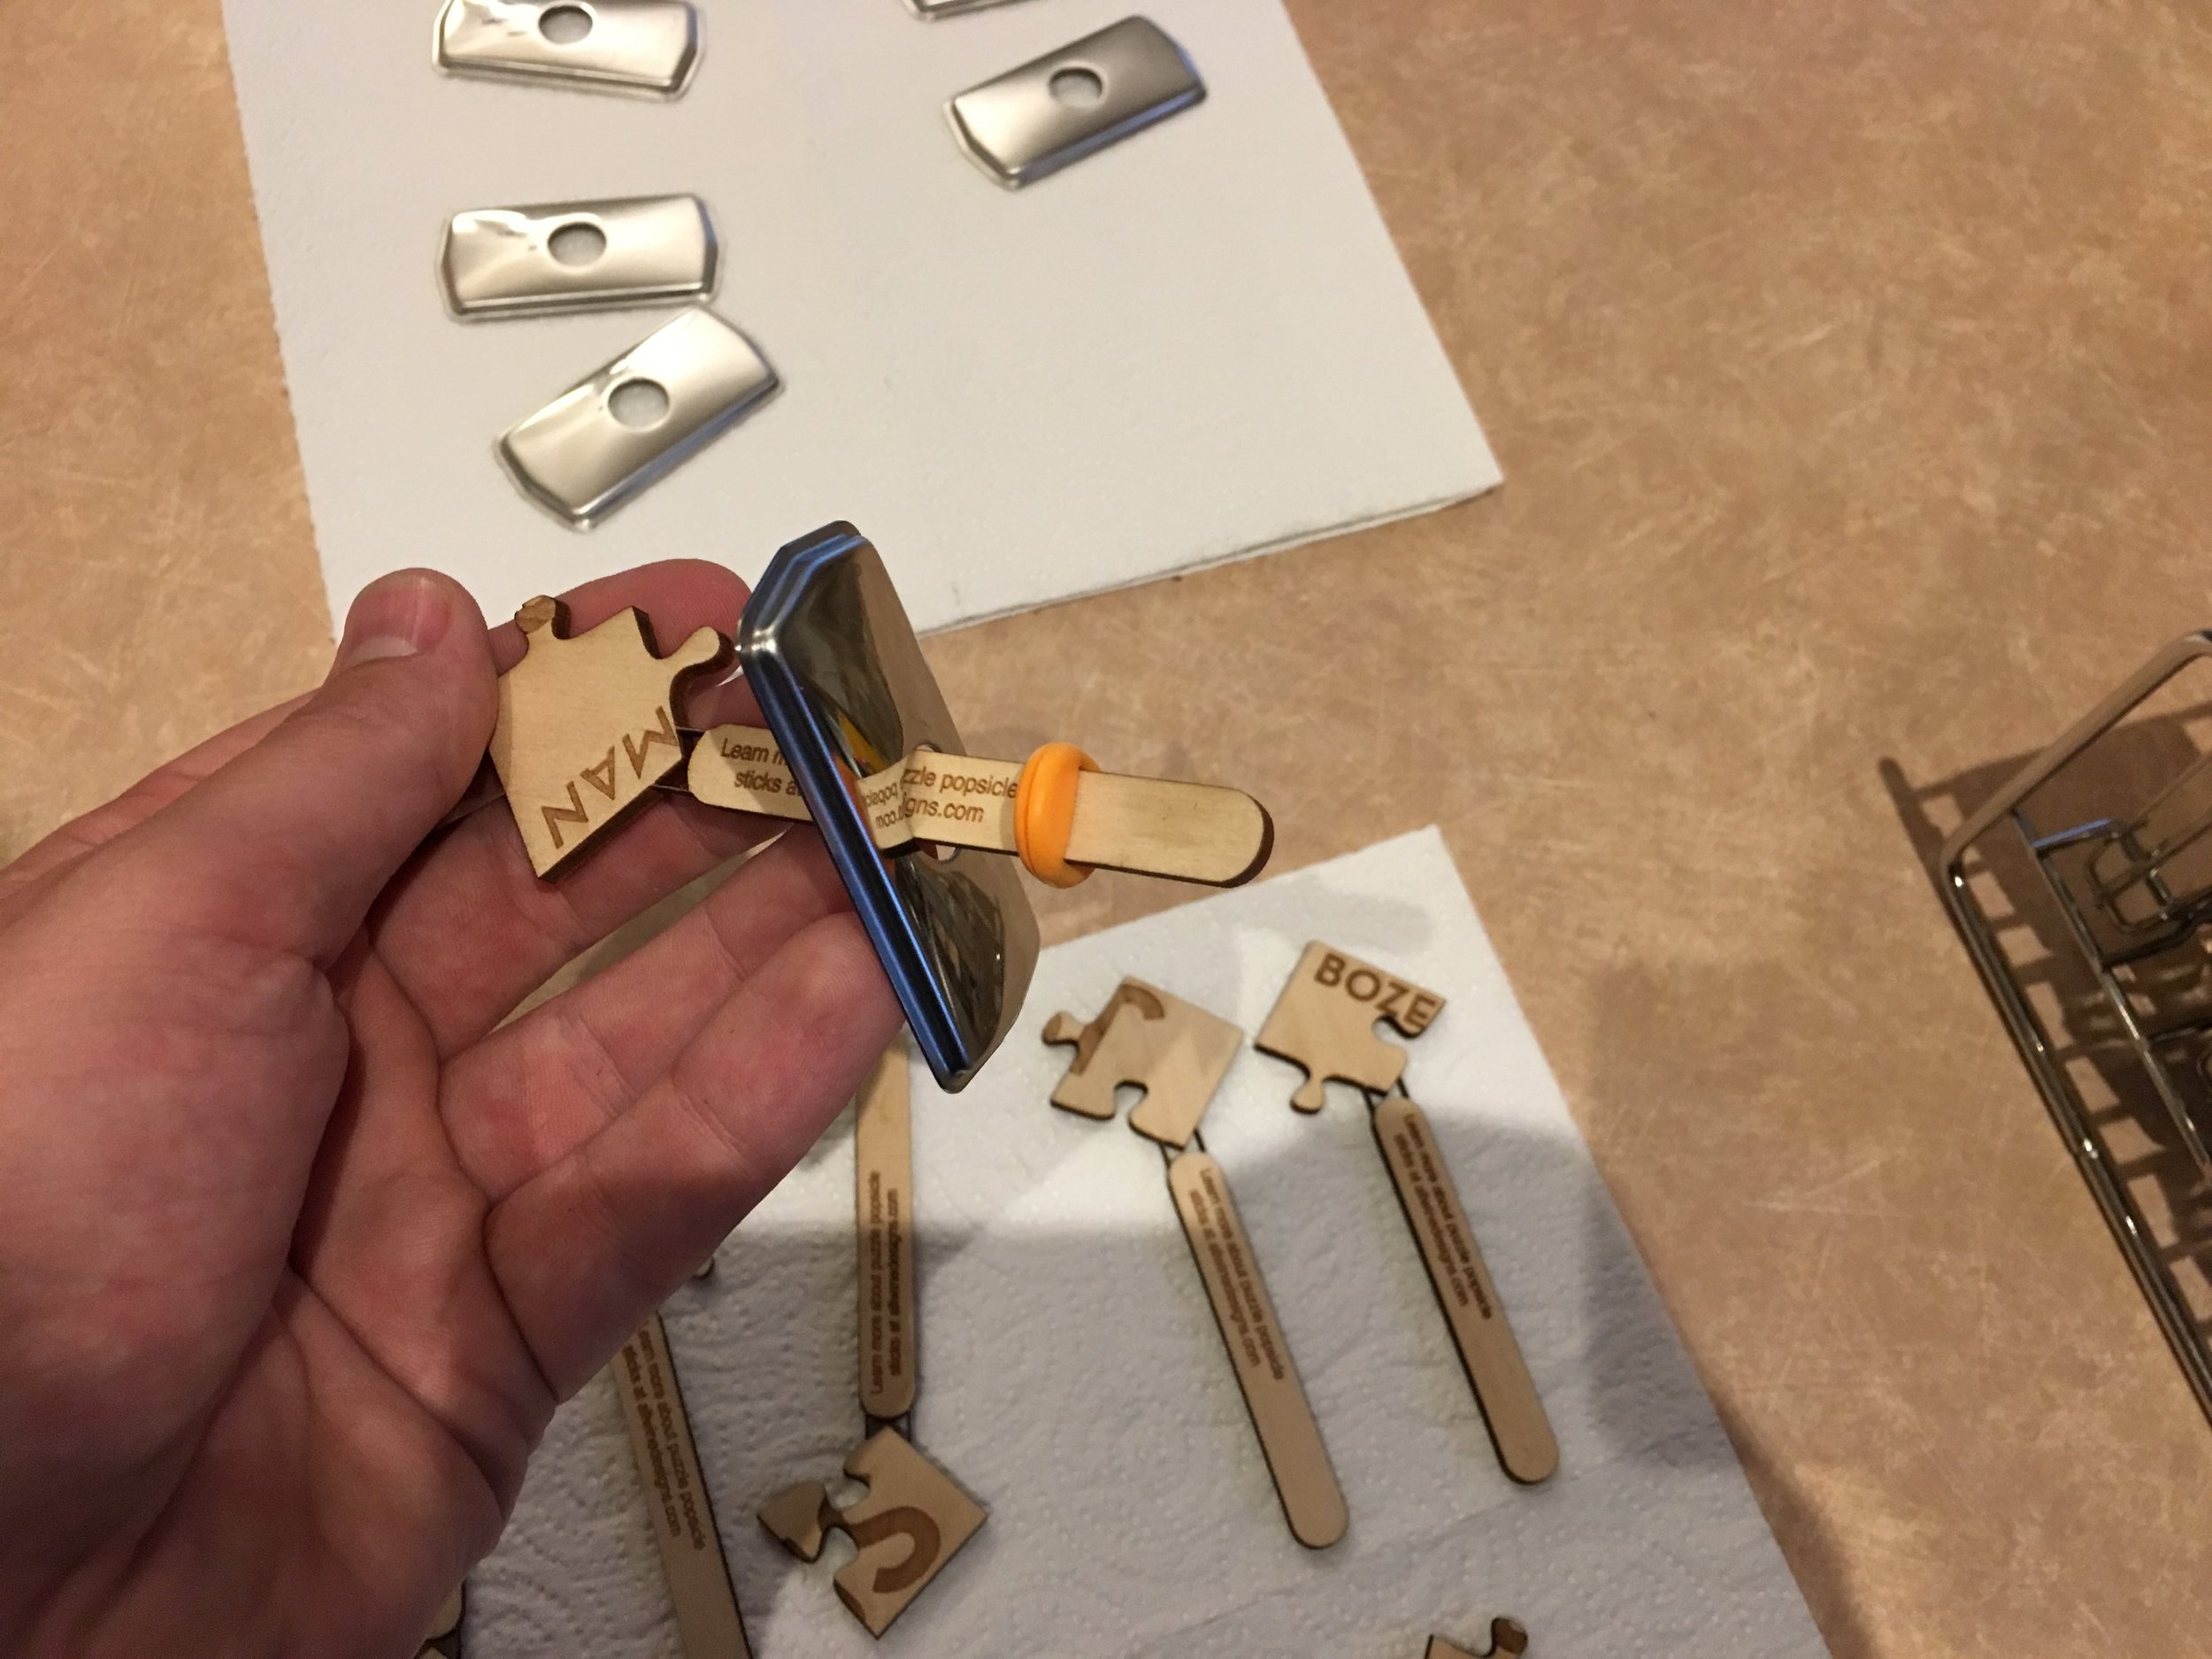
The inserts couldn't fit my thicker popsicle sticks when inserted into the metal cover plates, so instead they sat on top of them. I used tape to keep them mostly centered.
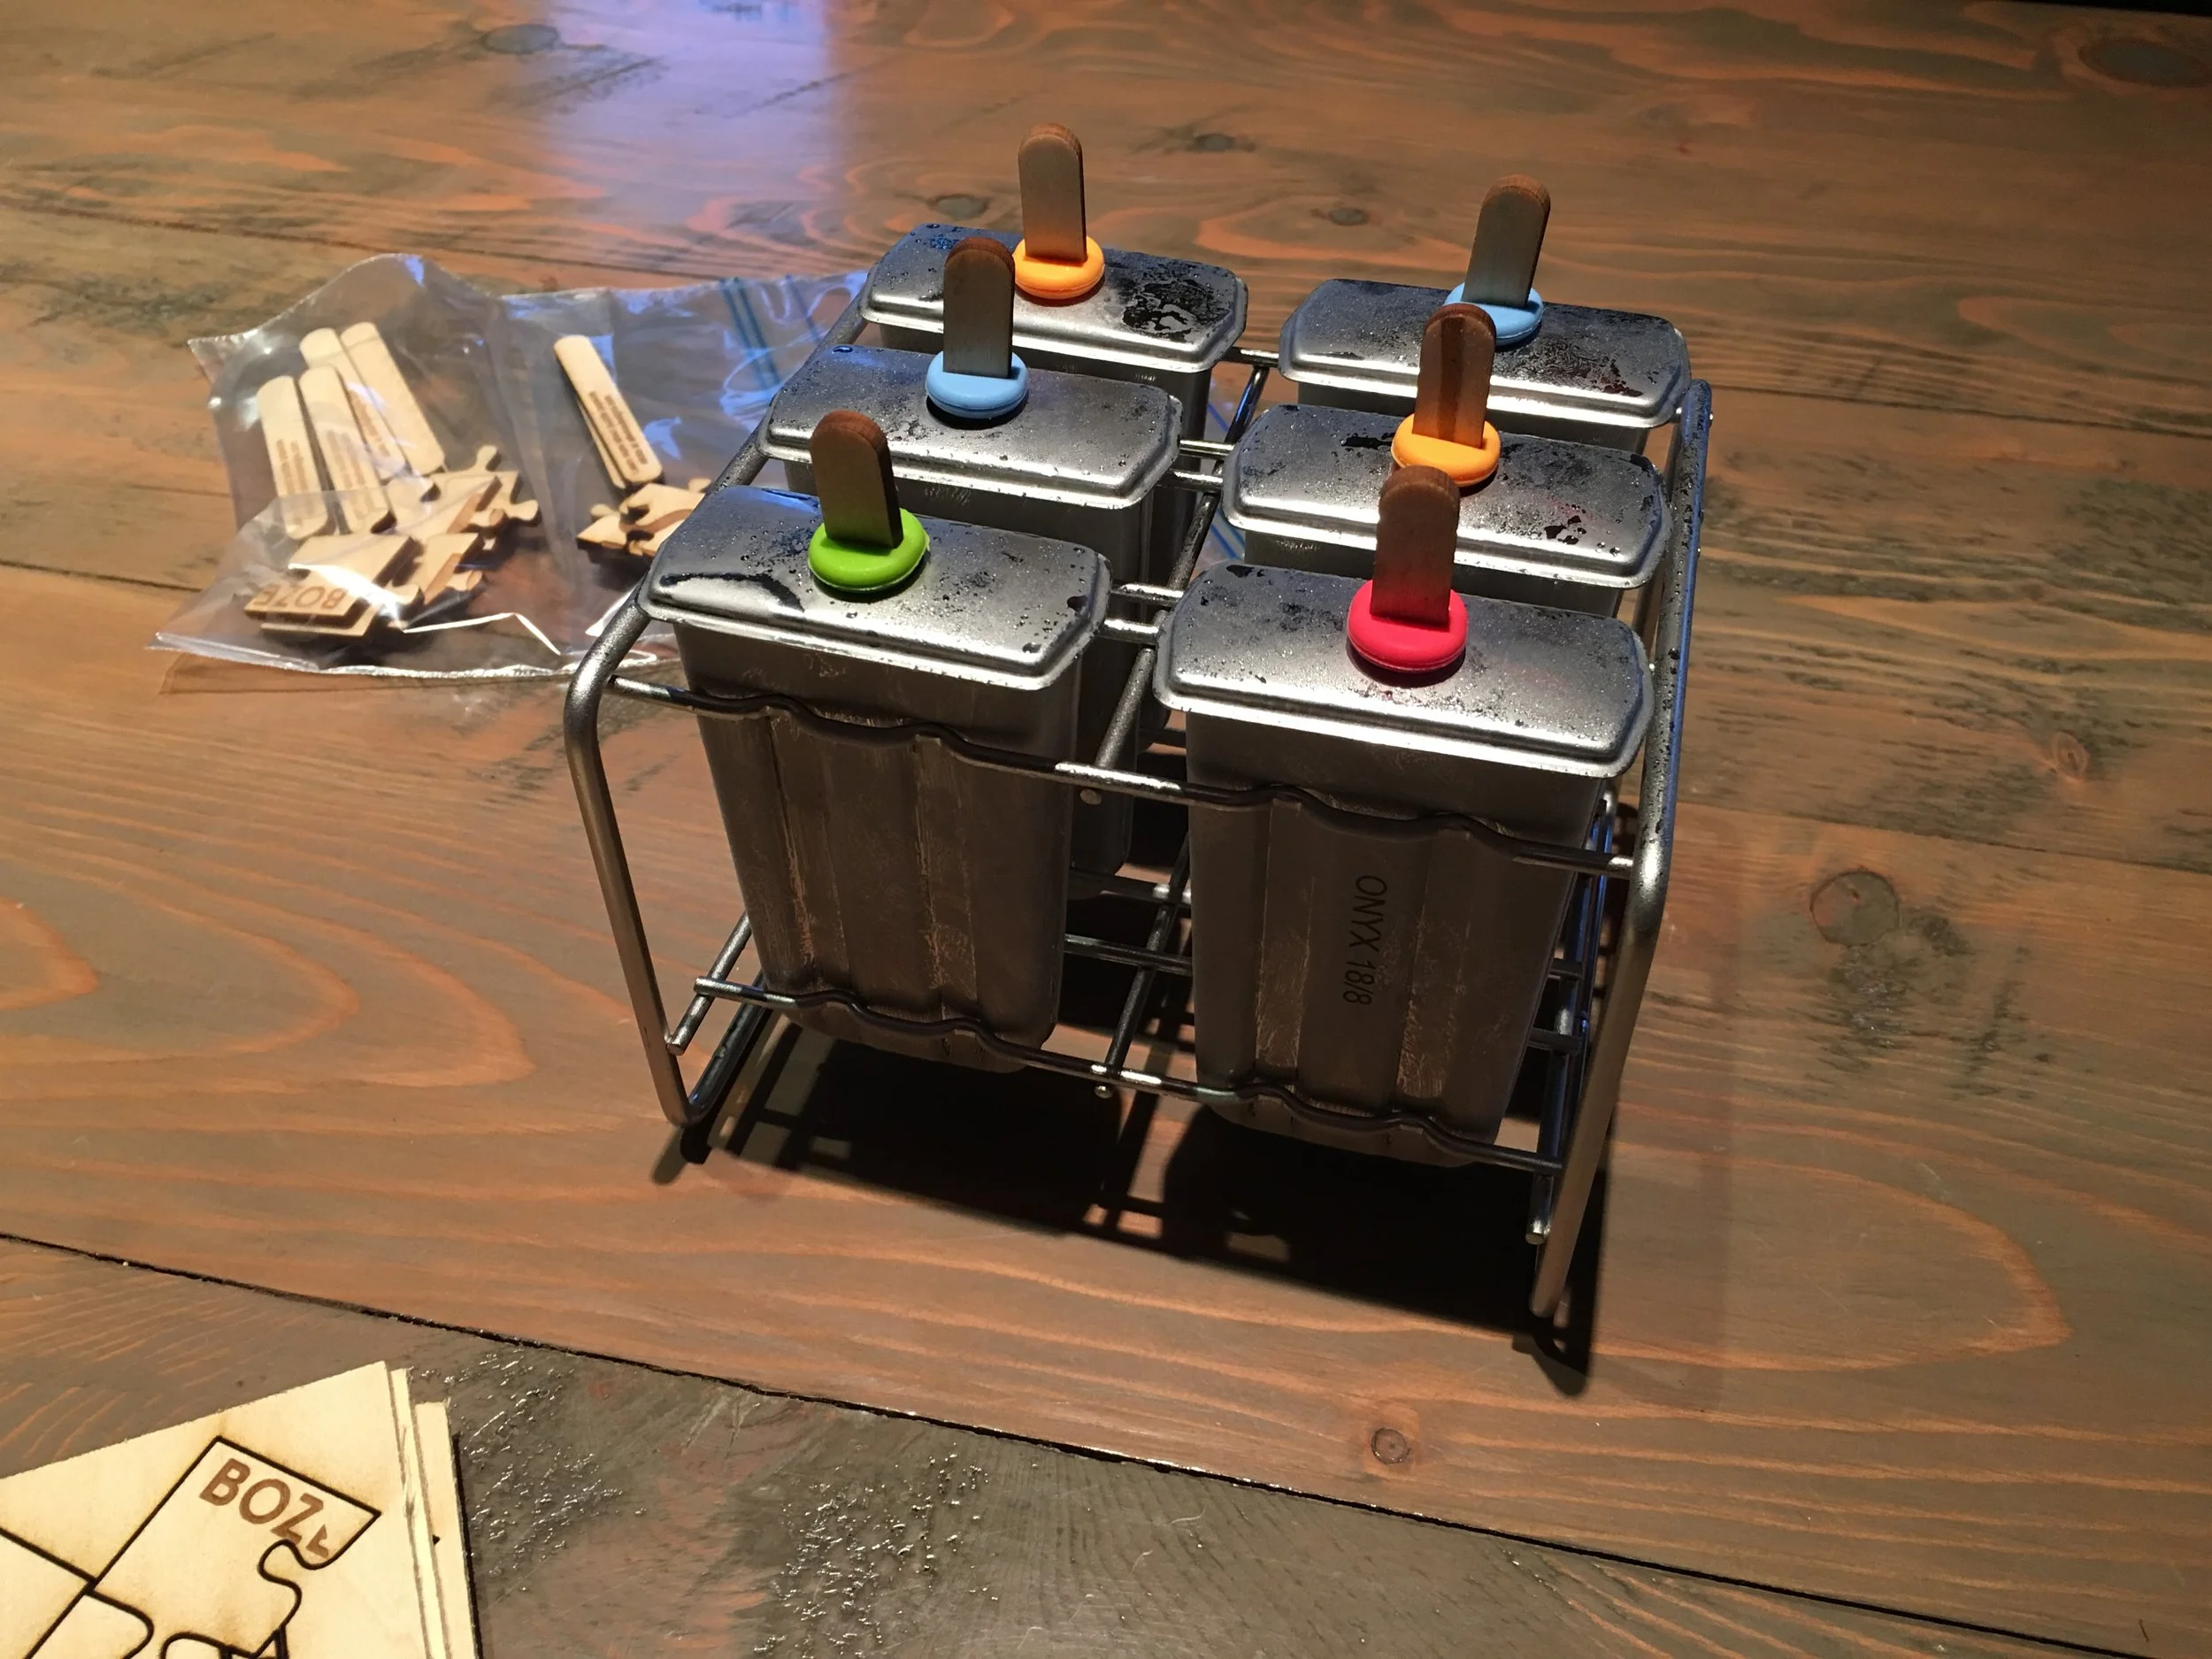
I wasn't able to spend any time on a popsicle recipe, so instead I ended up using Otter Pops (sorry, Angie, I know they don't hold a candle to your popsicles!). Three Otter Pops filled up one of the popsicle molds.
I let the popsicles freeze overnight and brought them in to the Bozeman JS Meetup the next day for my first test run.
After I described the project a little and people had a chance to finish their popsicles, we assembled the puzzle! One of the pieces turned out to be extremely delicate. We broke all four of the ones I made. It was a mistake that I think is fixable in my software. The corner of the piece was a little thin and was oriented perpendicular to the grain, so it broke easily. I'll have to avoid that combination of issues in the future.
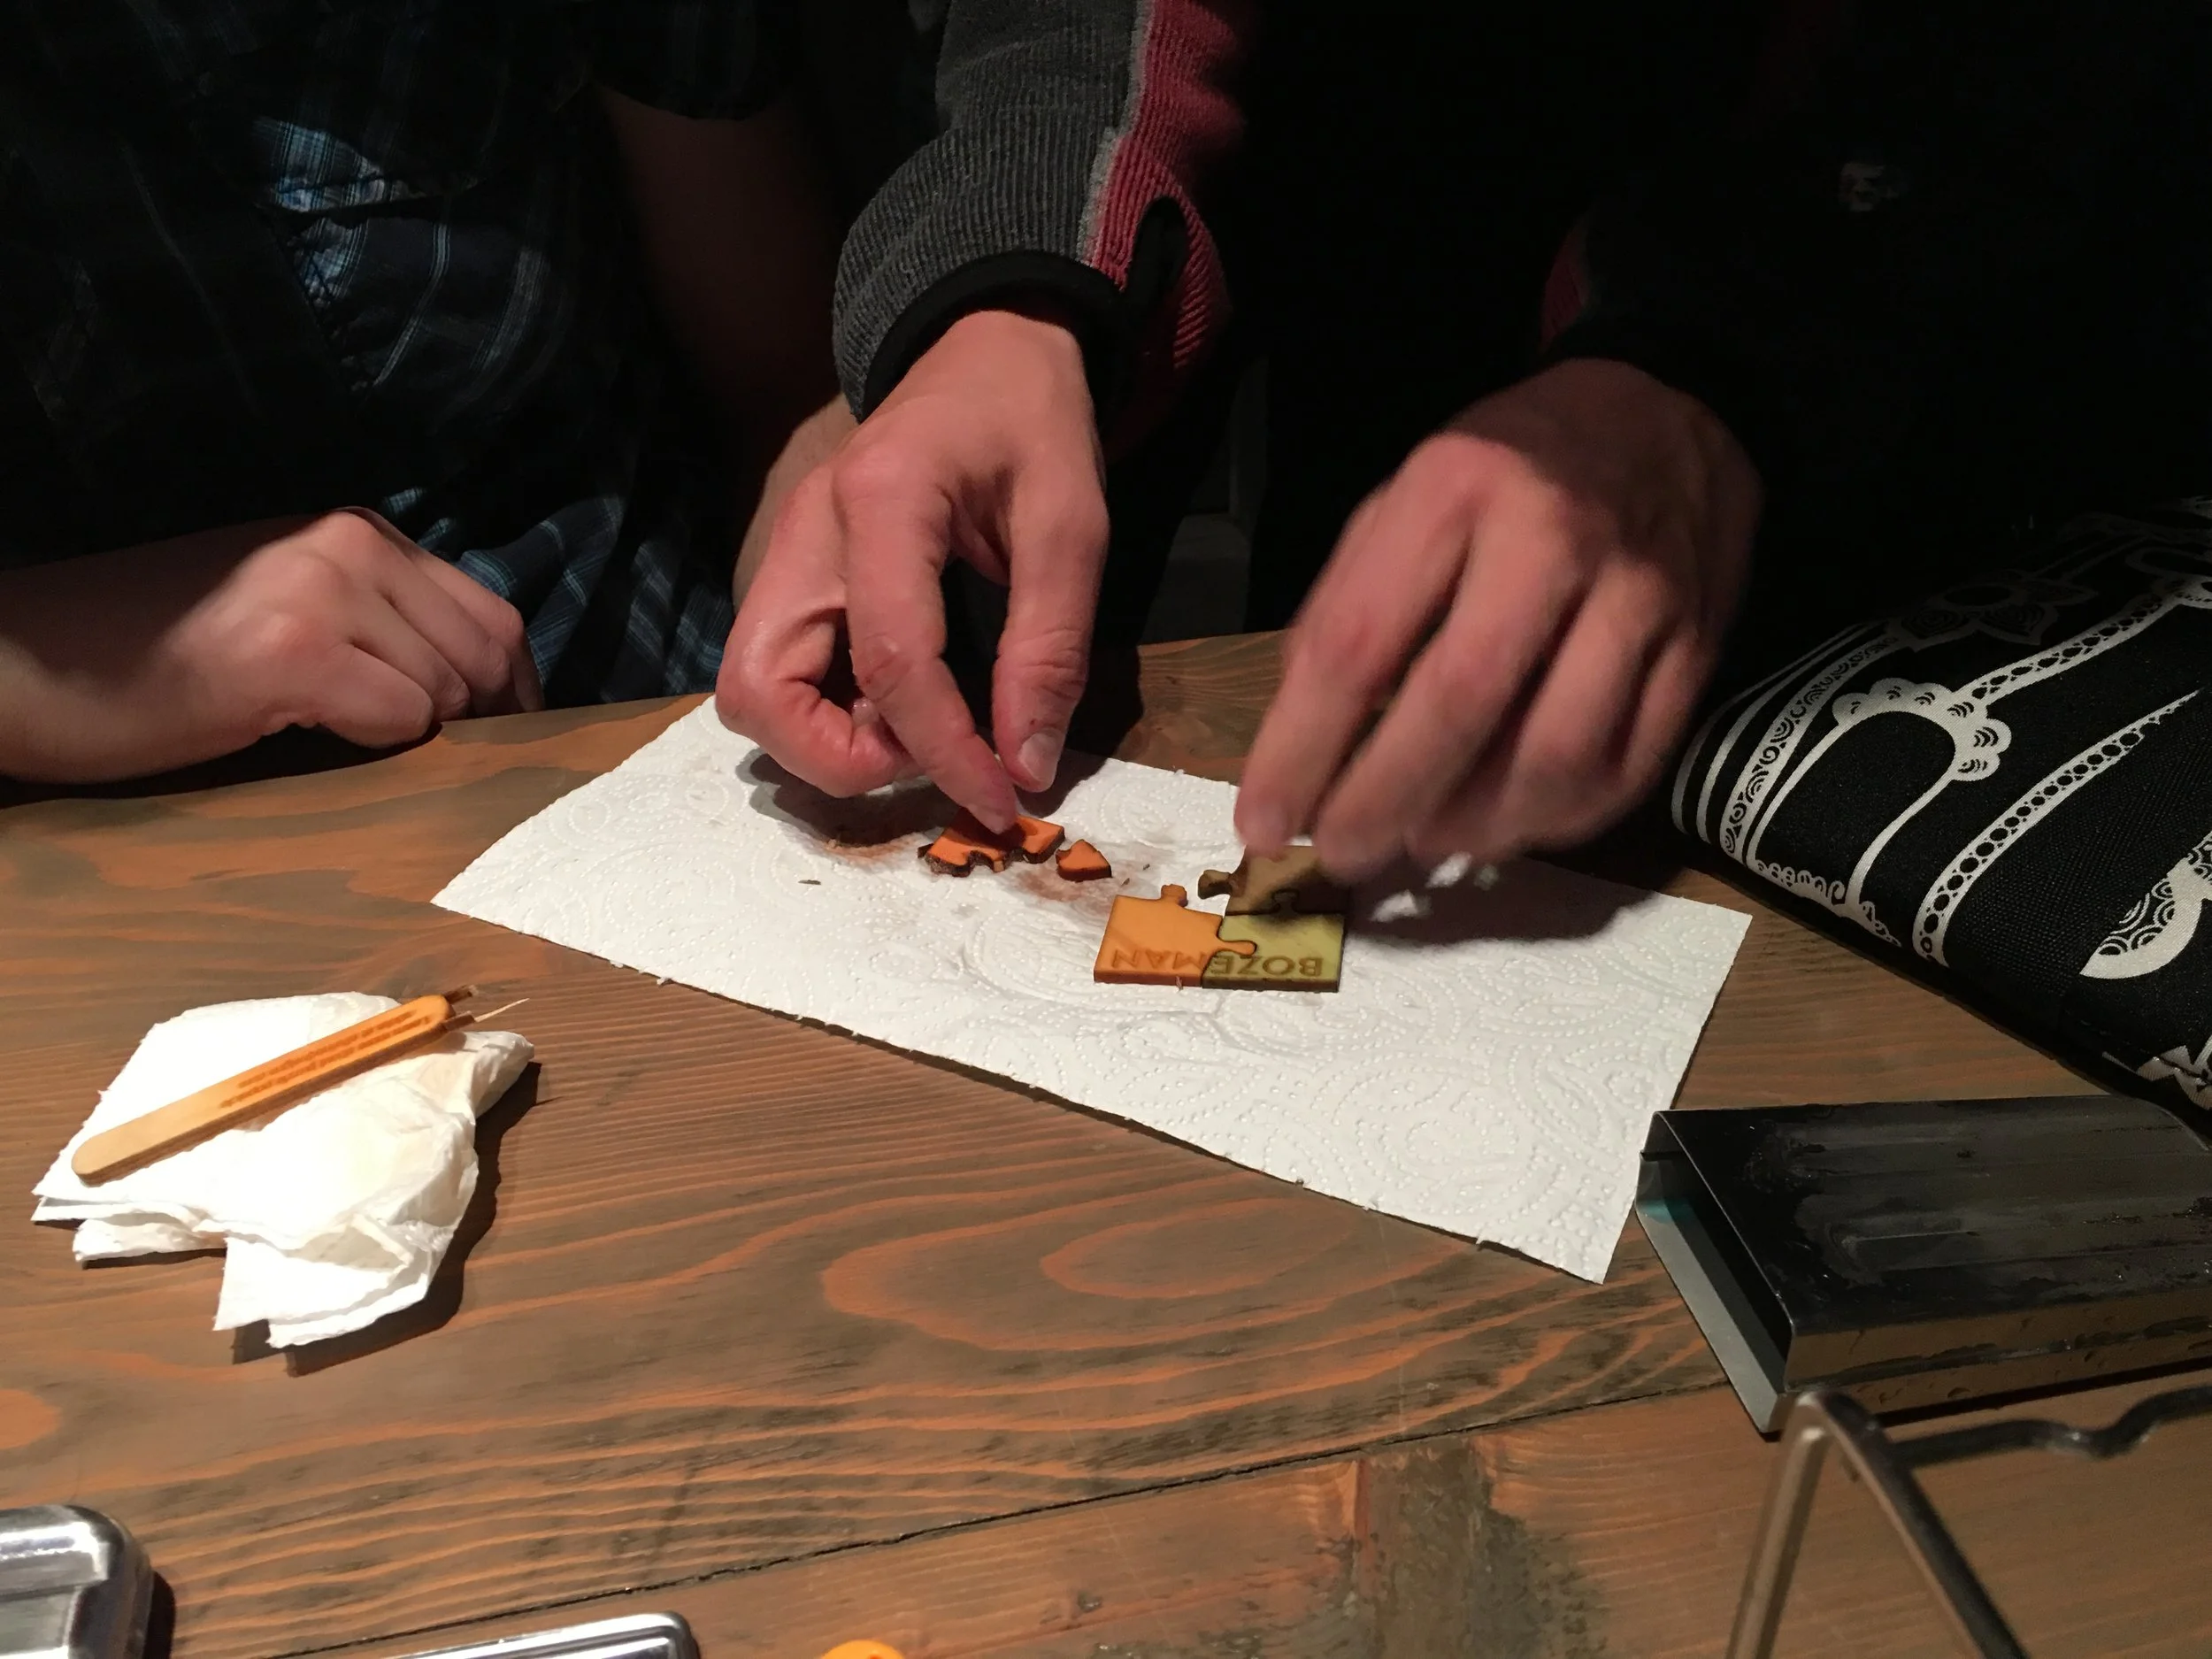
You can see the corner of the S piece broke off. All four of the ones I made ended up breaking.
After letting it dry out (which I would recommend doing before assembling), this is how it turned out! The different colored Otter Pops left each piece a different color. Let me know what you think in the comments below.
The final puzzle. The popsicles dyed each piece a different color.
I'll be doing some more experimentation and will be polishing up the software so it can be used in a future post. If you're interested in using the Puzzle Popsicle app when it's ready or just want to hear about future projects like this one, make sure to follow me on social media or sign up for my newsletter below. For now, you can adjust the rows and columns below to see it in action!